- 1 Create a new Scratch project
- 2 Create the lists
- 3 Create the variables
- 4 Add a referee sprite
- 5 Hide the variables and lists
- 6 Set the starting values of the variables
- 7 Populate the events lists
- 8 Enter the player names
- 9 Space bar to start
- 10 Count through the minutes
- 11 Pick the random player
- 12 Create a match event custom block
- 13 Program the match event block
- 14 Who won?
- 15 Add a background
- 16 Play the game!
1 - Create a new Scratch project
Create a new Scratch project and delete the cat sprite.
Go to the Scratch website using the link below and click on the 'Create' link in the blue bar at the top.
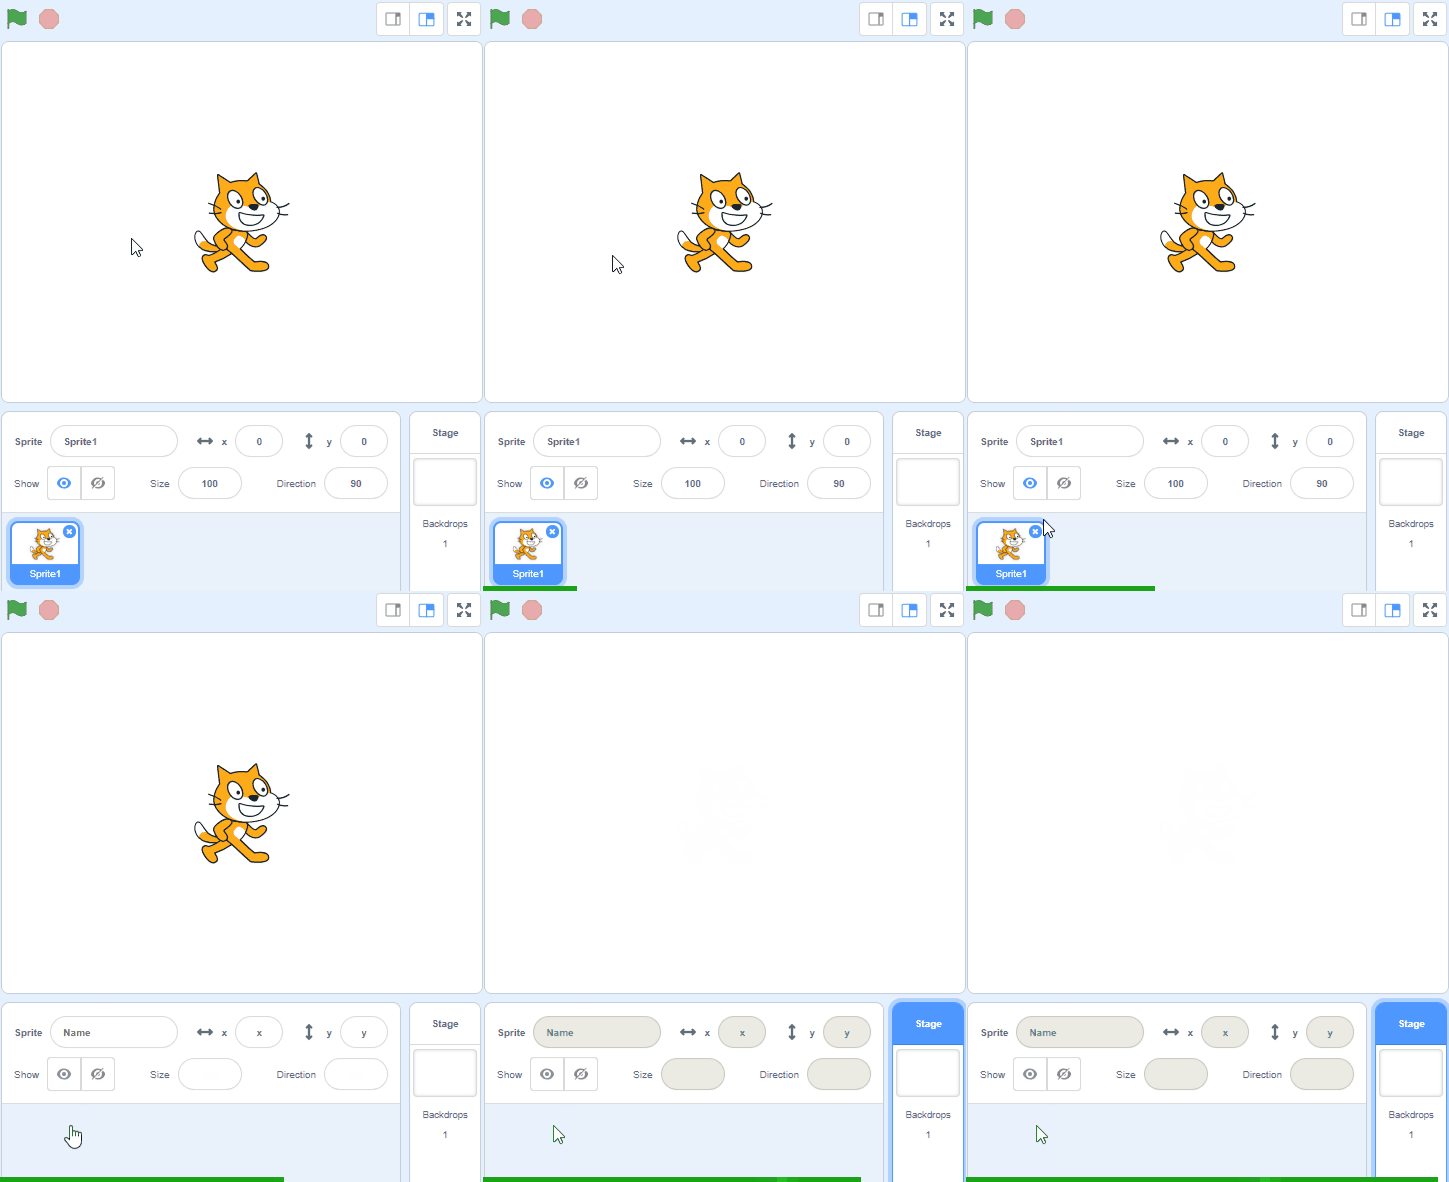
By default, each new project starts with the cat sprite already added. To delete the cat click on the x in the blue circle beside the cat in the sprite list.

2 - Create the lists
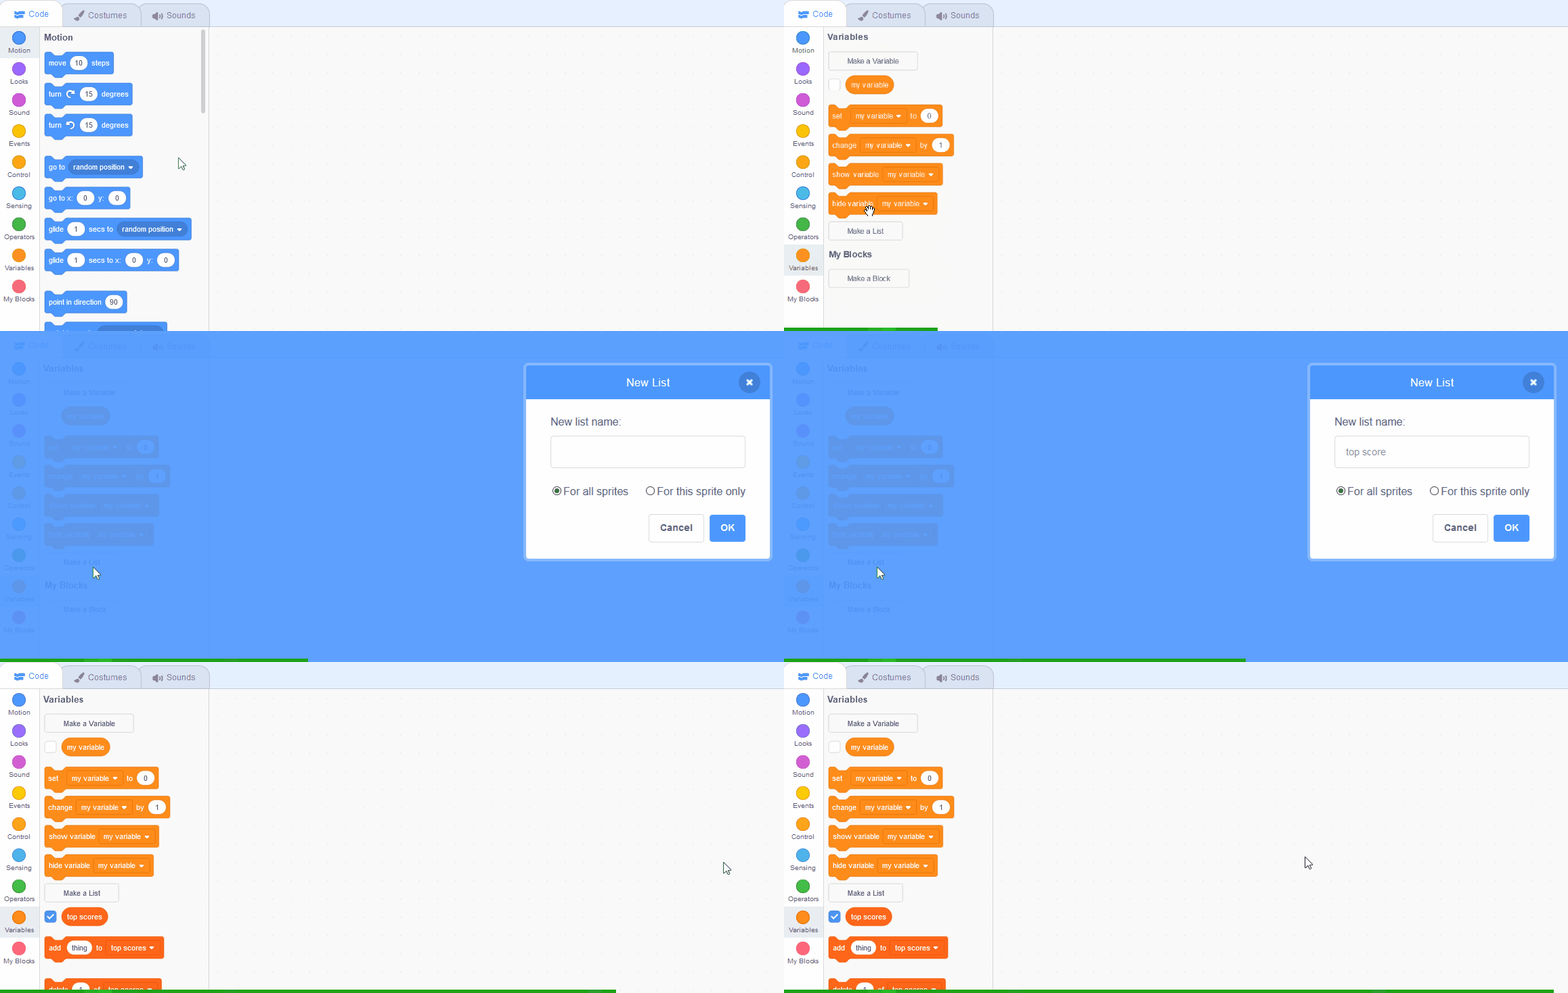
In the Data palette, create 3 new lists by clicking the 'Make a List' button.
- 'Team 1' this will store the names of the players on Team 1
- 'Team 2' this will store the names of the players on Team 2
- 'Events' this will store the events that can happen in the match like a player scoring or someone missing.
In the Variables palette, create a new variable by clicking the 'Make a List' button.
Once you click this button a box will appear asking what you want to call your list. Give it a name that reminds you what you will be using it for. For example, if you wanted to keep track of top scores in a game, you would create a list called 'top scores'.

3 - Create the variables
We will need some variables to store values to help us run the game. Variables are things that we use to store some information such as the top score of a game or what level you're on.
In the Data palette, create 5 new variables by clicking the 'Make a Variable' button.
- 'team' this will store which team the next event will be for
- 'player' this will store which player from the team
- 'minute' this will store the current minute of the match
- 'score team 1' this will store the score for Team 1
- 'score team 2' this will store the score for Team 2
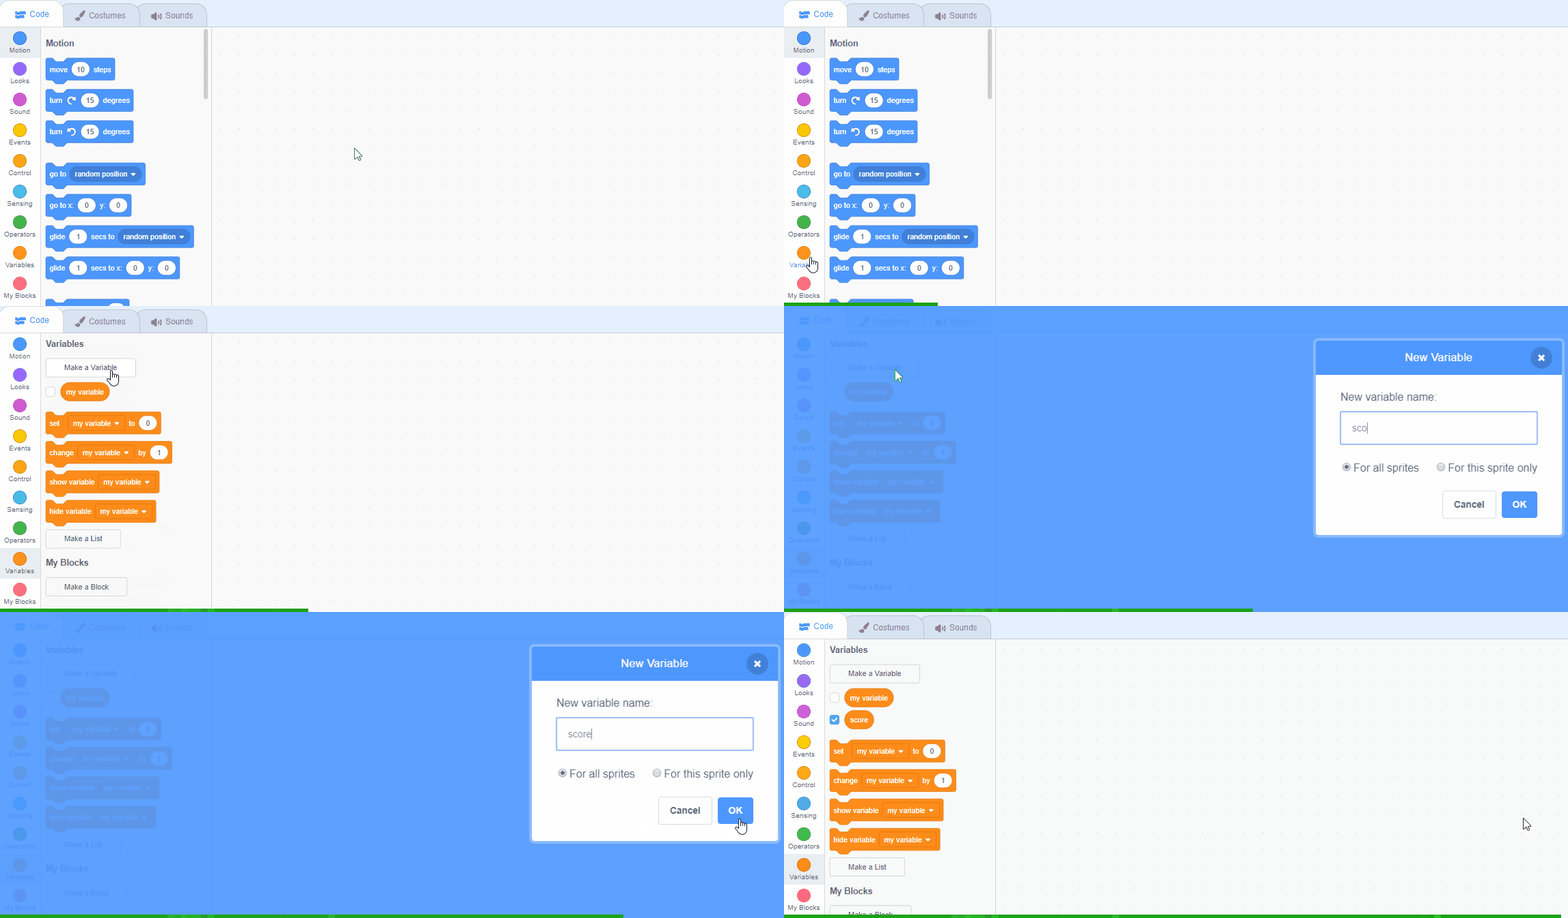
In the Variables palette, create a new variable by clicking the 'Make a Variable' button.
Once you click this button a box will appear asking what you want to call your variable. Give it a name that reminds you what you will be using it for. For example, if you wanted to keep track of your score in a game, you would create a variable called 'score'.

4 - Add a referee sprite
We're going to use a referee sprite to call out the events that happen in the match. Add the Referee sprite from the sprite library and then drag the referee into the middle of the stage area.
To add a sprite from the sprite library follow these steps:
- Put your mouse over the Choose a Sprite button
- Click on the magnifying glass
- Find the sprite you want in the library
- Click on your chosen sprite
You can use search box or the filter links (Animals, People, Fantasy etc) to locate your sprite.
5 - Hide the variables and lists
When you add a variable or a list, a box appears in the stage area that shows you what the value of it is. This can clutter up the stage area so we're going to set some of them to hide and arrange the ones we want to keep visible.
Add the following code to the Referee sprite.
when green flag clicked
hide variable [team v]
hide variable [player v]
hide list [events v]
switch costume to [referee-b v]// start off with this costume
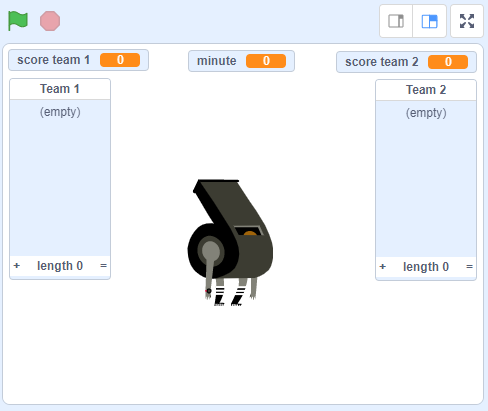
Click the green flag to run your code and they will disappear. Next we want to position the remaining boxes like in the picture included with this step, by dragging them into position

This lesson is copyright of Coding Ireland. Unauthorised use, copying or distribution is not allowed.
Scratch is developed by the Lifelong Kindergarten Group at the MIT Media Lab. It is available for free at https://scratch.mit.edu
