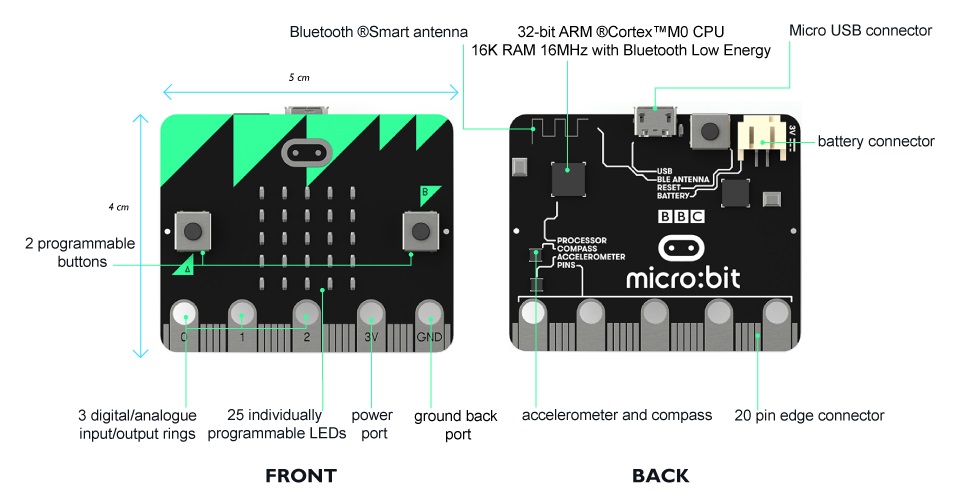
The Microbit is a tiny programmable computer, designed especially for learning and teaching coding.
It has a processor inside it (like the brain of the computer) and has the following:
- an accelerometer (for sensing movement).
- a compass (for sensing direction).
- a microphone.
- a speaker.
- Bluetooth and USB port for connectivity.
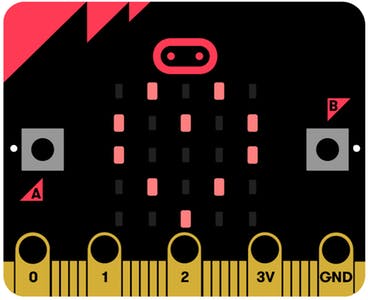
- a display consisting of 25 LEDs lights.
- two programmable buttons.
- and can be powered by either USB or an external battery pack.
The list of things you can program the Microbit to do is nearly endless. You can program the buttons, LEDs and different sensors to create games and turn the Microbit into things like a pedometer, a compass or even a musical instrument.
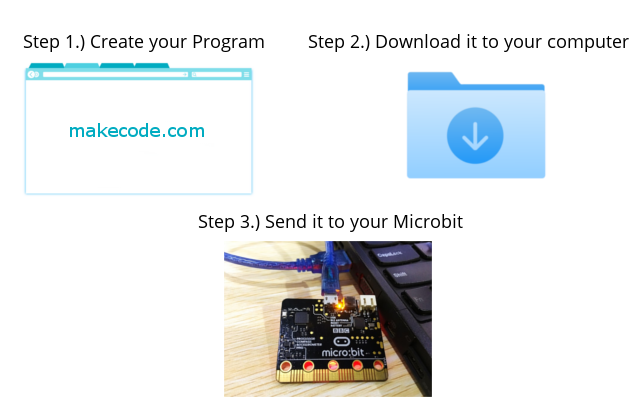
In a similar way to Scratch, you can create programs using a special website but you then need to download the program to your computer and then send the program to the Microbit.
- Create your program using makecode.com
- Download the program to your computer
- Send the program to your Microbit by USB cable
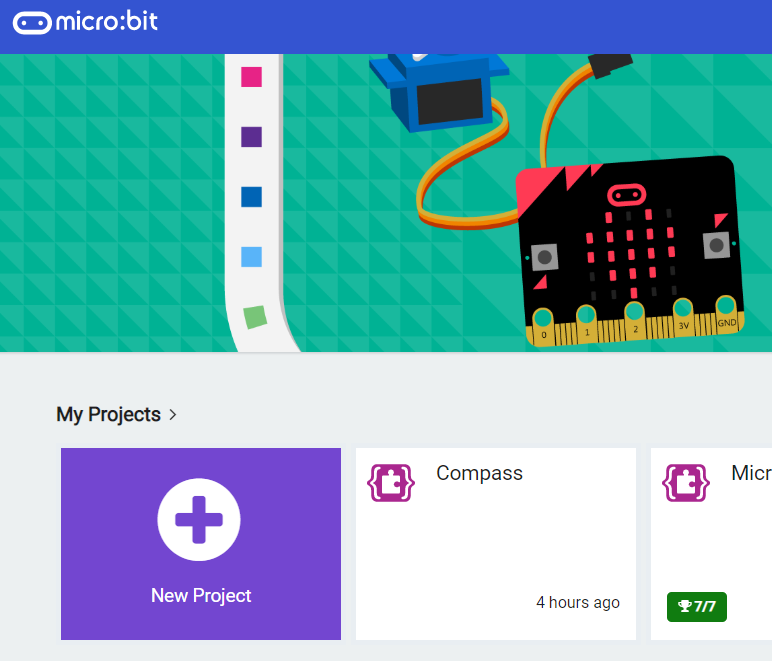
The makecode.microbit.org/ website is a website provided by Microsoft that lets you create code for different devices such as the Microbit. Open the website and start a new Microbit project.
Go to the Makecode.com Microbit website using the link below and click on the 'New Project' button underneath the 'My Projects' heading.
https://makecode.microbit.org/
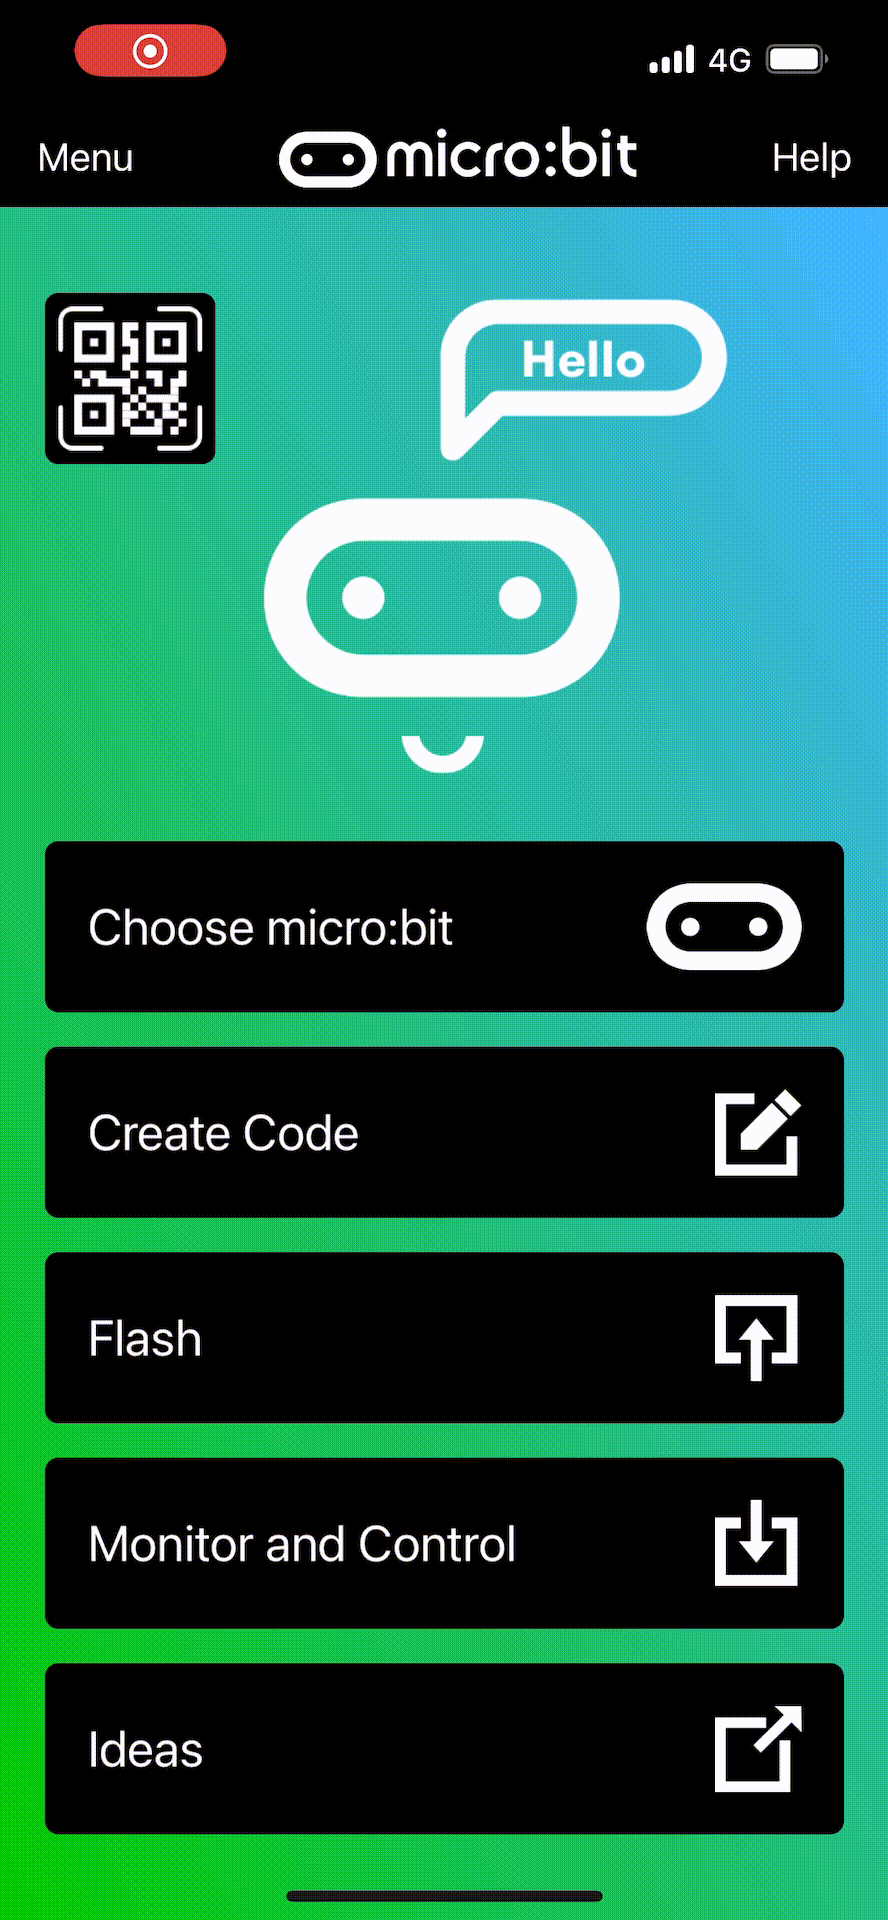
Install the micro:bit app on your iPad or tablet.
Open the app, tap 'Create code' and then create a new project.
When you create a new project you will be brought to the project editor, which is what we use to create our Microbit programs. The editor has 3 main areas:
- Microbit Simulator - this is on the left hand side of the screen and simulates how our program will run on a Microbit when we click the run button.
- Block Palette - this is in the middle of the screen and has code fragments (called "blocks") that can be dragged onto the scripts area. To keep the palette from being too big, it is organized into groups of blocks: Basic, Input, Music, Led, Radio, Loops, Logic, Variables, Math and Advanced.
- Scripts Area - this is on the right hand side of the screen and is where we drag the blocks to create our code and programs.
The blocks 'on start' and 'forever' will appear in the Scripts Area by default for new projects.


Join our club 😃
To view the remaining 5 steps and access hundreds of other coding projects please login or create an account.
This lesson is copyright of Coding Ireland. Unauthorised use, copying or distribution is not allowed.