1 - Introduction
The Move Mini comes with a pen slot that will fit a marker such as a sharpie. In this project we're going to put a marker in the slot and code the Move Mini to draw some shapes.
You'll need the following for this project:
- Your Move Mini assembled with your Microbit attached.
- A marker such as a sharpie. You may need to test a few different markers to find one that fits.
- Lots of sheets of paper. The larger the sheets the more room you have to draw!

2 - Create a new Microbit project
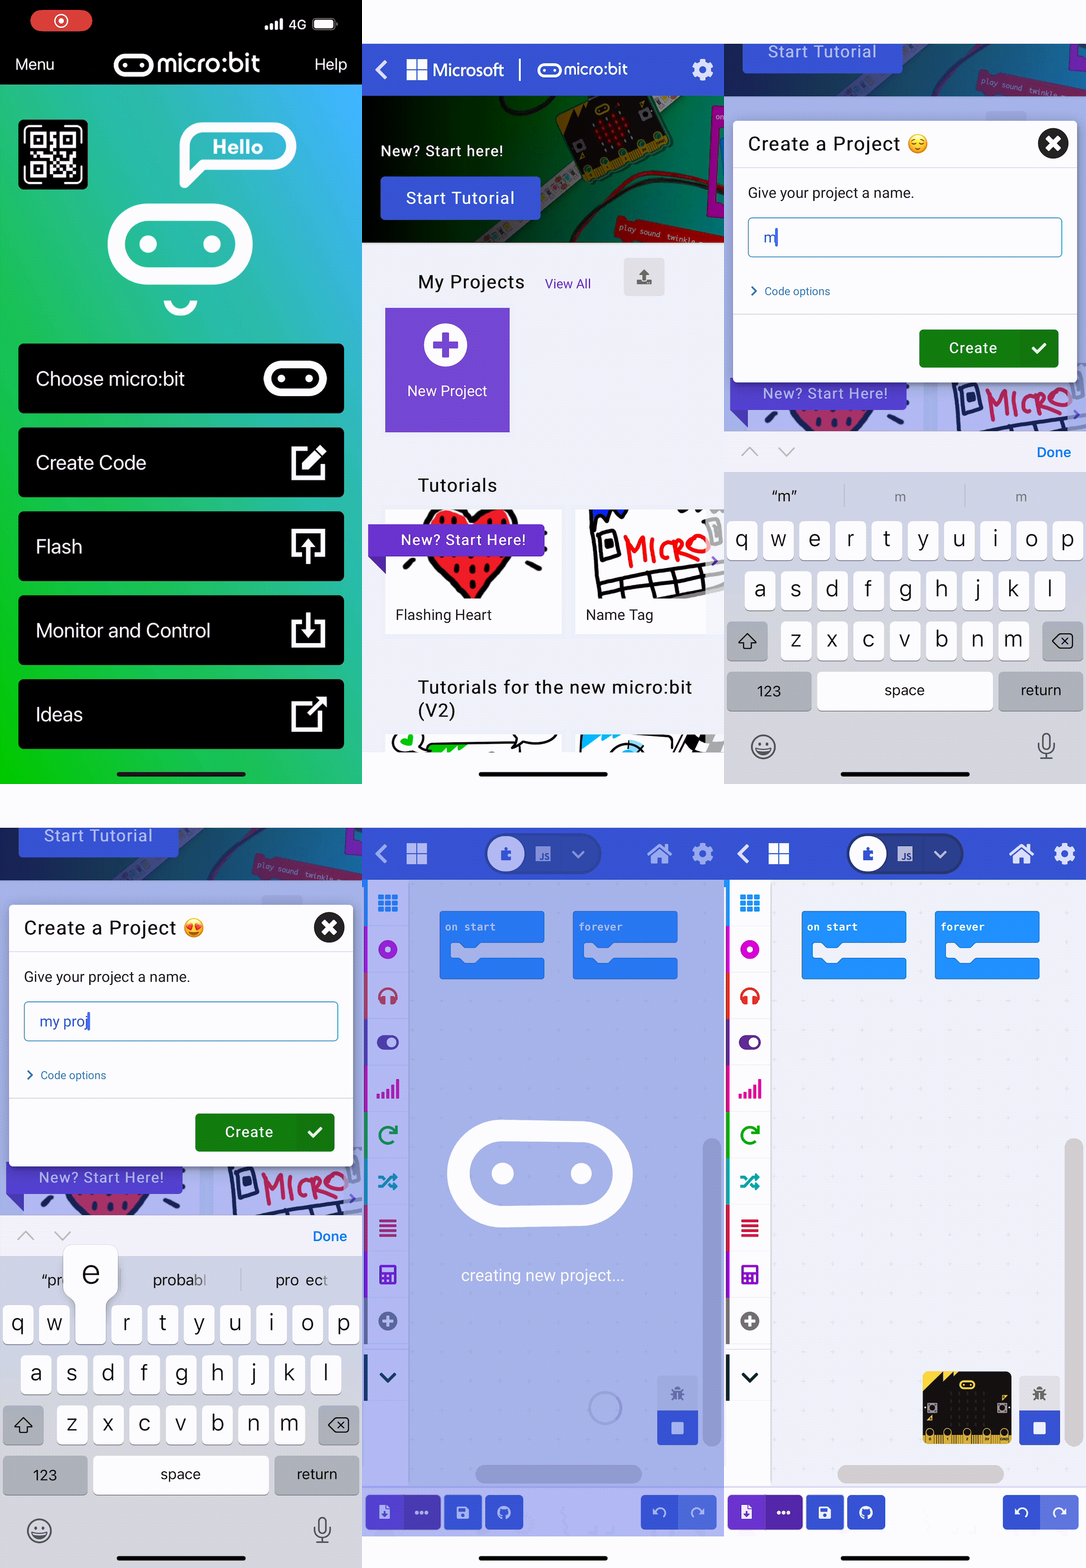
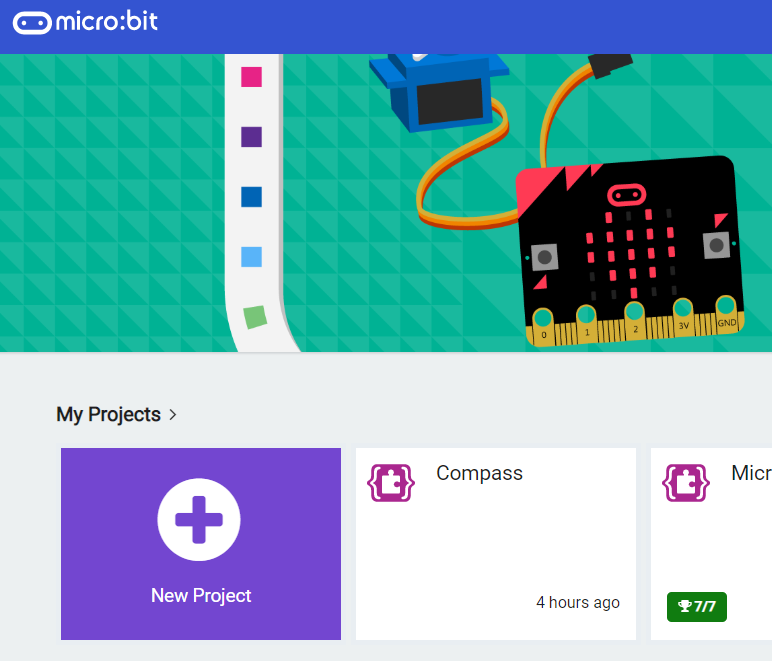
Go to the makecode.microbit.org website and create a new project.
Go to the Makecode.com Microbit website using the link below and click on the 'New Project' button underneath the 'My Projects' heading.
https://makecode.microbit.org/
Install the micro:bit app on your iPad or tablet.
Open the app, tap 'Create code' and then create a new project.

3 - Program a circle
The Move Mini has 2 servos that each control the a wheel. We can program the speed and direction of these to move the wheels independently.
To draw a circle we will make one wheel to move faster than the other and that will make the Move Mini move in a circle.
Add the following code to your project.
input.onButtonPressed(Button.A, function () {
    pins.servoWritePin(AnalogPin.P0, 0)
    pins.servoWritePin(AnalogPin.P2, 120)
})
4 - Draw the circle
Now let's test to see if it works.
- Download and send the code to your Microbit in the Move Mini.
- Unplug the USB cable.
- Put in the marker.
- Place your Move Mini on your sheet of paper.
- Turn your Move Mini on.
- Press the A button and your Move Mini should drive in a circle while the pen draws.
5 - Add the kitronik-servo-lite extension
Now let's try and draw a square, for this shape we're going to use the custom blocks for Kitronik servos.
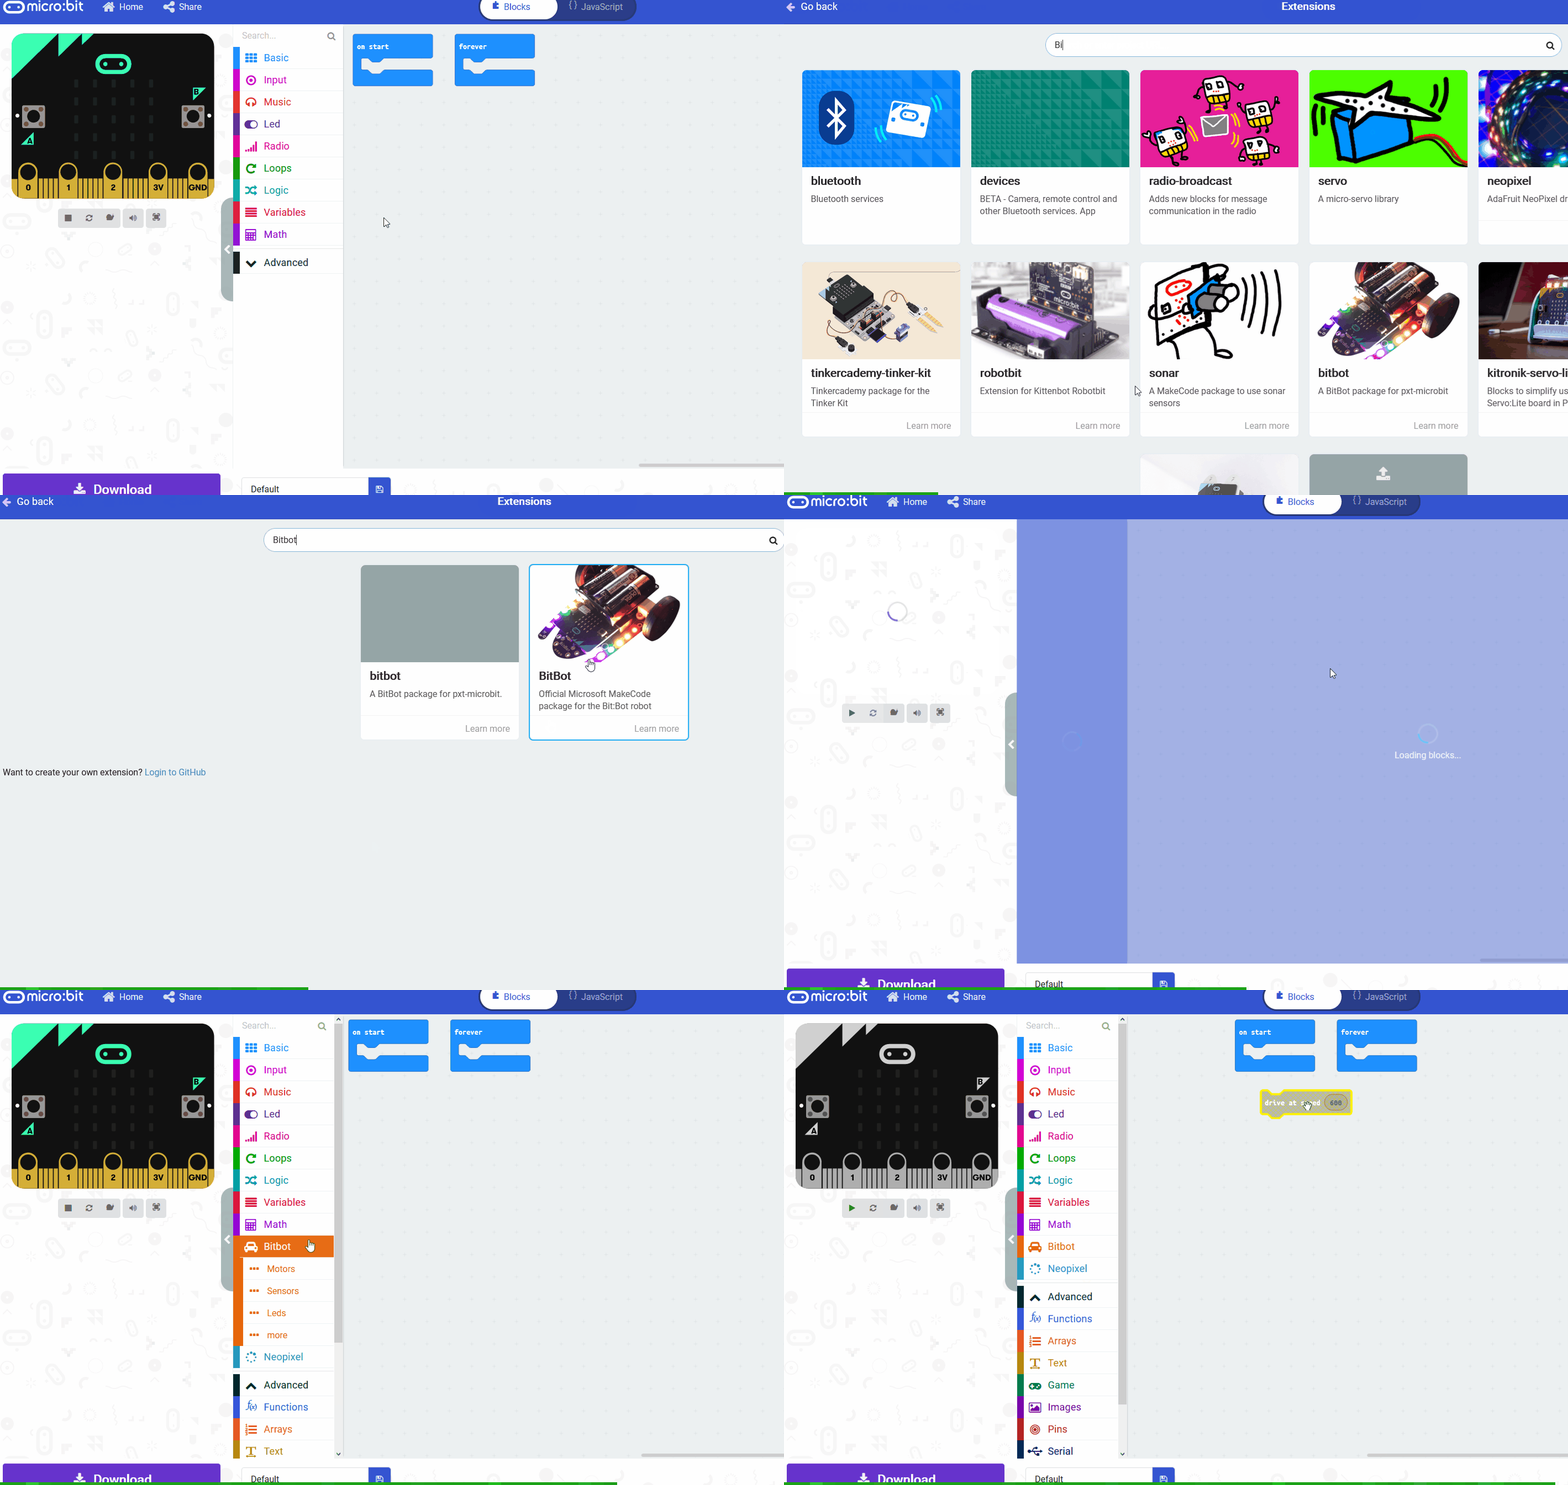
Add the kitronik-servo-lite extension to your project. This extension has pre-programmed blocks that are easy to use for programming the Move Mini to move, turn and do different things.
To add an extension follow these steps:
- Click on 'Advanced' in the toolbox
- Click 'Extensions'
- Type the name of the extension in the search box
- Click on the extension in the search results
- The extension and all it's blocks will be added to your toolbox


This lesson is copyright of Coding Ireland. Unauthorised use, copying or distribution is not allowed.

