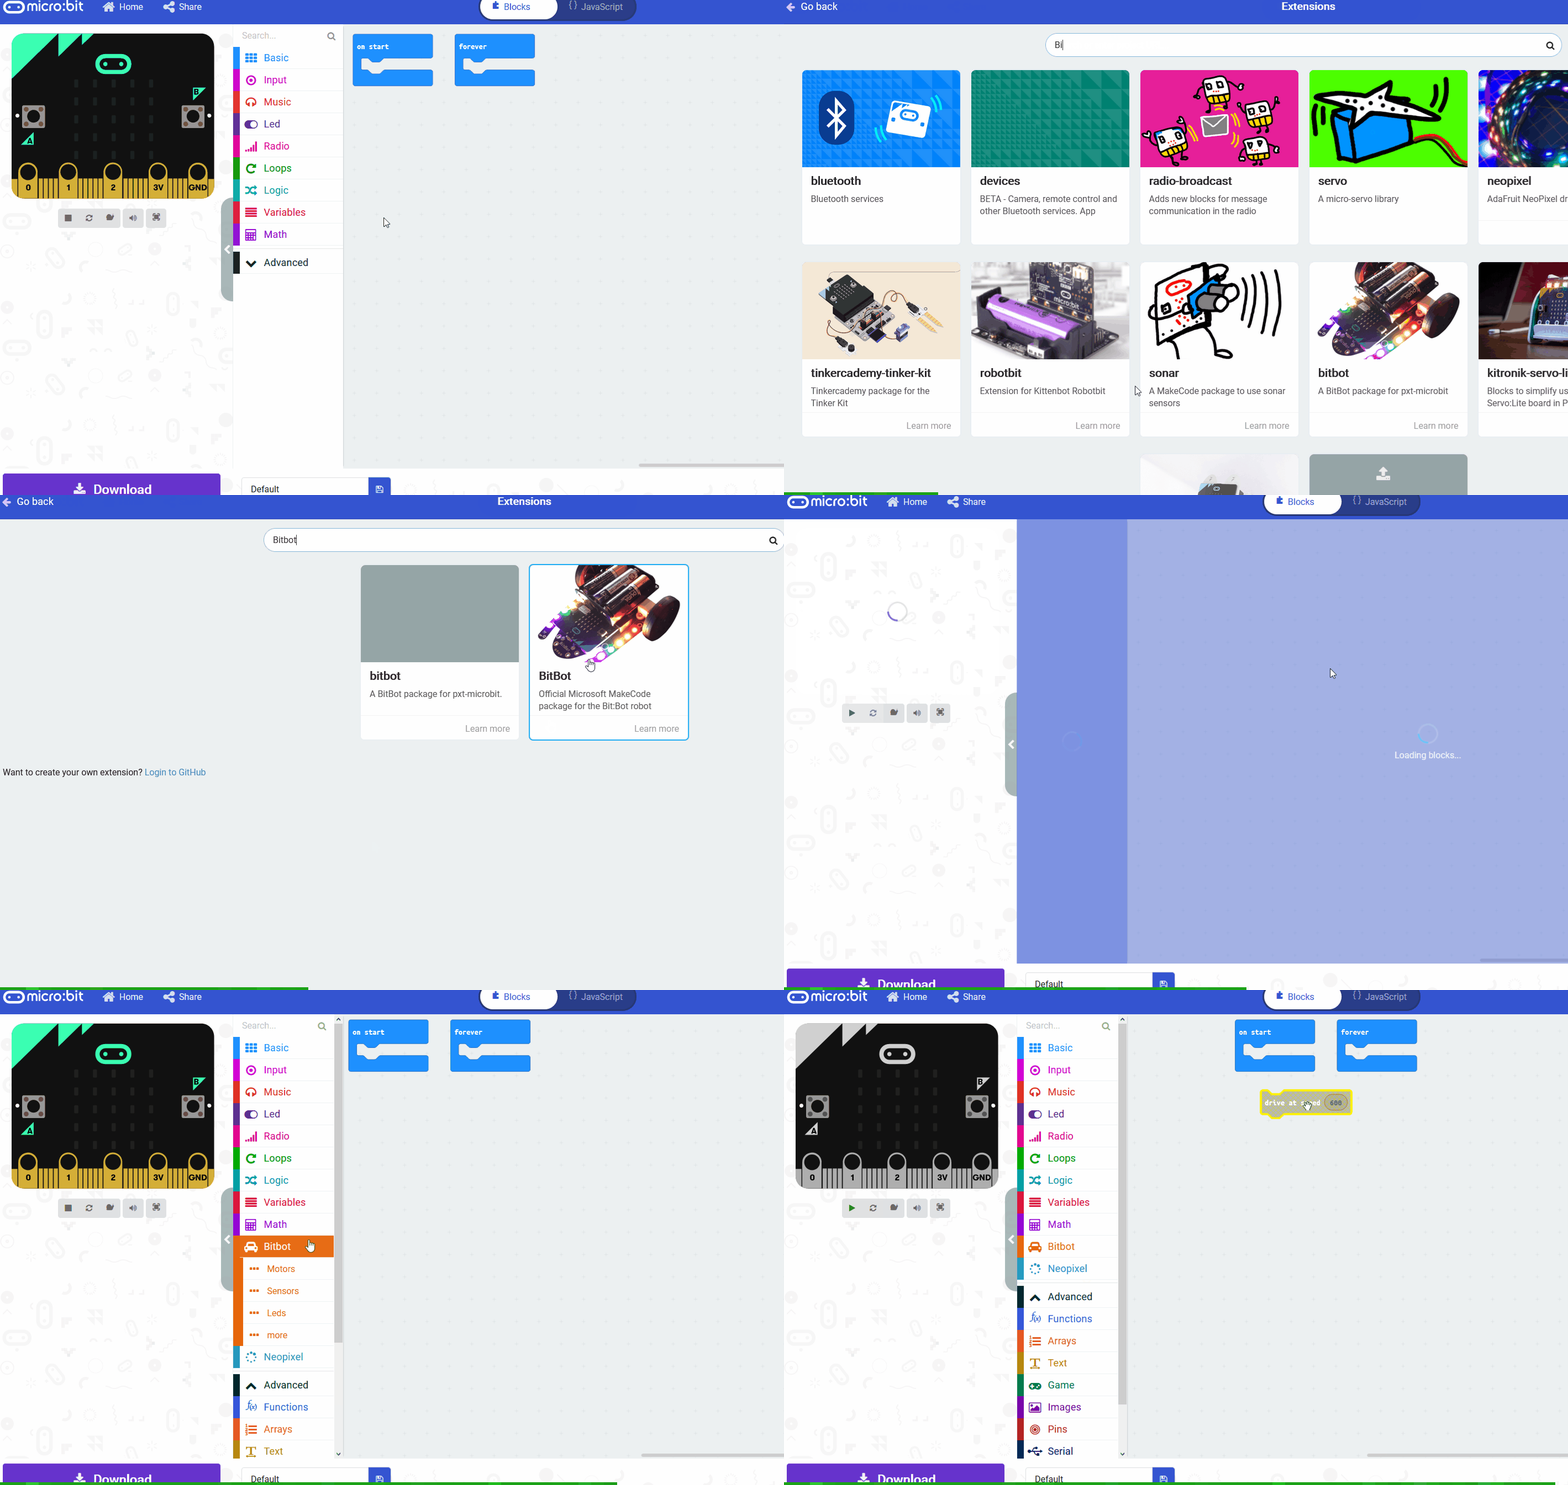
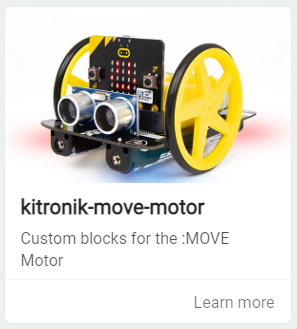
Go to the https://makecode.microbit.org/ website, create a new project and add the kitronik-move-motor extension.
To add an extension follow these steps:
- Click on 'Advanced' in the toolbox
- Click 'Extensions'
- Type the name of the extension in the search box
- Click on the extension in the search results
- The extension and all it's blocks will be added to your toolbox
First let's check how straight your Move Motor car drives before we make any adjustments.
Add the following code to make it drive in a straight line.
Download the code onto the Microbit in your Move Motor car and then turn it on to observe how straight it drives.
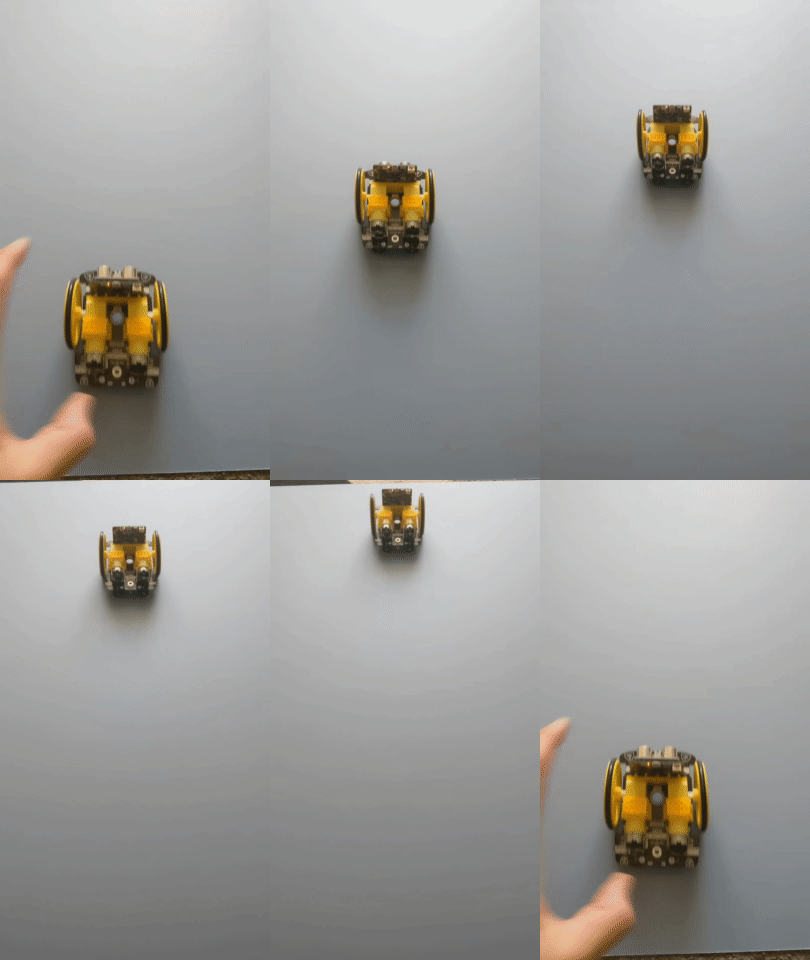
You will see in the example with this step that this one moves slightly to the right.

To adjust the motors, add a bias to [Left] by (0) block inside the forever block above the move [Forward] at speed (50) block. This block will "bias" the motors by a certain amount to either the left or right, depending on what you set it to.
If your Move Motor car turned more to the left in your test then set it to bias to [Right] by (0) otherwise leave it as bias to [Left] by (0). In our example the car moved to the right so we will leave it as bias to [Left] by (0)
In the next step we will set the value of how much bias to apply.
The bias value in the bias to [Left] by (0) block can be a number from 0 to 10. We could enter a number, download the code to our Microbit, test it, change the number, download it again, test it again and so on but a better way would be to create a variable to use and then adjust the variable up and down using the A and B buttons.
Create a variable called biasValue and add the following code to:
- Use the biasValue variable in the bias to [Left] by (0) block.
- Add 1 to the biasValue when you press the B button.
- Subtract 1 from the biasValue when you press the A button.
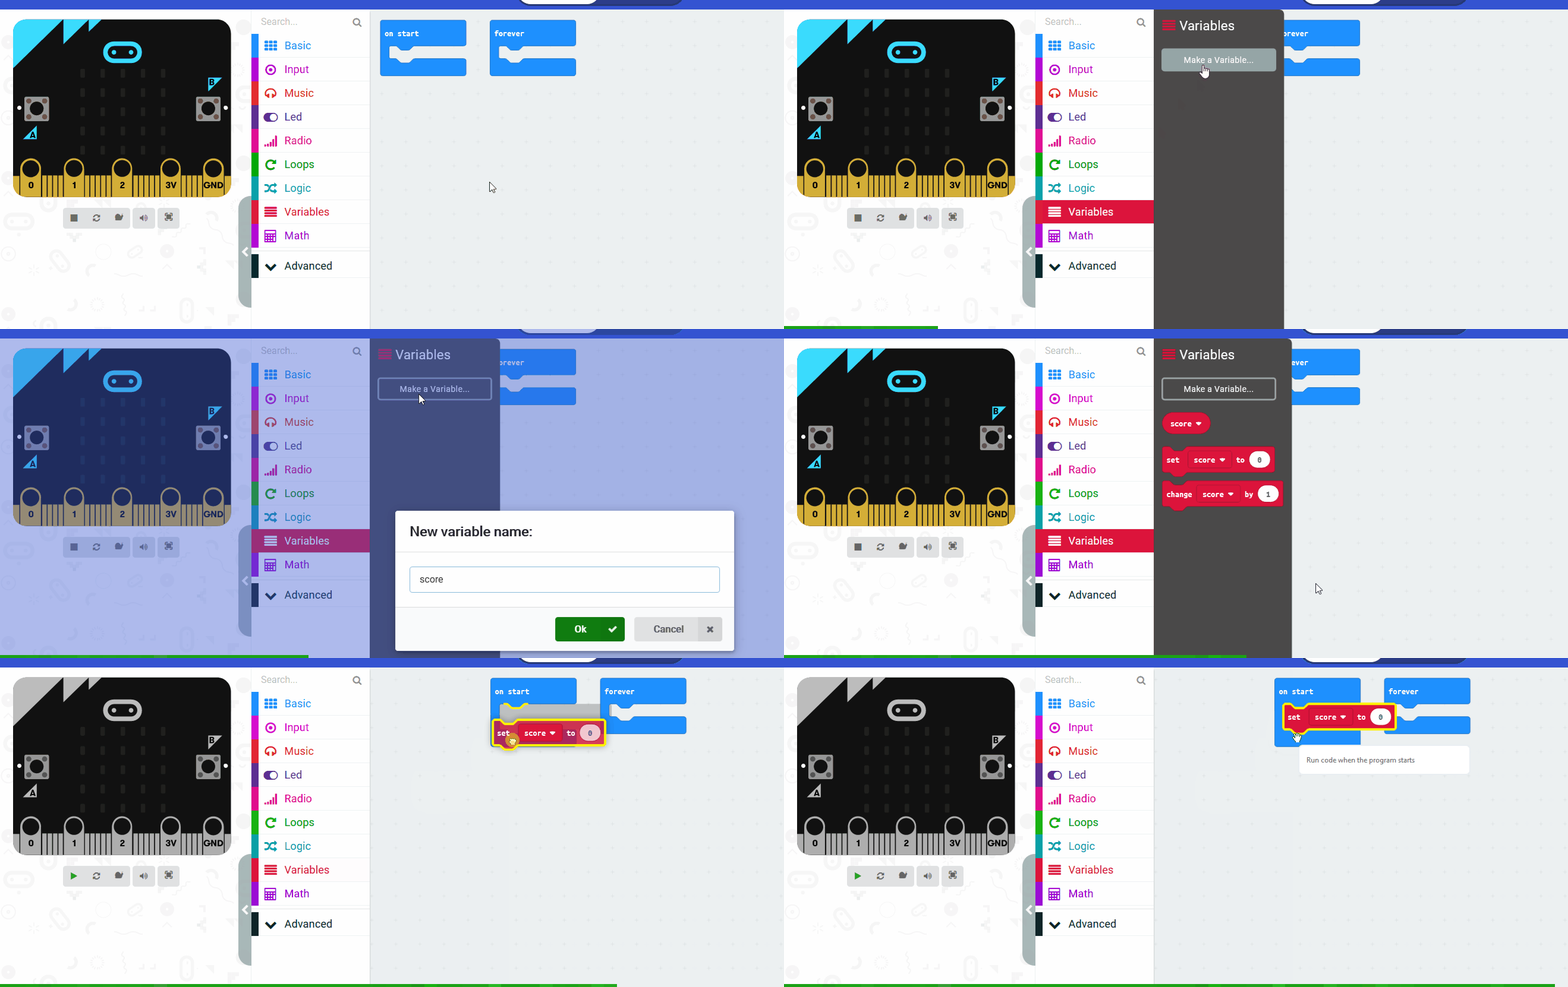
In the Variables toolbox, create a new variable by clicking the 'Make a Variable' button.
Once you click this button a box will appear asking what you want to call your variable. Give it a name that reminds you what you will be using it for. For example, if you wanted to keep track of your score in a game, you would create a variable called 'score'.
Download the code onto your Microbit and try testing it again. This time try pressing the A or B button to adjust the bias value and make the car go in a straight line.
This lesson is copyright of Coding Ireland. Unauthorised use, copying or distribution is not allowed.
