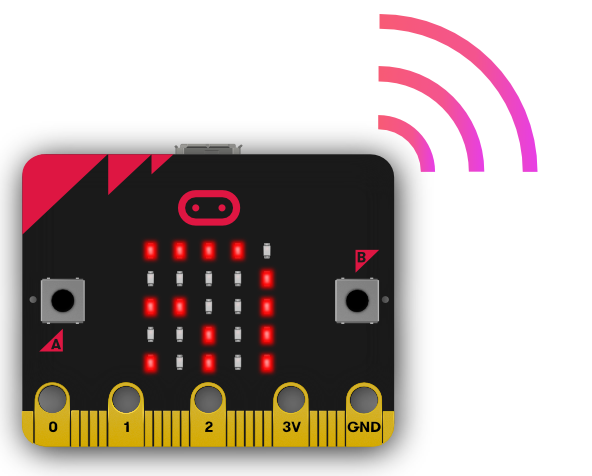
Microbits have a radio transceiver built into them. A transceiver is an electronic device which is a combination of a radio transmitter and a receiver, hence the name. It can both send and receive radio waves using an antenna, for communication purposes.
For this project you will need 2 Microbits so you can send and receive messages.

Go to the https://makecode.microbit.org website and create a new project.
The first thing we need to do is set the radio group that our Micorbits will be broadcasting on. A radio group is the channel that the Microbit both sends it's messages and listens for other messages. A Microbit can only send or receive in one group at a time.
A Microbit that is on radio group 2 will not be able to receive a message from another Microbit that is on radio group 3. However if they are both on radio group 3 then then we can communicate with each other.
Add the following code to set the radio group to 1.
radio.setGroup(1)
We can send different types of messages, we can send:
- A string (text) message.
- A number message.
- A name and value message.
Let's start off my sending a string message. Add the following code to send the message "Hello" when you press the A button.
input.onButtonPressed(Button.A, function () {
    radio.sendString("Hello")
})
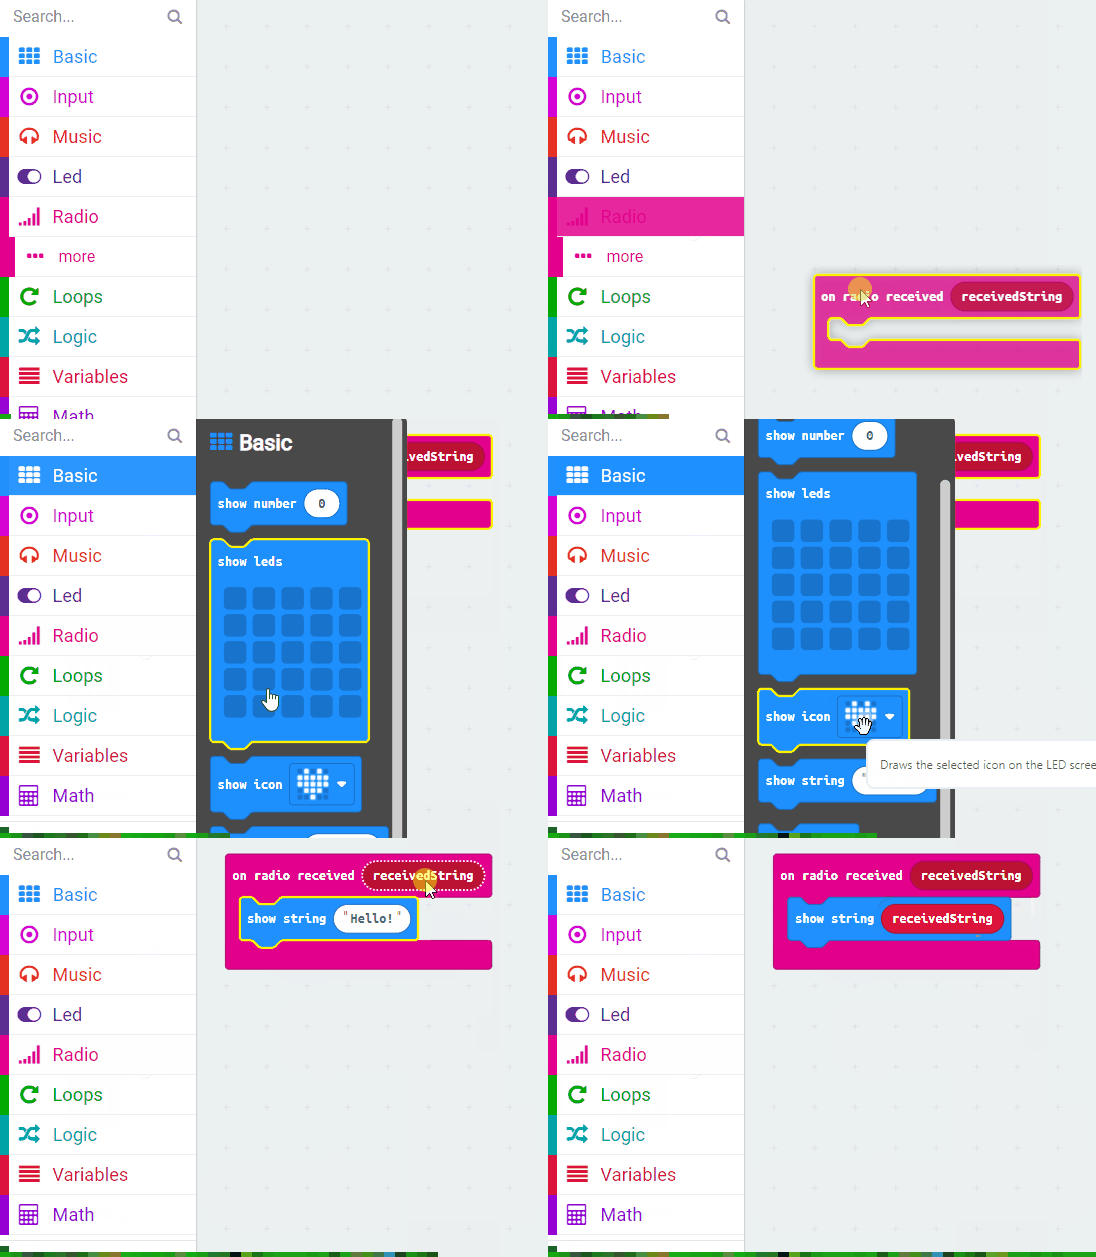
We are going to be putting the same code on both the Microbits so we will also add the code to receive the string message and then display it.
Add the following code.
radio.onReceivedString(function (receivedString) {
    basic.showString(receivedString)
})
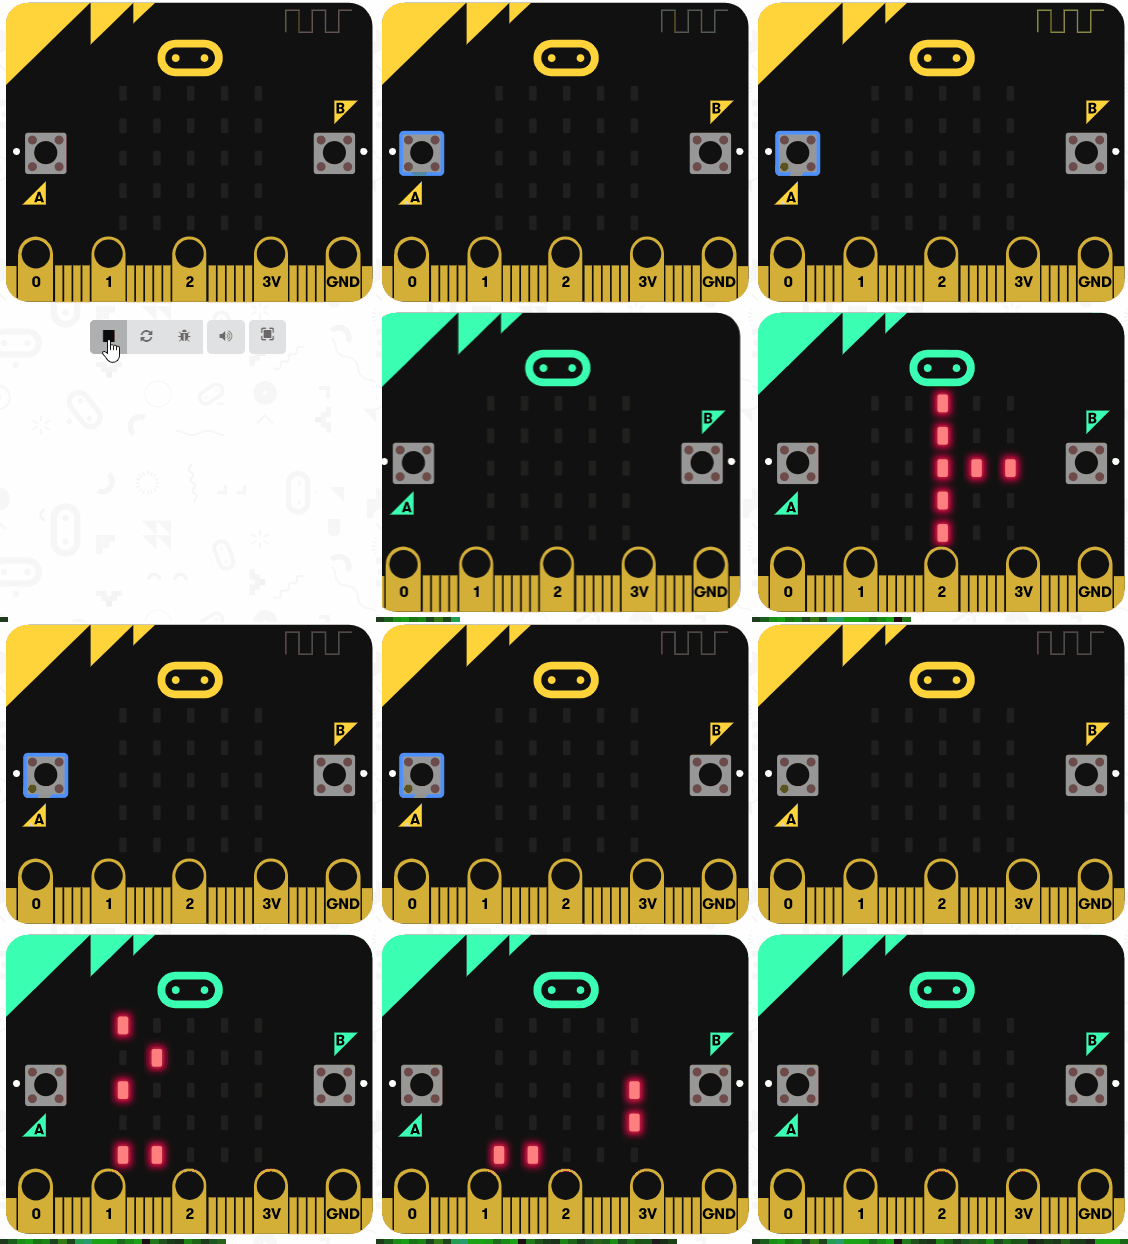
Run your code in the simulator and you will notice that a second Microbit appears in the simulator.
Download your code onto both of your Microbits and test that it works by pressing the A button on either of them. When you do the other Microbit should show the message.


This lesson is copyright of Coding Ireland. Unauthorised use, copying or distribution is not allowed.
