The aim of this project is to use the sonar sensor on the front of the Move Motor car to measure distances and to send the measurement to another Microbit where it can be read.
You will need the following for this project:
- 2 Microbits (1 that goes in the car and 1 for reading the measurement).
- A Move Motor car.

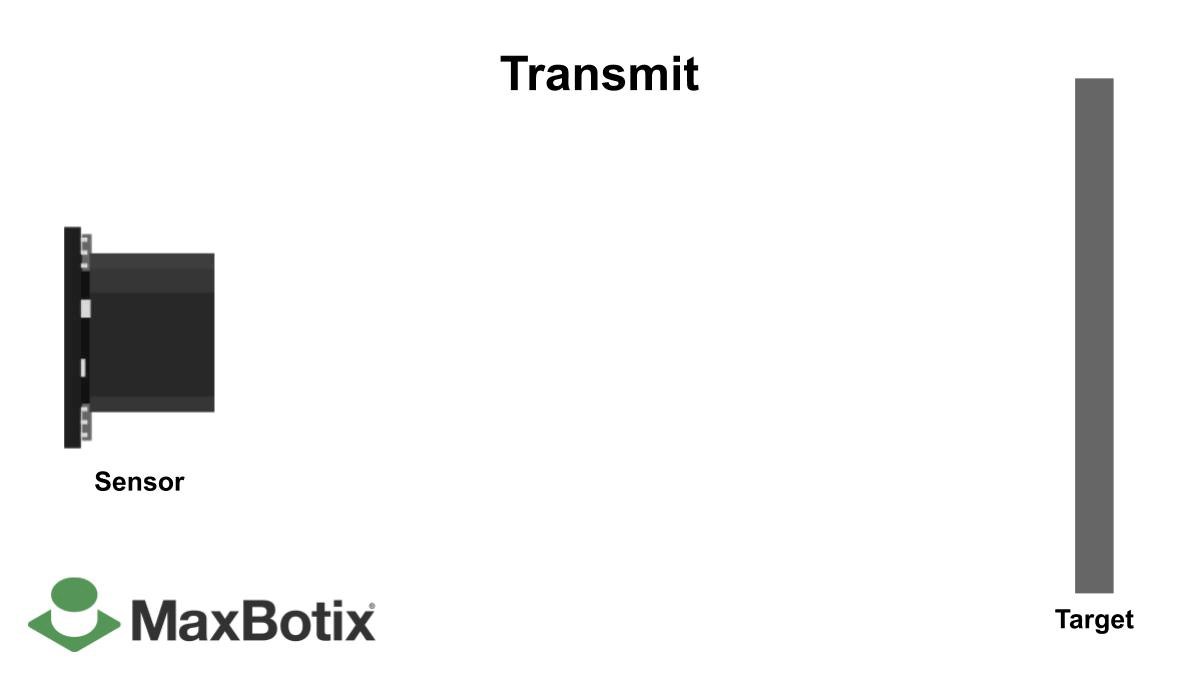
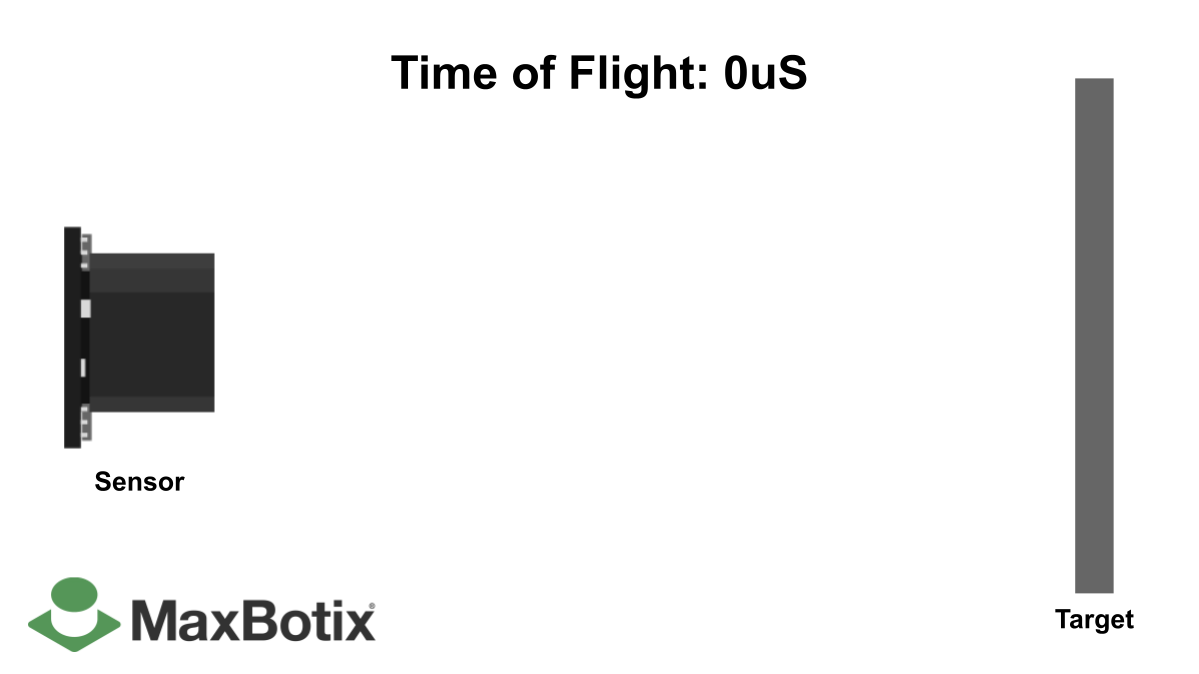
The Move Motor car has and ultrasonic sensor at the front of it.
What is an ultrasonic sensor?
An ultrasonic sensor is an instrument that measures the distance to an object using ultrasonic sound waves. An ultrasonic sensor uses a transducer to send and receive ultrasonic pulses that relay back information about an object’s proximity. High-frequency sound waves reflect from boundaries to produce distinct echo patterns.
How Ultrasonic Sensors Work
Ultrasonic sensors work by sending out a sound wave at a frequency above the range of human hearing. The transducer of the sensor acts as a microphone to receive and send the ultrasonic sound. The sensor determines the distance to a target by measuring time lapses between the sending and receiving of the ultrasonic pulse.
Source: MaxBotix

We will need to create 2 code projects:
- for the Microbit that will be inside the car.
- and another for the Microbit that will be display the measurement.
Let's create the code for the Microbit inside the Move Motor car first. Go to the https://makecode.microbit.org website and create a new project. Call it "Measure - Car" or something that let's you know that it's the project for the Microbit in the car.
Once you've created the new project, add the following code to set the radio group to 1. We will do the same later on the for the other Microbit project.
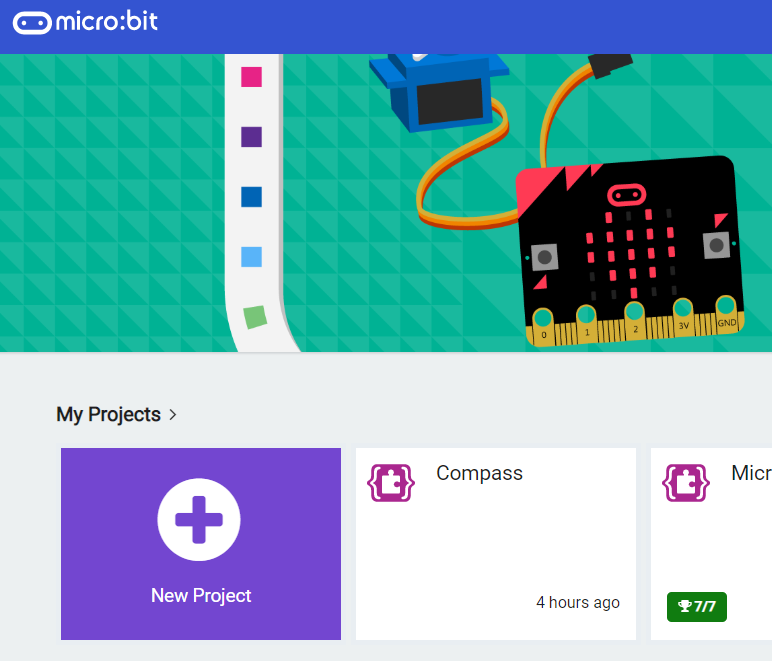
Go to the Makecode.com Microbit website using the link below and click on the 'New Project' button underneath the 'My Projects' heading.
https://makecode.microbit.org/
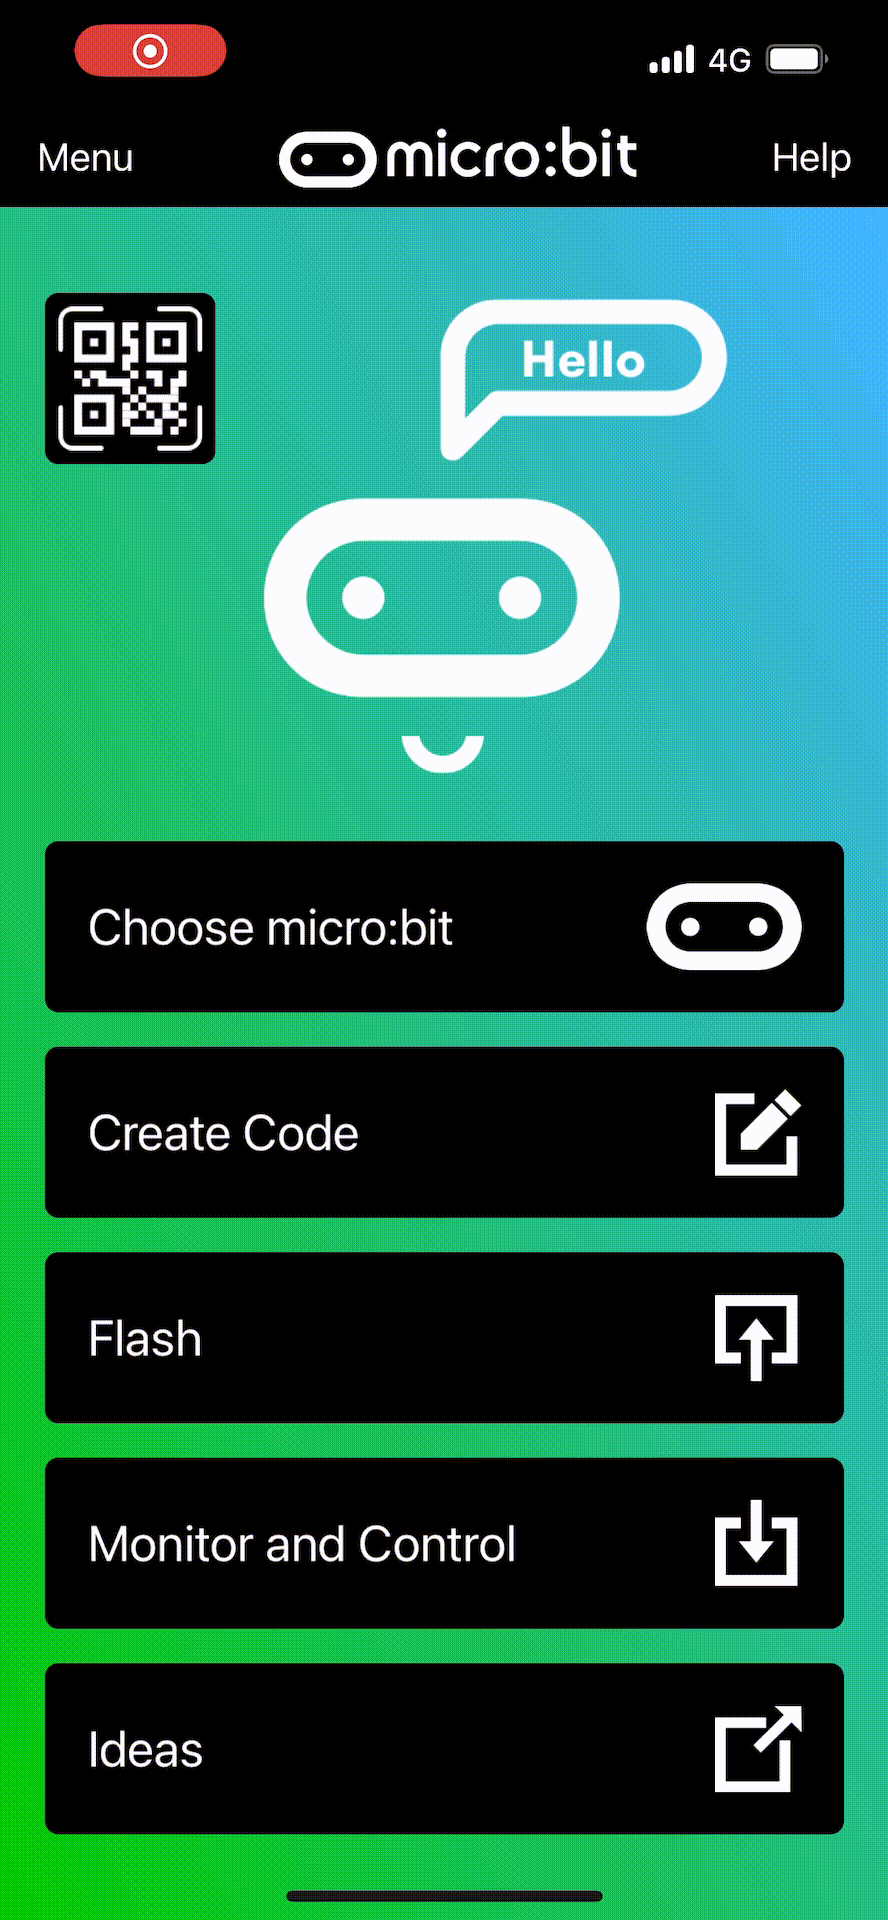
Install the micro:bit app on your iPad or tablet.
Open the app, tap 'Create code' and then create a new project.
We need to add the following 2 extensions to this project:
- kitronik-move-motor
- radio-broadcast
Add the 2 extensions to your project.
To add an extension follow these steps:
- Click on 'Advanced' in the toolbox
- Click 'Extensions'
- Type the name of the extension in the search box
- Click on the extension in the search results
- The extension and all it's blocks will be added to your toolbox
Using the sensor we can either measure distances in centimeters (cm) or inches. Add the following code to measure in cm and to set the radio group to 1. We will set the same radio group for the other Microbit project later.

Join our club 😃
To view the remaining 6 steps and access hundreds of other coding projects please login or create an account.
This lesson is copyright of Coding Ireland. Unauthorised use, copying or distribution is not allowed.