- 1 Introduction
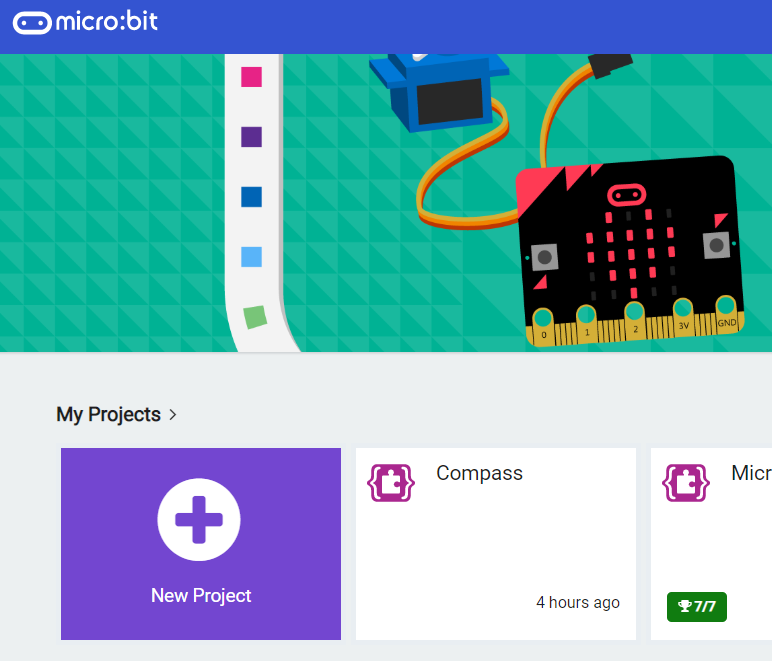
- 2 Create a new Microbit project
- 3 Add the neopixel extension
- 4 Setup the LED Strip
- 5 Create some variables
- 6 Setup the level
- 7 Create a refresh function
- 8 Make the blue light move
- 9 Go back to the start
- 10 Hit the target
- 11 Miss the target (game over)
- 12 Download your code and play the game
In this game one LED in the middle of your strip will light up yellow and another will light up blue and go back and forth along the length of the LED strip. The aim of the game is to press the A button when the moving blue LED passes over the yellow LED in the middle.
Each time you get it right the moving blue light will go a bit faster making the game more challenging.
If you press the A button when the moving blue light is not over the yellow LED then it's game over!
To get started create a new Microbit project.
Go to the Makecode.com Microbit website using the link below and click on the 'New Project' button underneath the 'My Projects' heading.
https://makecode.microbit.org/
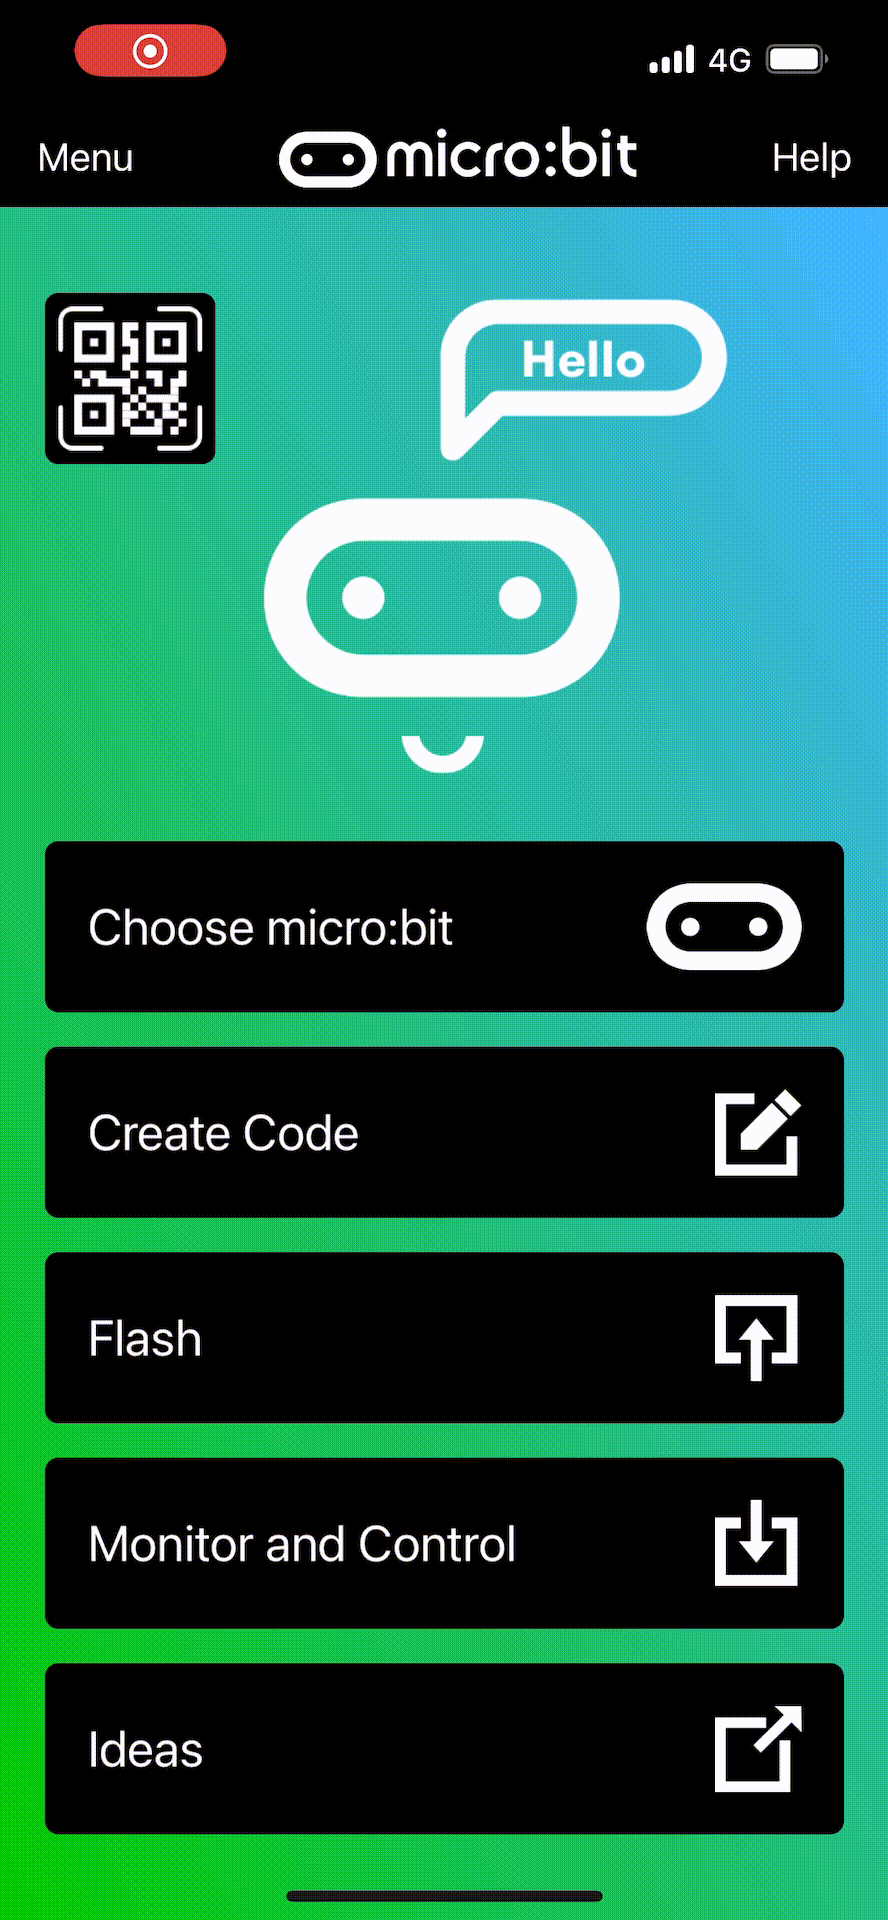
Install the micro:bit app on your iPad or tablet.
Open the app, tap 'Create code' and then create a new project.
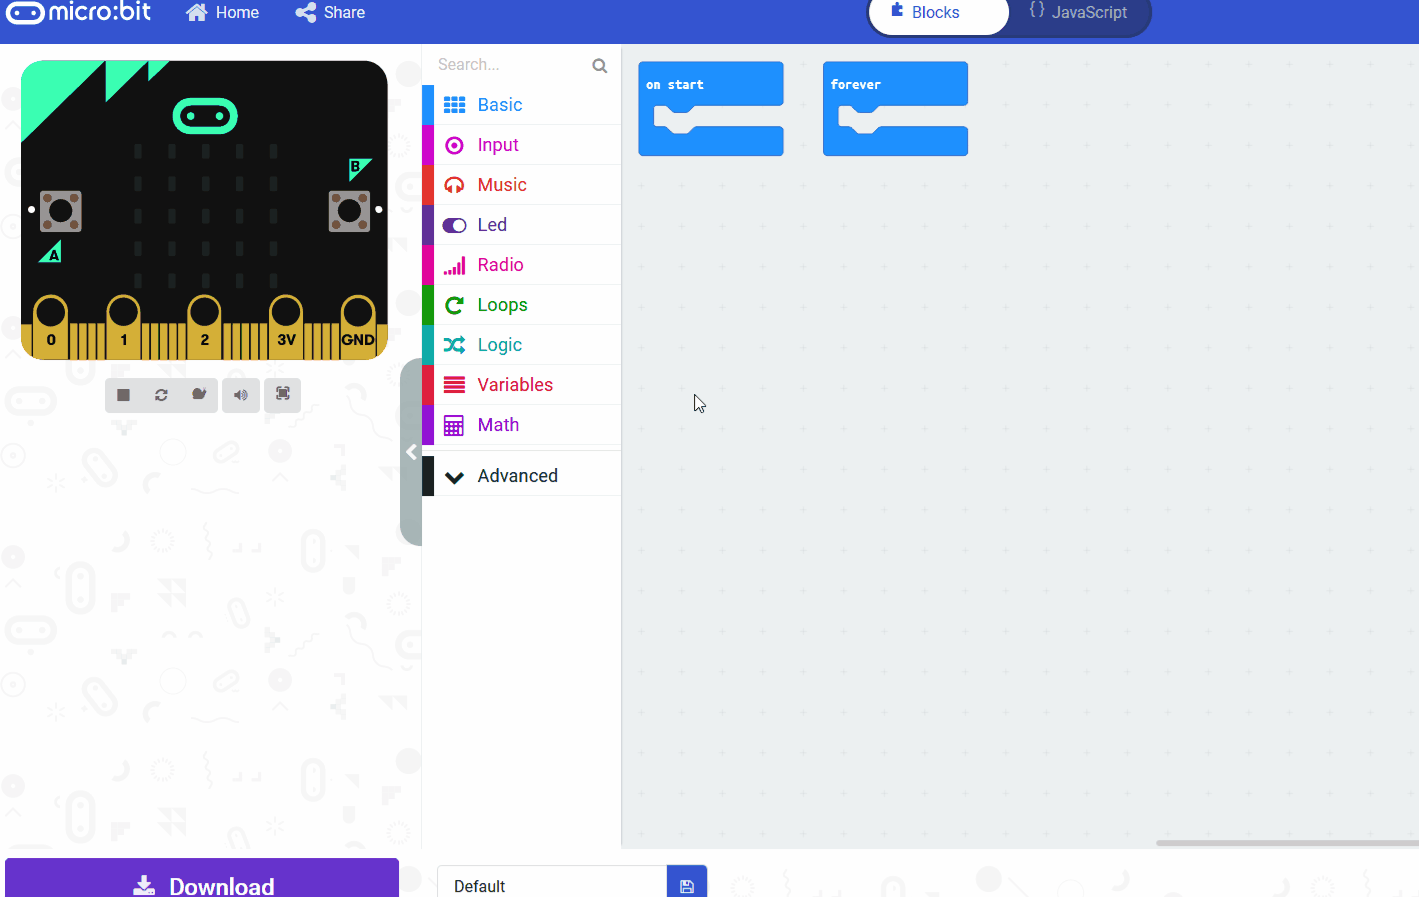
To access the blocks we need to program the LED strip, you need to add the neopixel extension to your project.
To add an extension follow these steps:
- Click on 'Advanced' in the toolbox
- Click 'Extensions'
- Type the name of the extension in the search box
- Click on the extension in the search results
- The extension and all it's blocks will be added to your toolbox
To be able to interact and program the LED strip we will need a variable that stores the strip.
Add the following code to your project. We set the value to be 30 as there are 30 LEDs on the strip.
We will need 4 variables to store different values in this project. Create the following 4 new variables:
- 'target' this will be store the position of the yellow target LED light.
- 'position' this will store the current position of the moving blue LED light.
- 'delay' this will store the amount of time that the blue LED light delays until it moves to the next position.
- 'increment' this will store the amount of milliseconds that the blue LED light will move faster when you move to the next level.
Set the variables to the following values in the on start block:
- target = 15. This is the middle of the LED strip.
- position = 0. This is the first position on the LED strip.
- delay = 600. This is the amount of milliseconds we will delay for level 1.
- increment = -100. We will subtract 100 from the delay each time you finish a level.
In the Variables toolbox, create a new variable by clicking the 'Make a Variable' button.
Once you click this button a box will appear asking what you want to call your variable. Give it a name that reminds you what you will be using it for. For example, if you wanted to keep track of your score in a game, you would create a variable called 'score'.


Join our club 😃
To view the remaining 7 steps and access hundreds of other coding projects please login or create an account.
This lesson is copyright of Coding Ireland. Unauthorised use, copying or distribution is not allowed.