- 1 Create a new project
- 2 Create a new layer and name it "Background2"
- 3 Choose a color and fill the layer with it
- 4 Create a new layer named "Sketch" and use the Brush tool to draw a sketch of your illustration
- 5 Create a new layer named "Painting" and use the brush tool to paint your artwork on this layer
- 6 Use the eraser tool to clean up any mistakes
- 7 Create a new layer named "Details" and use the brush tool to add details to your artwork
- 8 Use the layer blending modes to experiment with different effects
1 - Create a new project
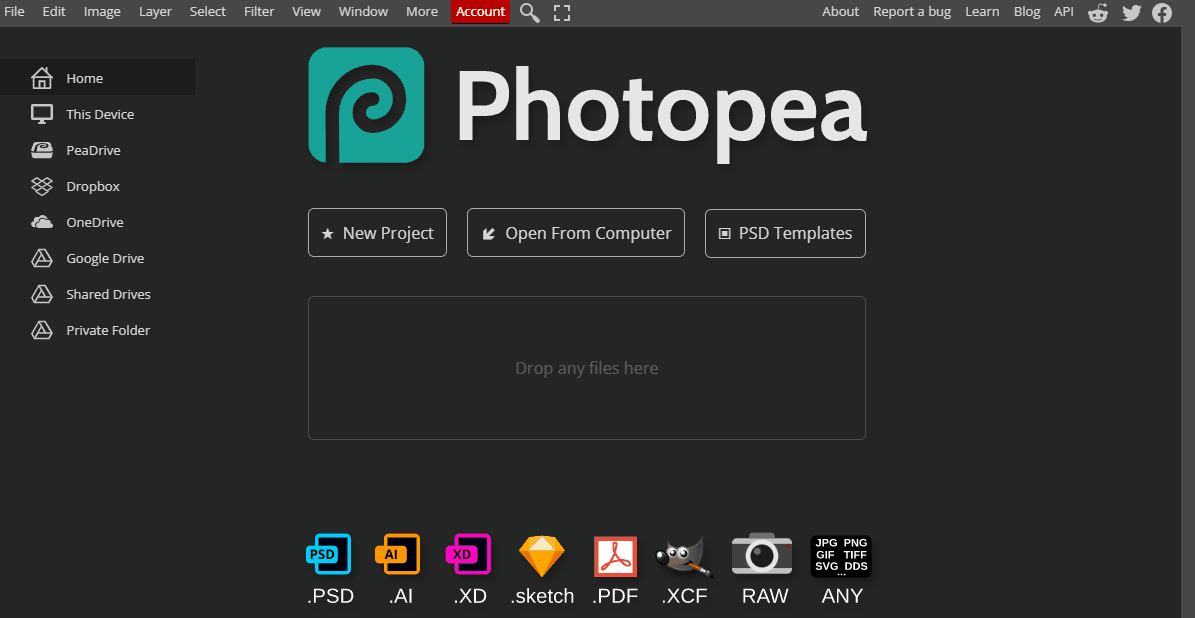
Let's take a look and try out some digital software called Photopea. Open the website photopea.com and create a new project.
To create a new project in Photopea, open the website photopea.com and:
- Click the New Project button
- You can give your project a name and choose what size the image will be.
- Click the "Create" button.
2 - Create a new layer and name it "Background2"
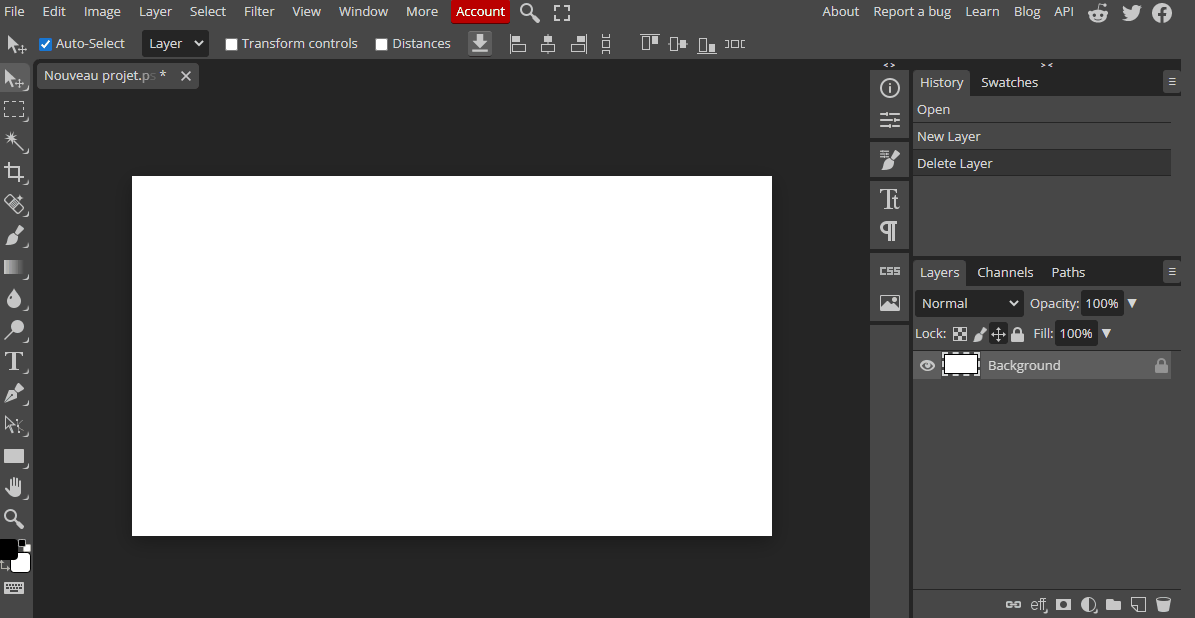
Layering is an essential tool in digital painting that allows you to work on different parts of your artwork without affecting the rest. The first step to layering is creating a new layer and naming it. In this case, we'll create a layer for the background.
To create a new layer :
- Go to the Layers panel on the right side of the screen
- Click on the "New Layer" button. A new layer will appear above the currently selected layer
- Now, name the new layer "Background2" to keep your layers organized.
3 - Choose a color and fill the layer with it
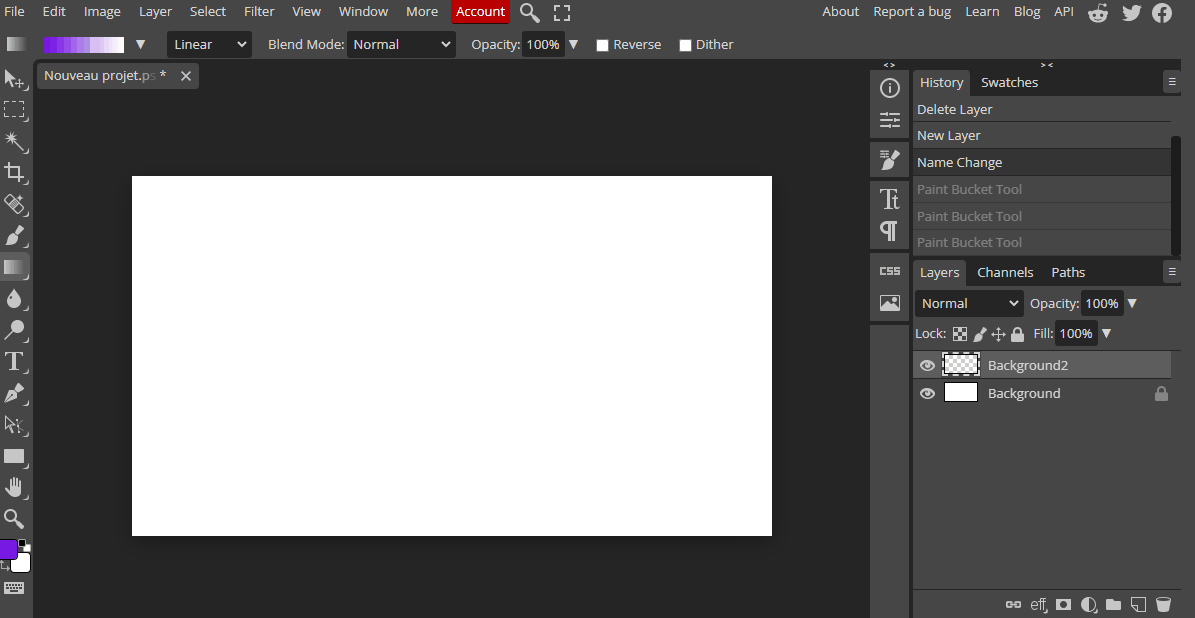
Now that you have created your background layer, it's time to fill it with color. To do this :
- Select the "Paint Bucket" tool from the toolbar on the left side of the screen.
- Choose a color that you want to use for your background by clicking on the foreground color in the toolbar and selecting a color from the color picker.
- Click on the background layer to make it the active layer, then use the "Paint Bucket" tool to fill the layer with the chosen color.
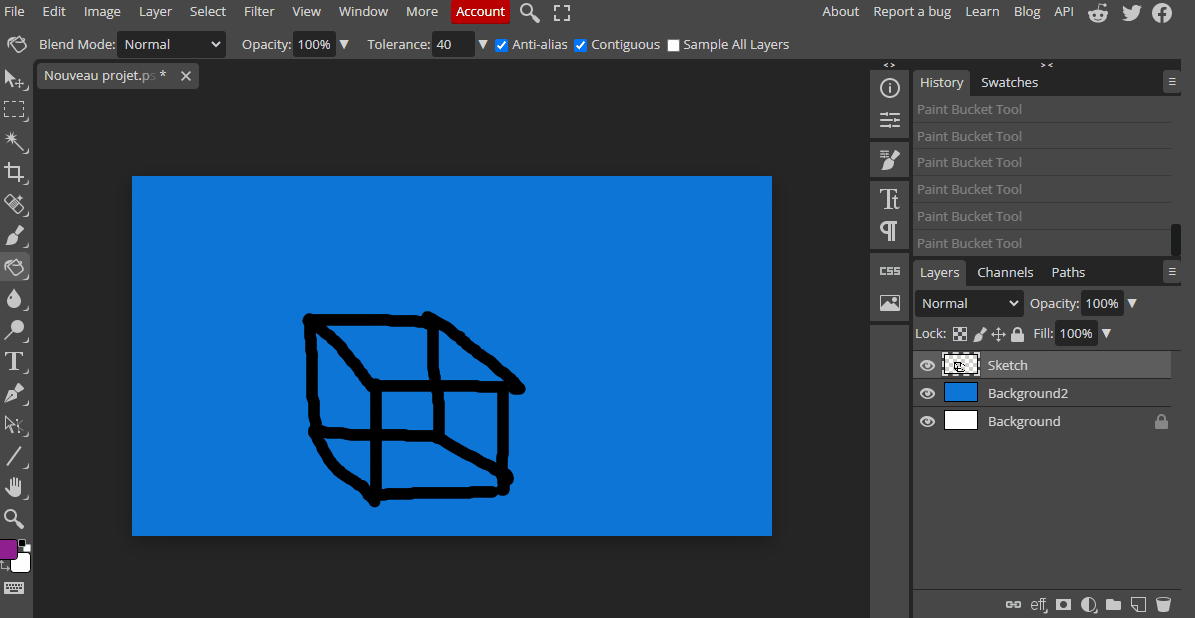
4 - Create a new layer named "Sketch" and use the Brush tool to draw a sketch of your illustration
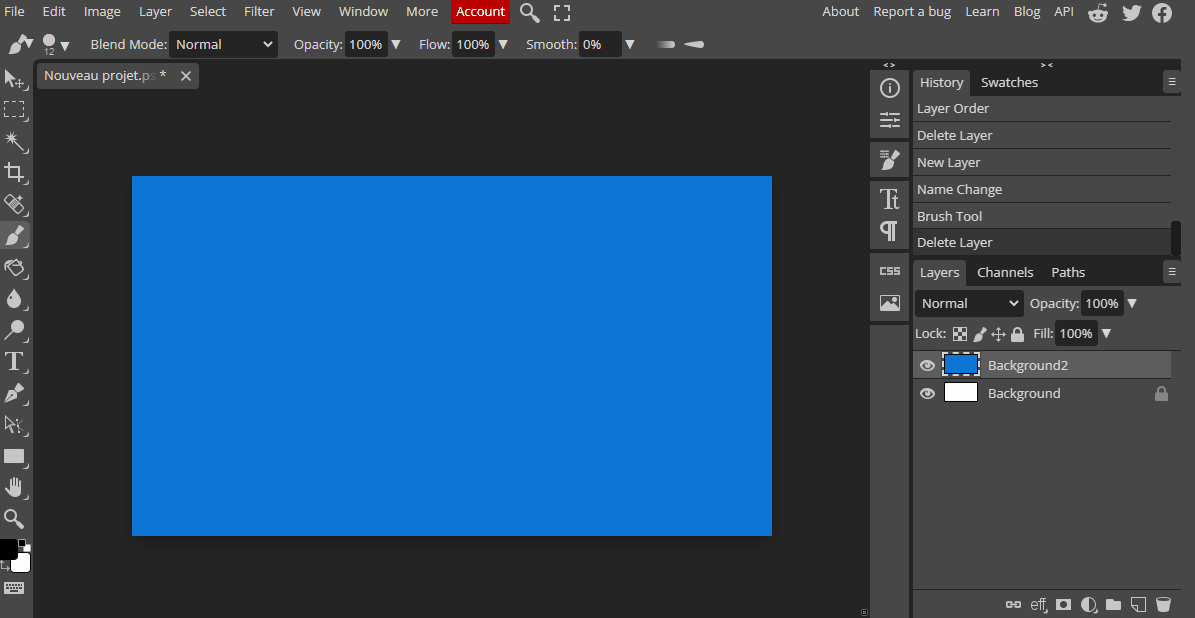
Now that you have your background, it's time to create a layer for your sketch. This layer will contain the approximate outline of your illustration.
Once the "Sketch" layer is created, it's time to use the Brush tool to draw an approximate outline of your illustration. The sketch layer will help you plan the composition of your painting and decide on the placement of different elements.
To begin :
- Select the "Brush" tool from the toolbar and choose a color you want to use for your sketch.
- Adjust the size and opacity of the brush as needed.
- Next, draw the approximate outline of your illustration on the "Sketch" layer. This layer is just a guide, so don't worry about making it perfect at this stage.
Remember that the more details you add to the sketch layer, the easier it will be to paint the final illustration.
5 - Create a new layer named "Painting" and use the brush tool to paint your artwork on this layer
Now that you have your rough sketch in place, it's time to start painting your artwork. To do this, you'll need to create a new layer for the painting.
With your "Painting" layer selected :
- Choose the colors you want to use for your artwork by clicking on the foreground color in the toolbar and selecting a color from the color picker.
- Use the brush tool to paint your artwork on the "Painting" layer. Start with the larger areas of the painting and work your way towards the smaller details.

Join our club 😃
To view the remaining 3 steps and access hundreds of other coding projects please login or create an account.
This lesson is copyright of Coding Ireland. Unauthorised use, copying or distribution is not allowed.