Today, your pupils will become programmers, with a classmate serving as their "robot" or "computer." They'll write a simple program to guide their partner through a grid from a starting point to a final destination, all while avoiding obstacles.
The real goal is to see that there are many ways to solve the same problem and to compare the different algorithms for efficiency.
To set up this activity, you'll need to create a simple grid. You can do this in your school hall using masking tape, in an outdoor space with chalk or hula hoops to mark out your area. Make sure there's enough room for everyone to move around safely.
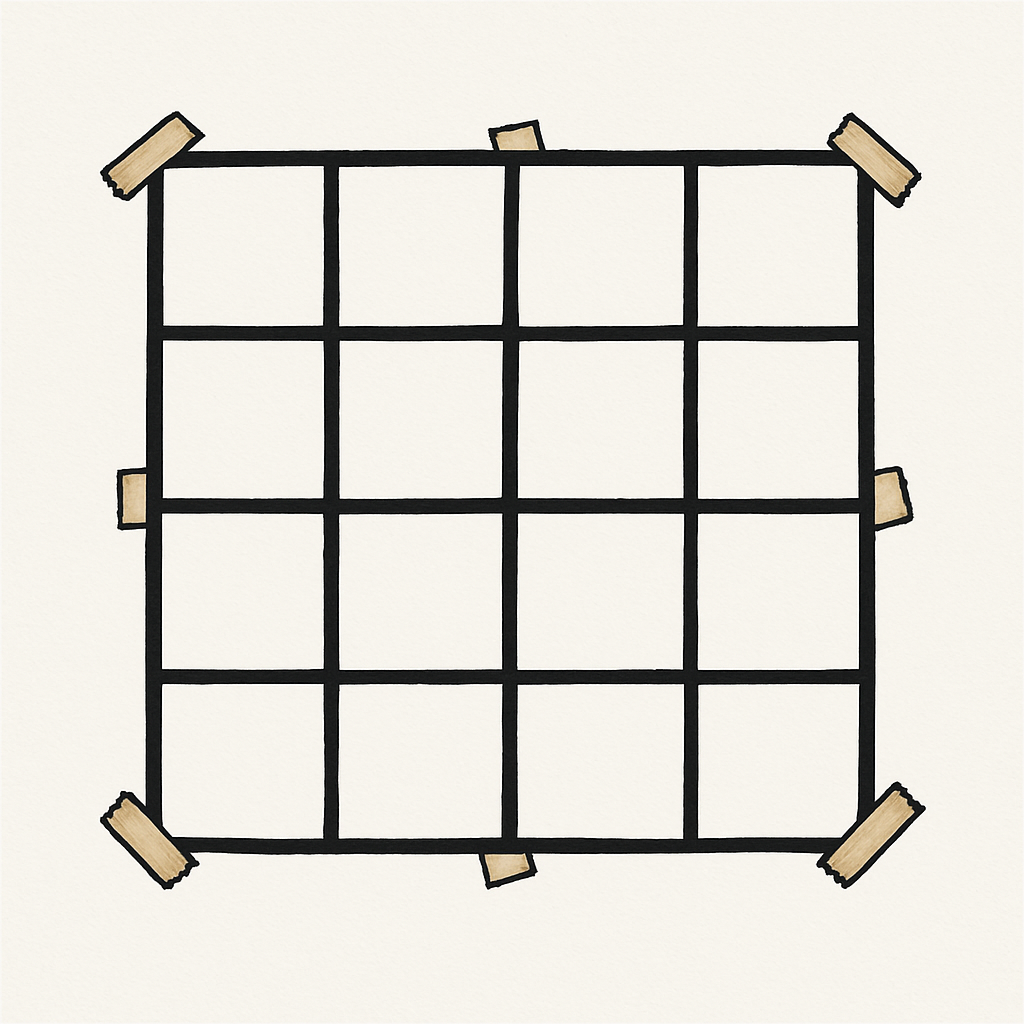
To begin, you’ll need to create the grid that your pupils will navigate. This grid will be the world for your program. Clear a small, open area in the classroom or school hall, or use a space outdoors.
Once you have your space, you can quickly mark out a simple 5x5 grid on the floor. You can use masking tape, or if you're lucky enough to have tiled floors, you can simply use the tiles as your grid squares. Alternatively, you can use chalk or hula hoops if you're working outside.
Now that you have your grid, it’s time to start programming! This activity will help students understand the difference between a vague command and a precise one.
On the board, write down two commands, side by side, and select one student to be the "robot."
Vague: Go over there. → (The robot will wander or guess)
Precise: Step forward 3 squares. Turn right 90°. → (The robot will move exactly)
The student you select as the robot will stand in the grid and follow your instructions exactly. They can't ask questions or make their own decisions; they must only do what you tell them.
First, when you give the vague command, the robot will show what happens when a program doesn't have clear instructions. They might stand still, turn in circles, or wander around, demonstrating that a computer can't guess what you want it to do.
Then, when you give the precise command, the robot will follow your instructions exactly, one by one. This shows the class that a good program, with a clear verb, number, and order, will always produce the correct result. They are acting as a live demonstration of how a computer executes code.
Ask your students: “Why was the second instruction better?” This will help them understand that a computer needs very specific commands to function correctly. Emphasise the three elements that are key to good code:
Clear verb first—Step, Turn, Face, Back, Pause
Number/units—3 squares, 2 steps, 90°
Correct order—one command per line, in the sequence to follow
To help them remember, you can anchor it with a simple checklist on the board: V-N-O = Verb • Number • Order. This is a mini-checklist pupils must use before testing any program.
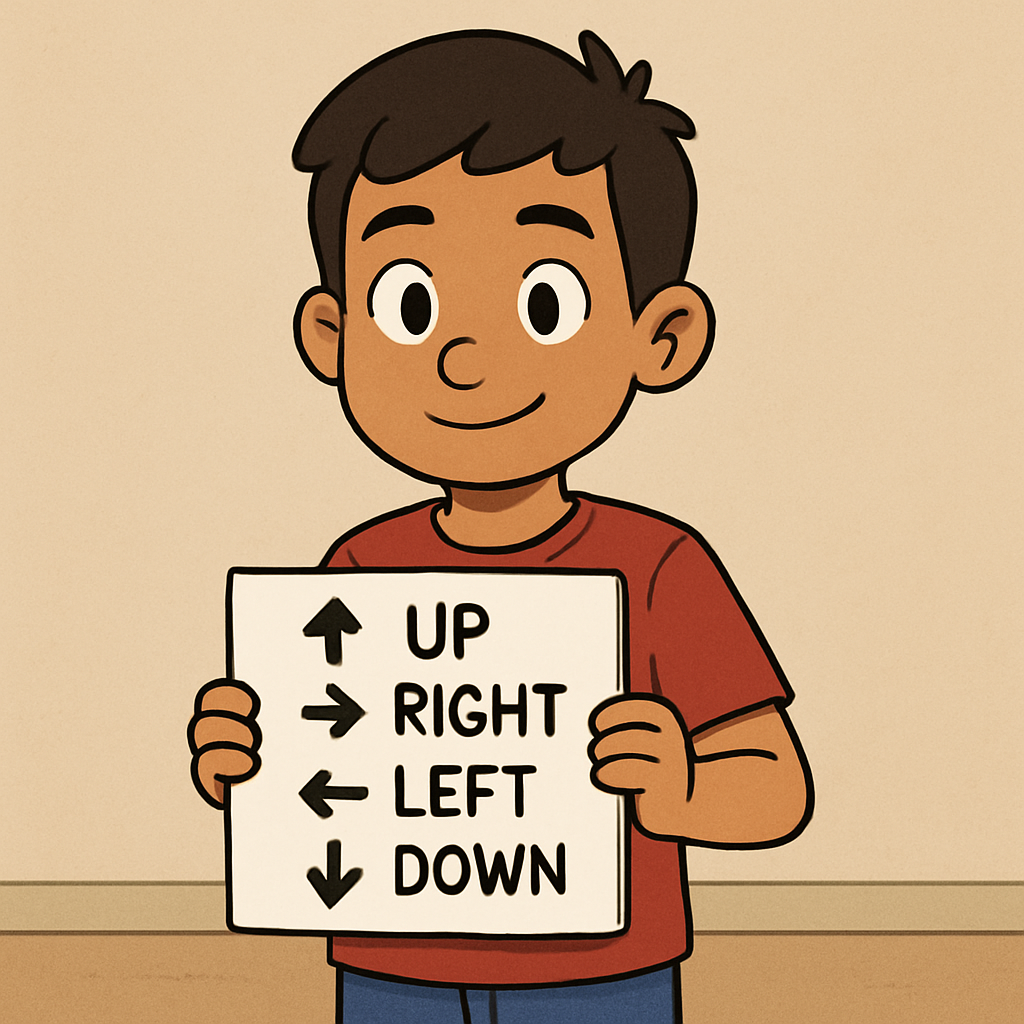
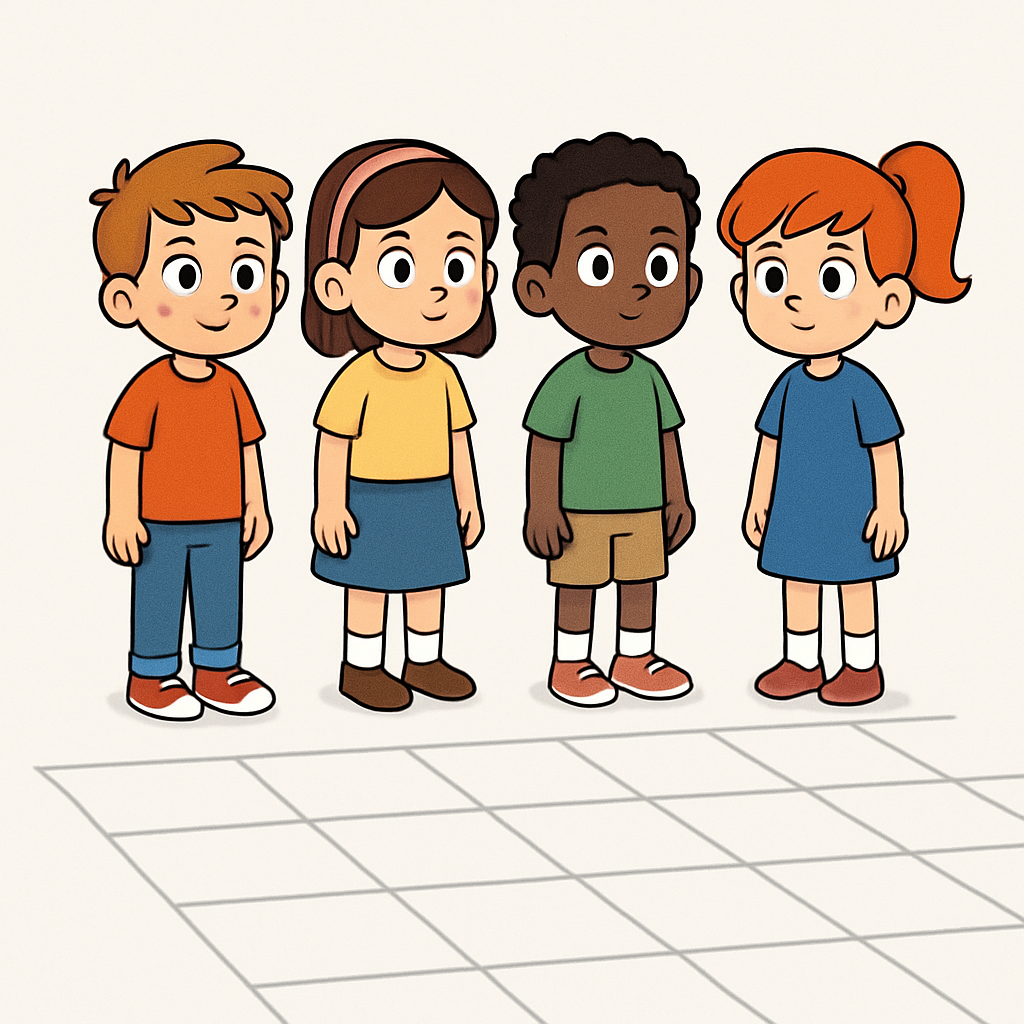
Now, let's play a game to put your programming skills to the test. Explain that in this game, you are the programmer, and your pupils are the computers. Their only job is to follow your commands exactly.
Have your students (all if you have space, small group if you do not) stand around the outer edge of the grid you’ve created, all facing the same direction. This is the starting point for their program.
The Command Set:
For now, you will only use these instructions:
TURN Left/Right 90°
FORWARD 1 or 2
BACK 1
PAUSE
How to Run It: Call out one command every 2–3 seconds. Students should echo the command and then perform the action. Start slowly with single moves, then gradually chain two or three commands together (e.g., "TURN RIGHT 90°, FORWARD 2, PAUSE"). This teaches them to follow a short sequence of commands.
Gamification & Safety: To make the game more exciting, you can turn it into a knockout style. Any student who makes a mistake, hesitates, or gives the wrong command is eliminated from the round. As a quick safety reminder, tell everyone to keep their steps small and to watch their spacing so no one bumps into each other.