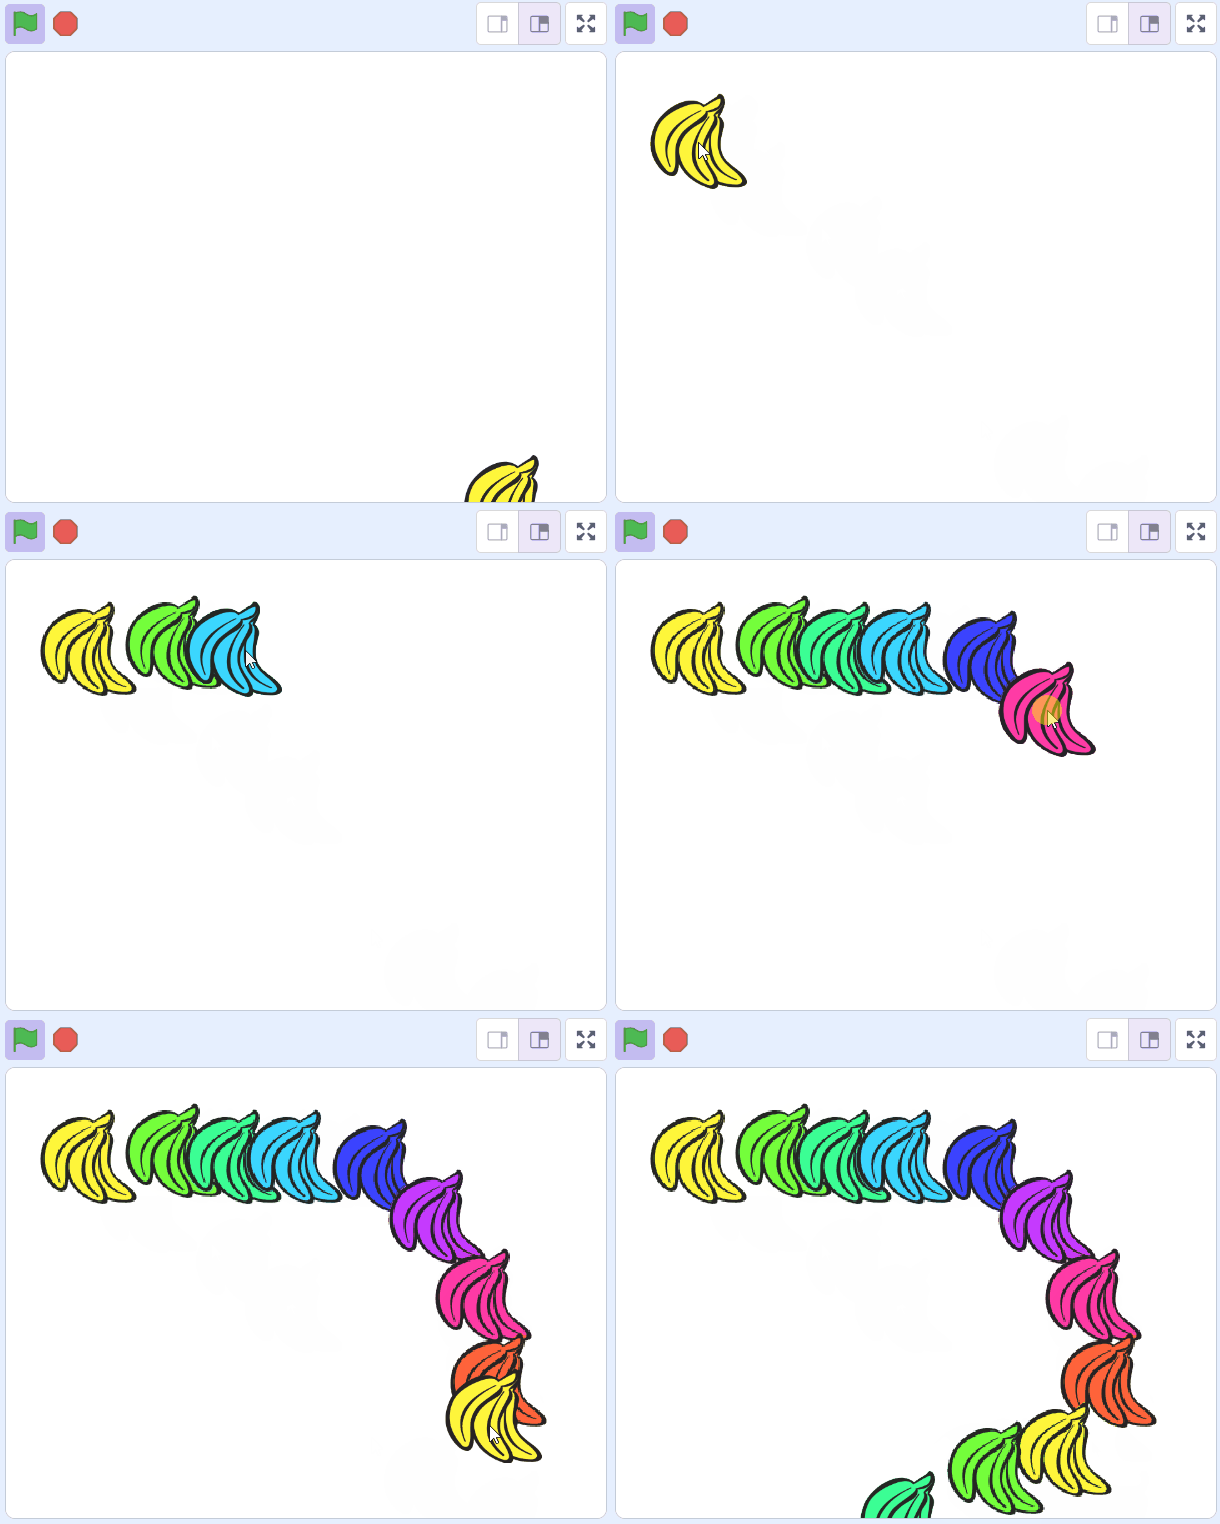
In this lesson, you will learn how to create your very own banana stamp using Scratch. You will be able to control the stamp with your mouse, change its colour and even its appearance! Sounds fun, right? Let's get started!
Open the Scratch website and create a new project. Delete the cat sprite from the project.
Go to the Scratch website using the link below and click on the 'Create' link in the blue bar at the top.
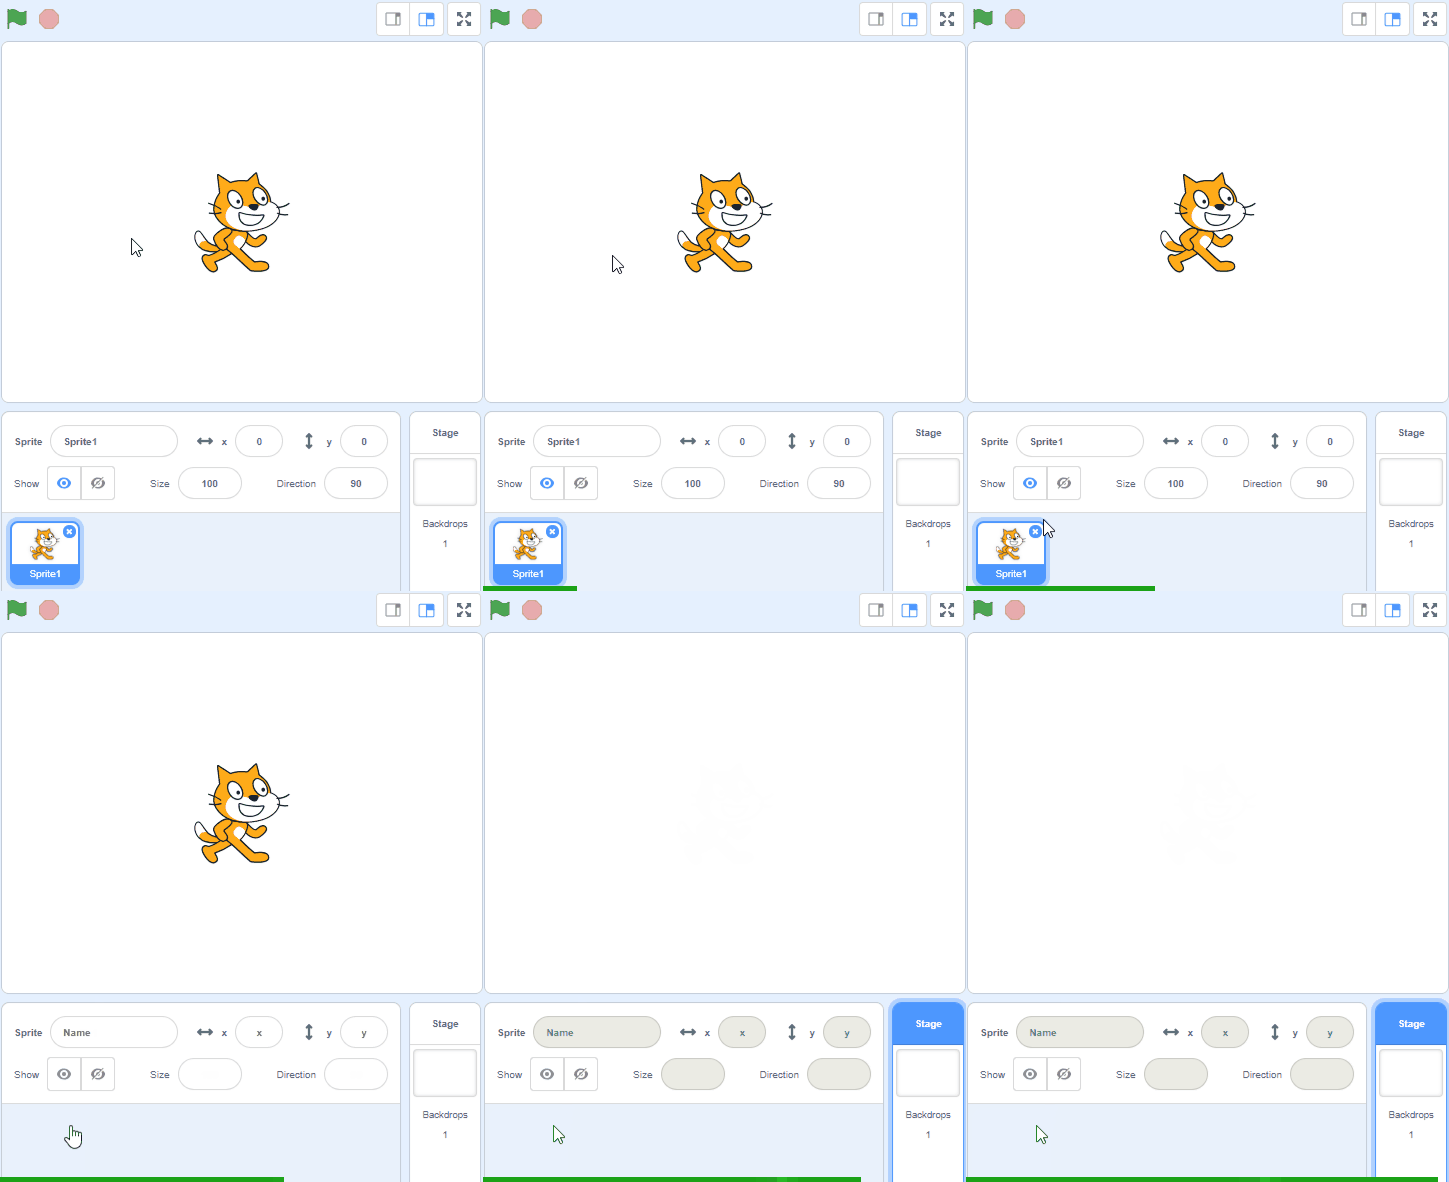
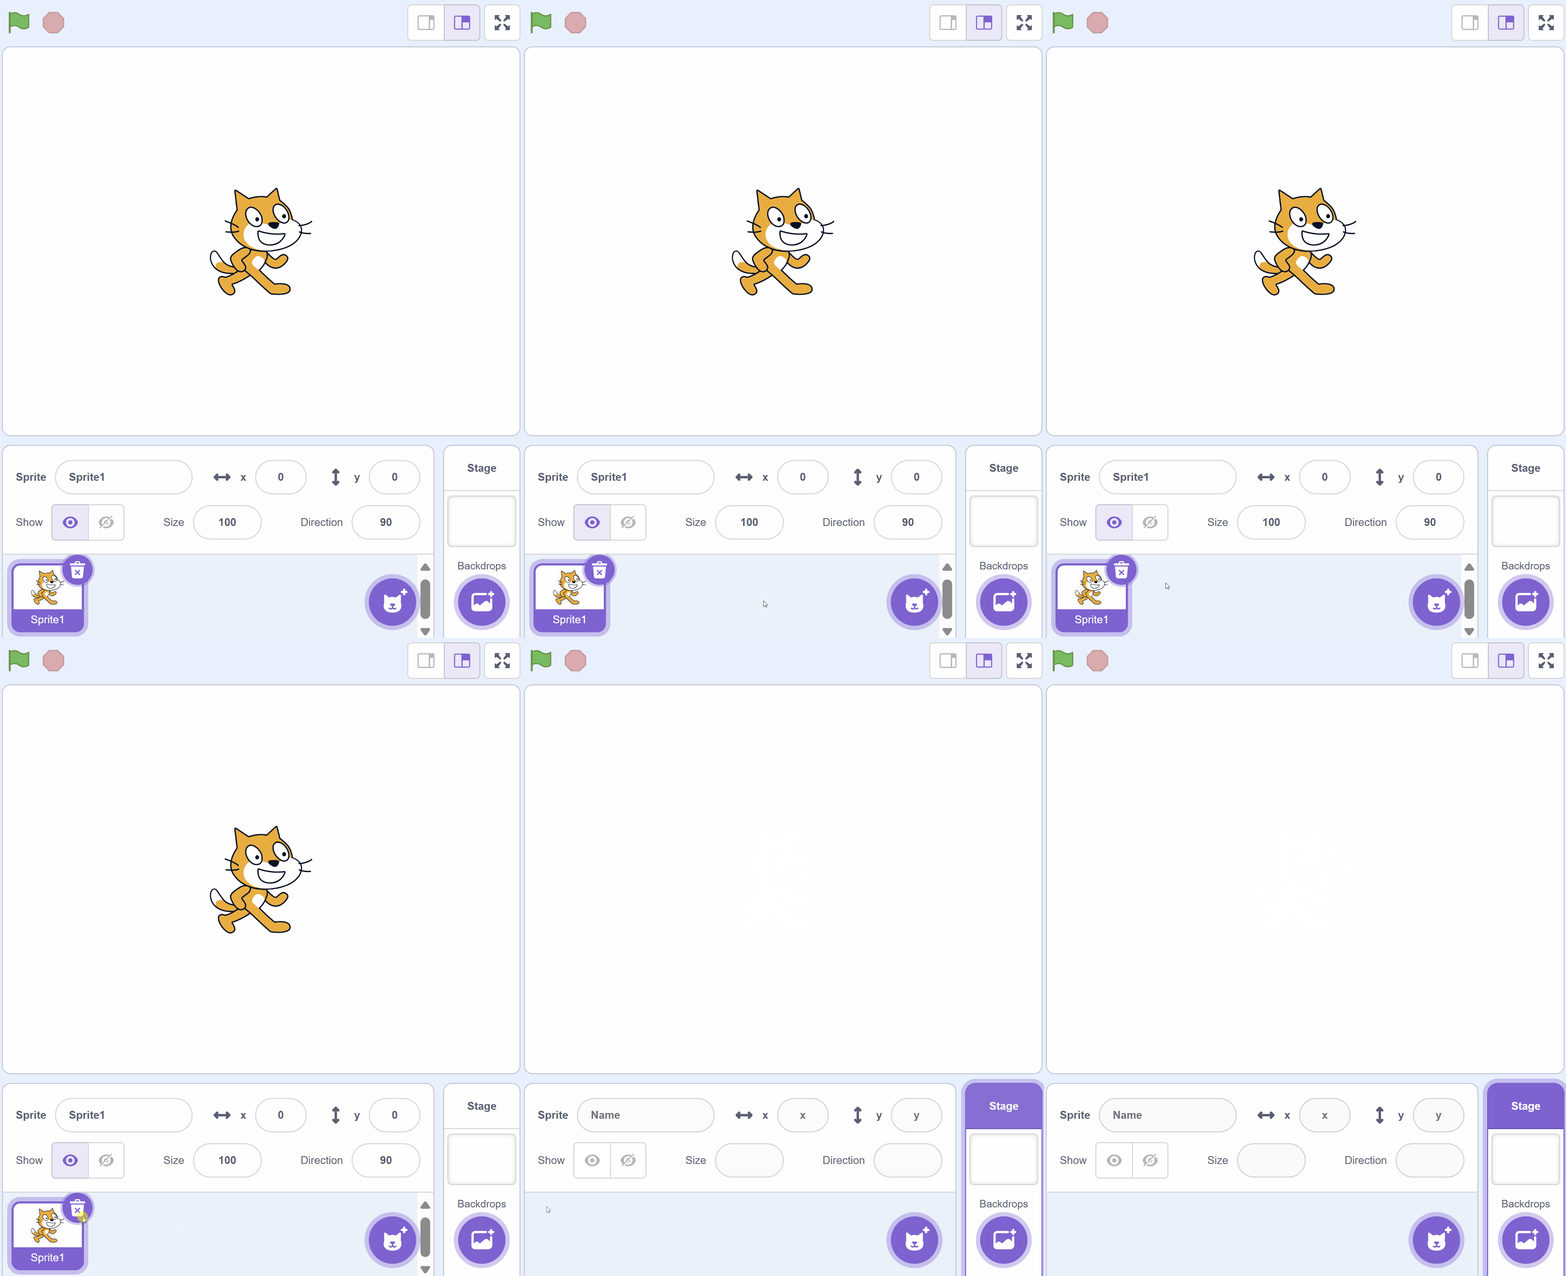
By default, each new project starts with the cat sprite already added. To delete the cat click on the x in the blue circle beside the cat in the sprite list.
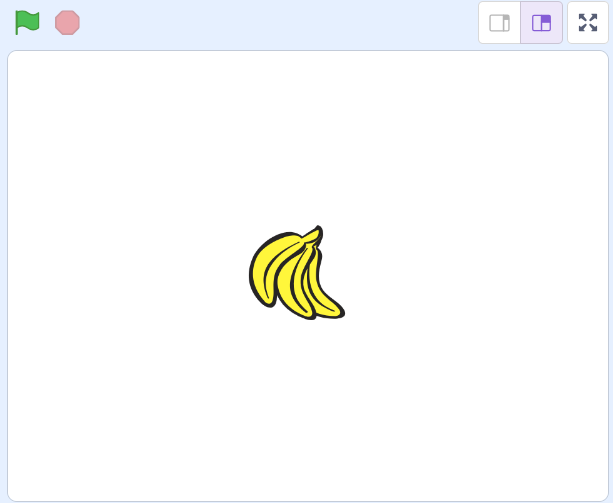
Start by adding the Banana sprite from the Scratch library to your project.
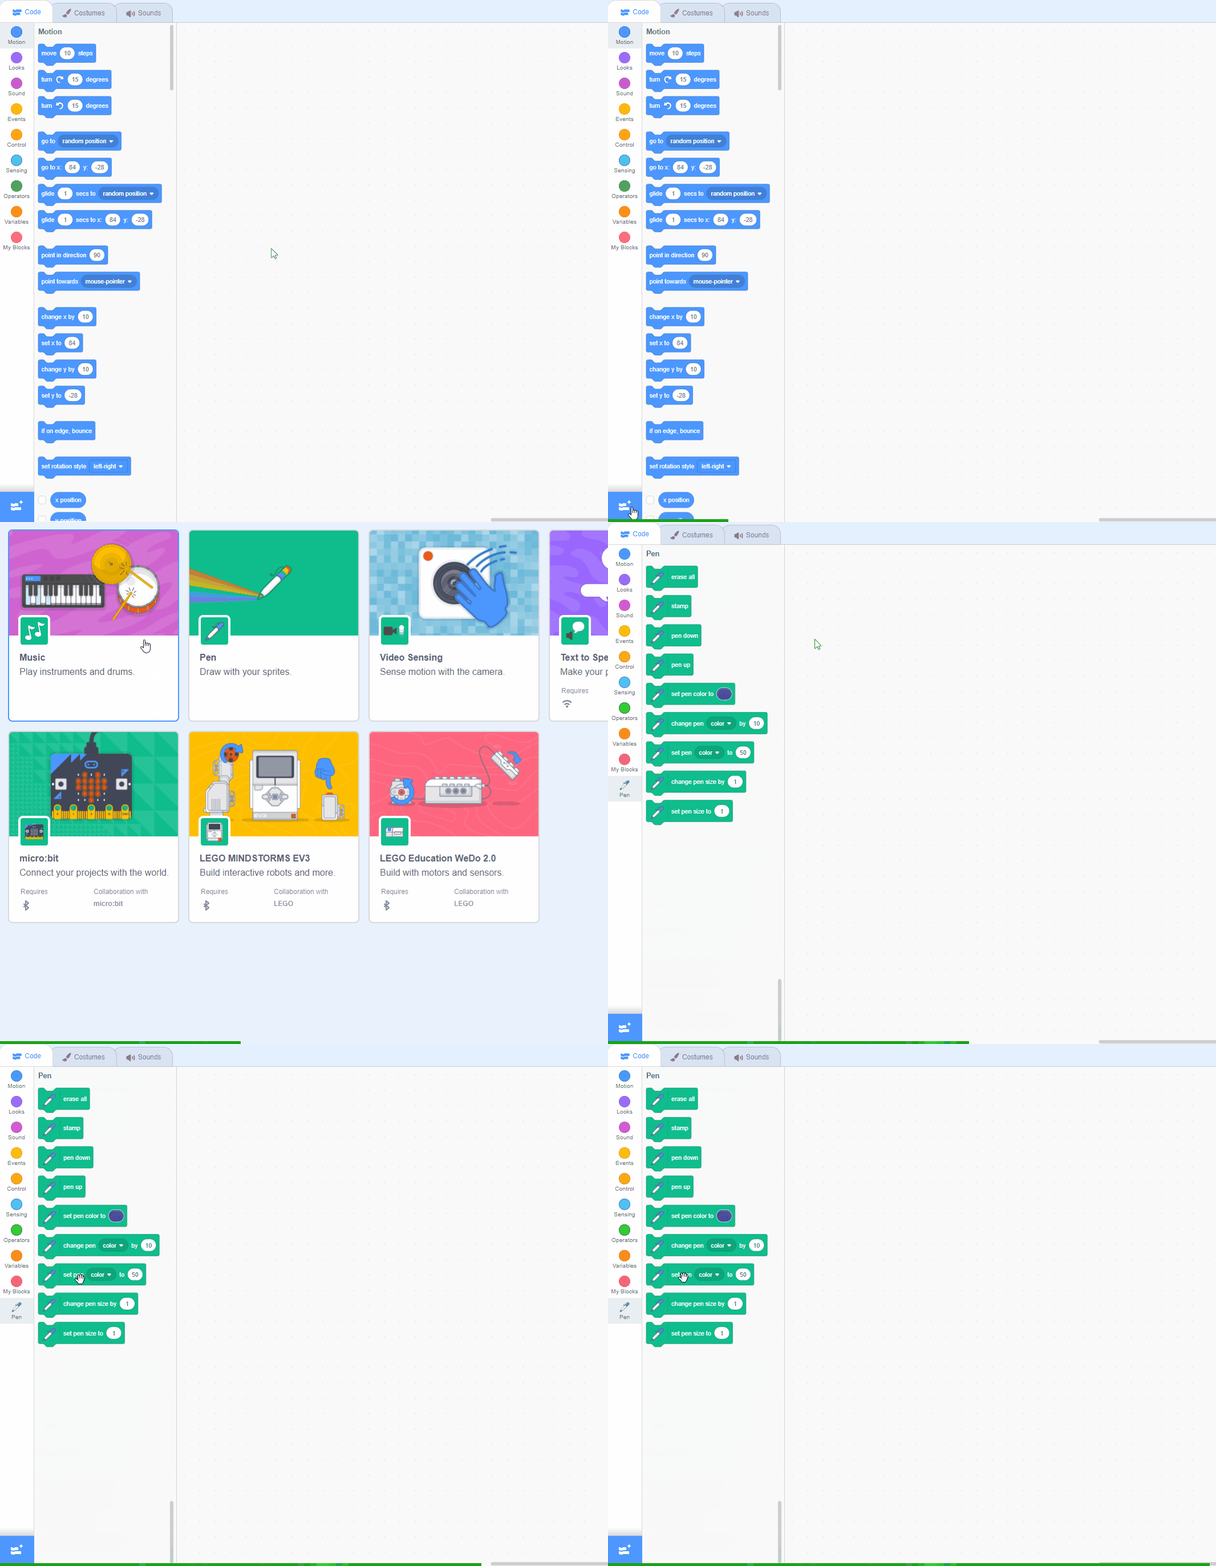
To make the stamps of the banana, we need to add a special group of blocks to our project. These blocks are part of the Pen extension.
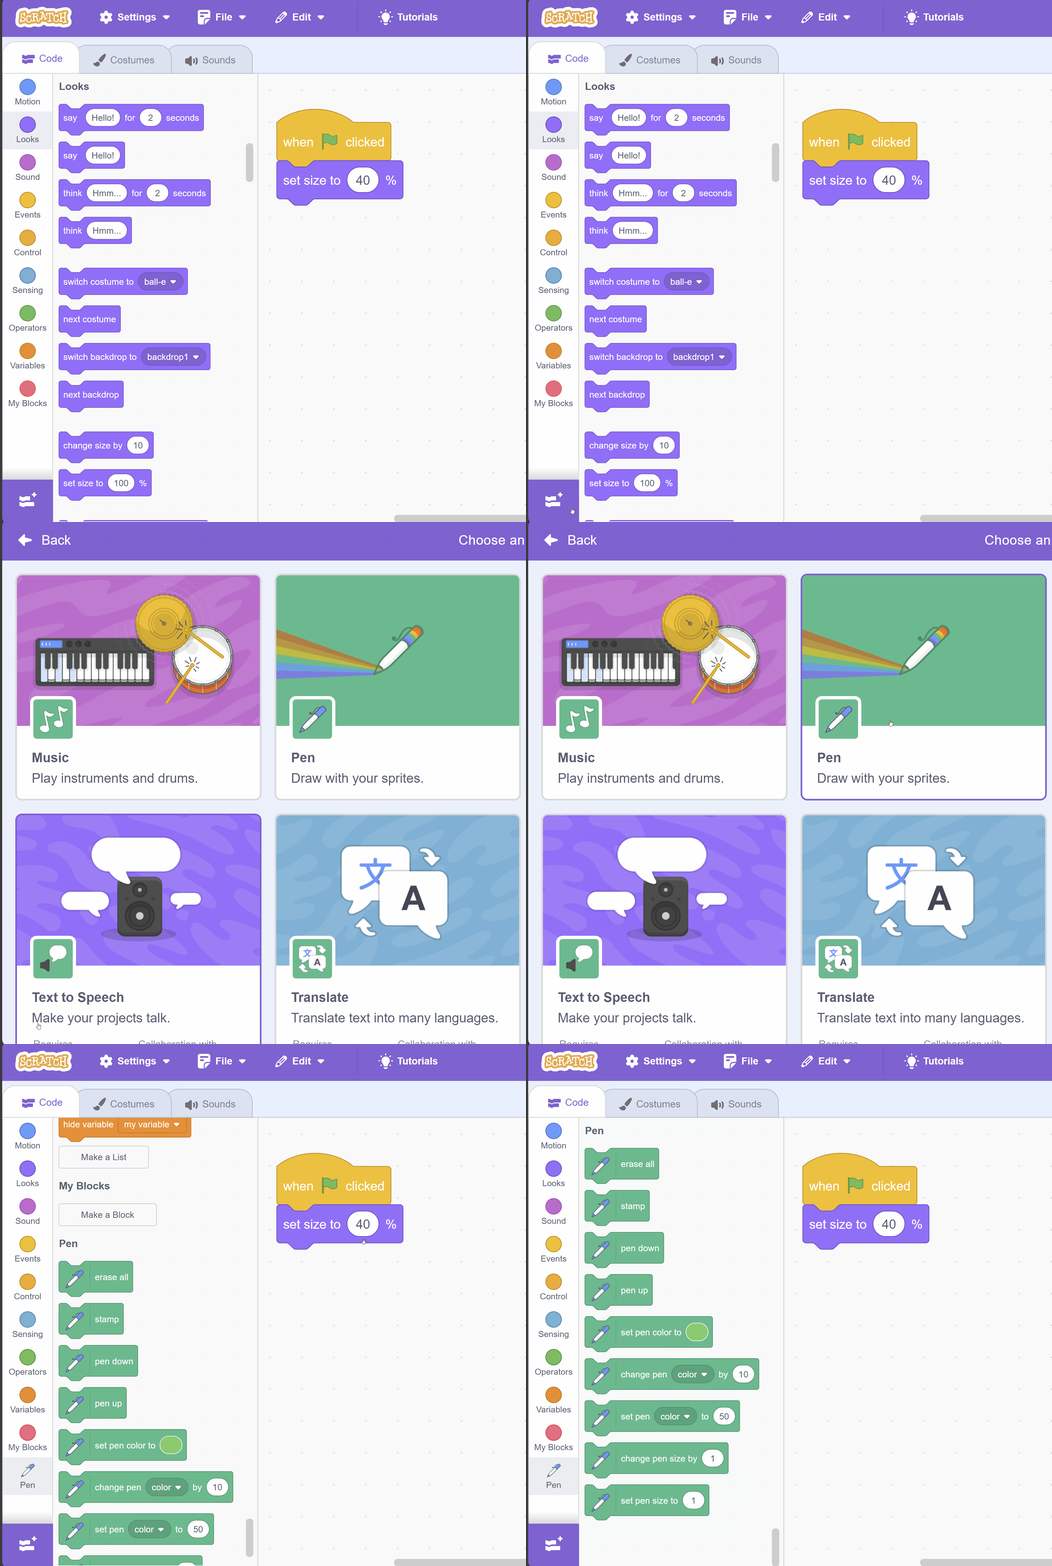
To add this extension, click on the 'Extensions' button at the bottom left of the Scratch interface. A window will pop up with different extensions. Find and click on the 'Pen' extension. You will see that new blocks have been added to your blocks palette under the category 'Pen'.
Scratch Extensions are additional sets of blocks that expand the capabilities of your Scratch projects. They allow you to:
When you add an extension to your project:
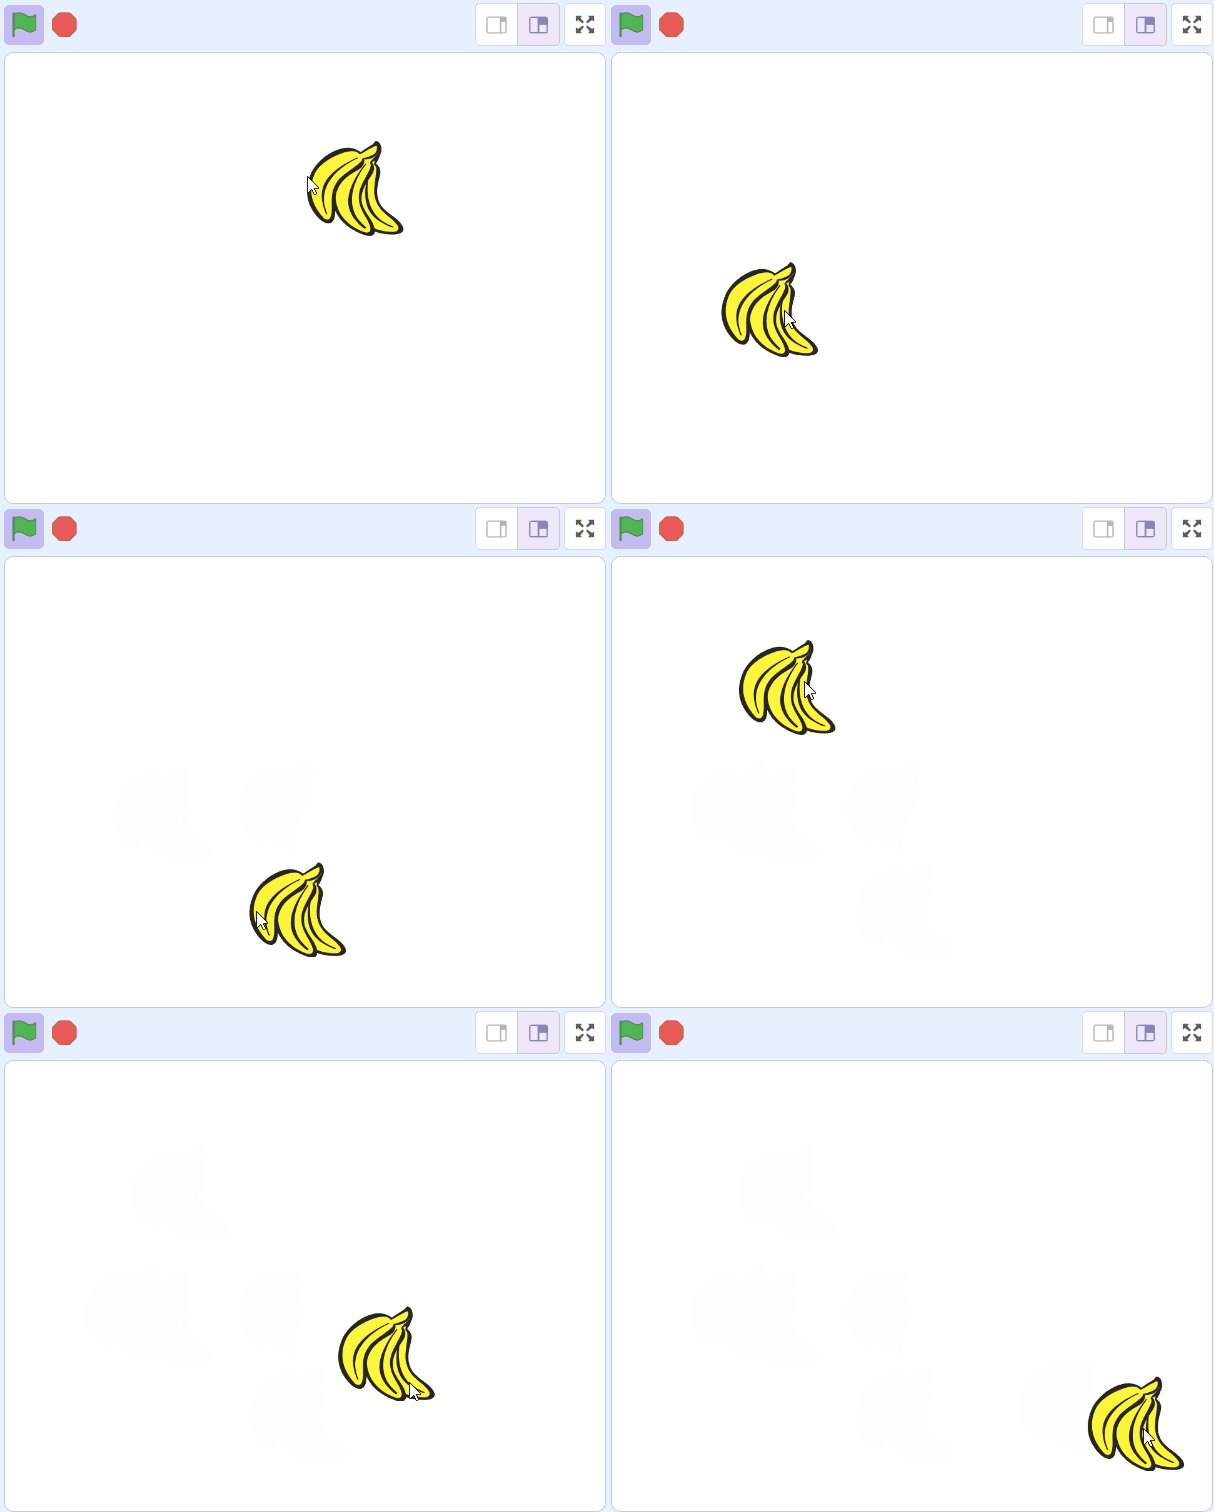
Now, we are going to make our banana sprite follow your mouse pointer. This means wherever you move your mouse, the banana will follow!
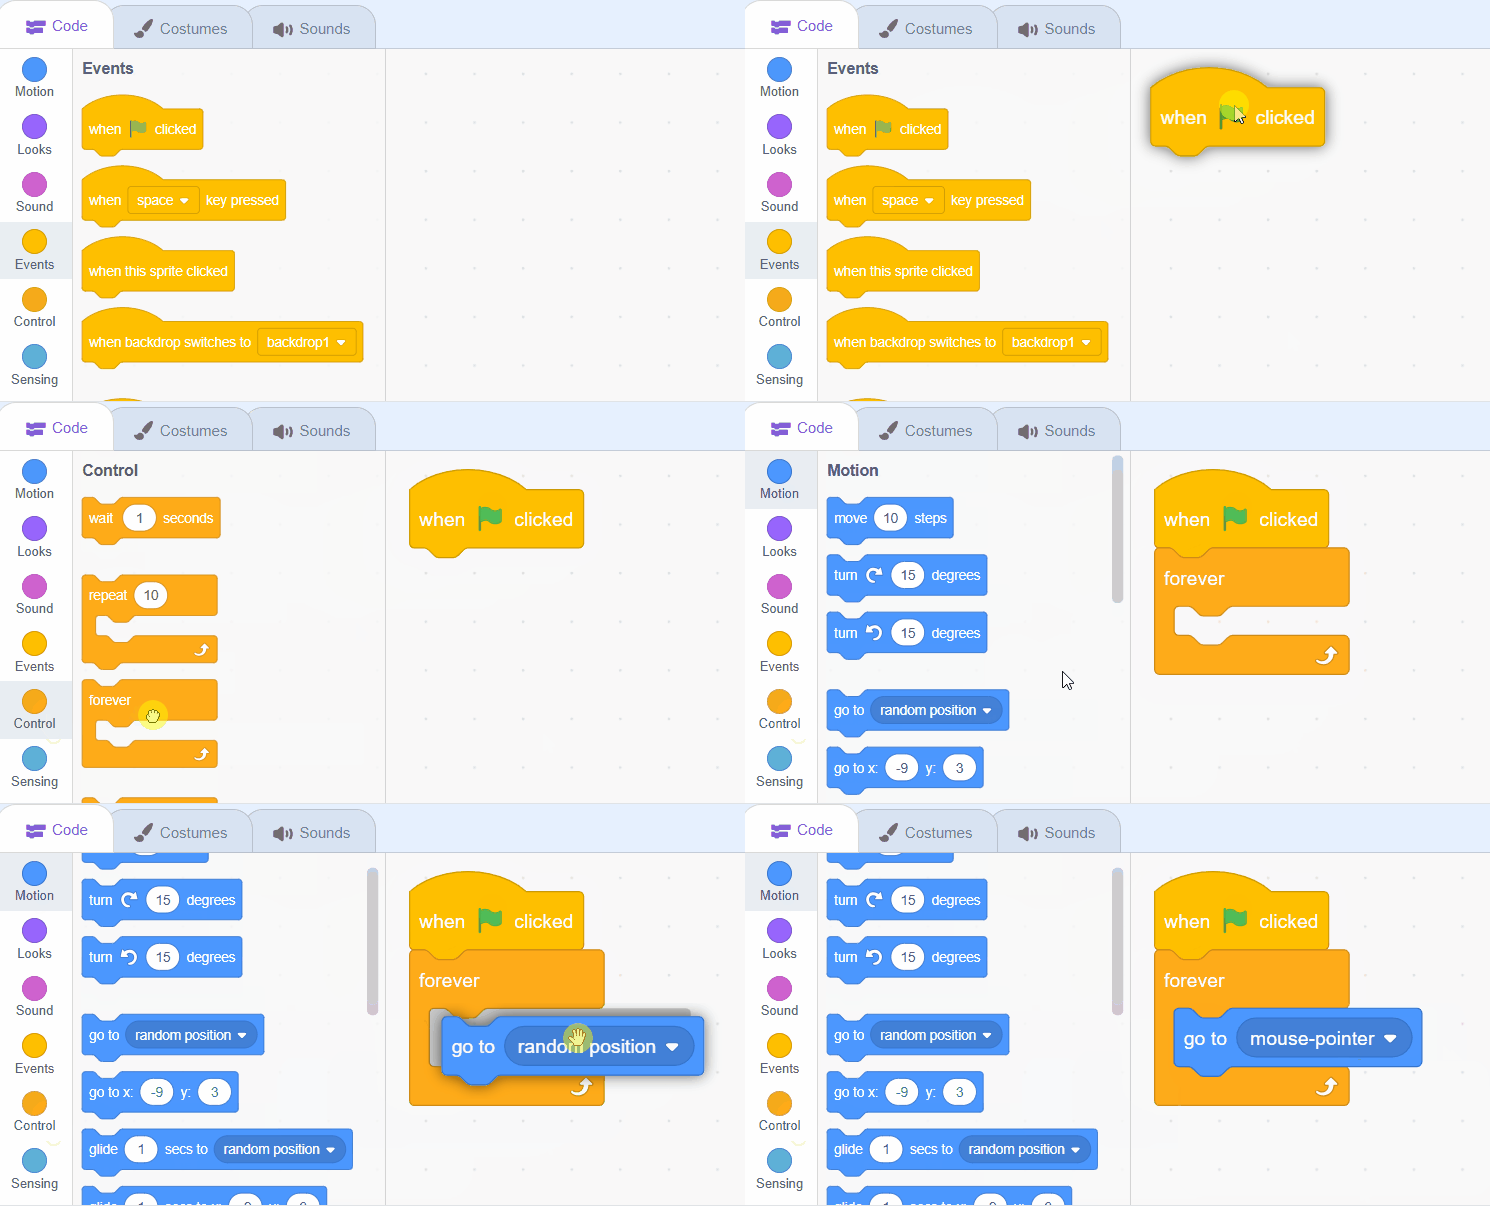
When we click the green flag, the banana will always ('forever') go to where your mouse pointer is.
Add this code to the banana sprite:
when green flag clicked
forever
go to (mouse-pointer v)
