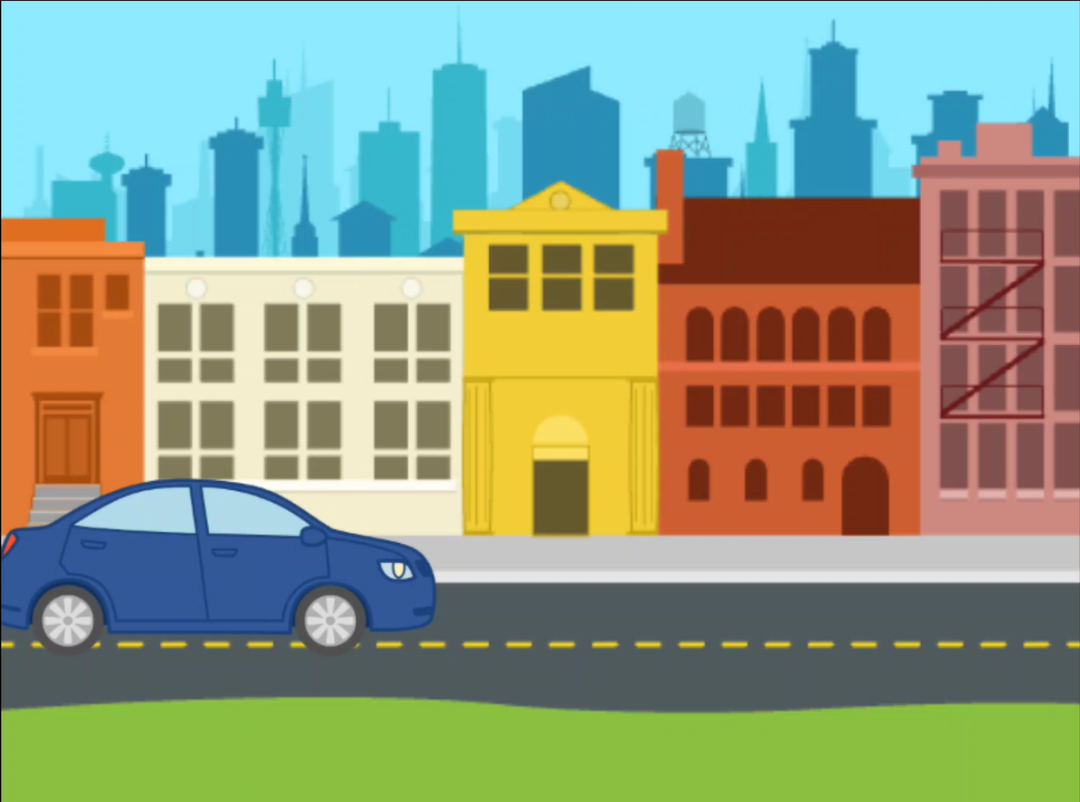
City Cruise: Driving Through the Streets
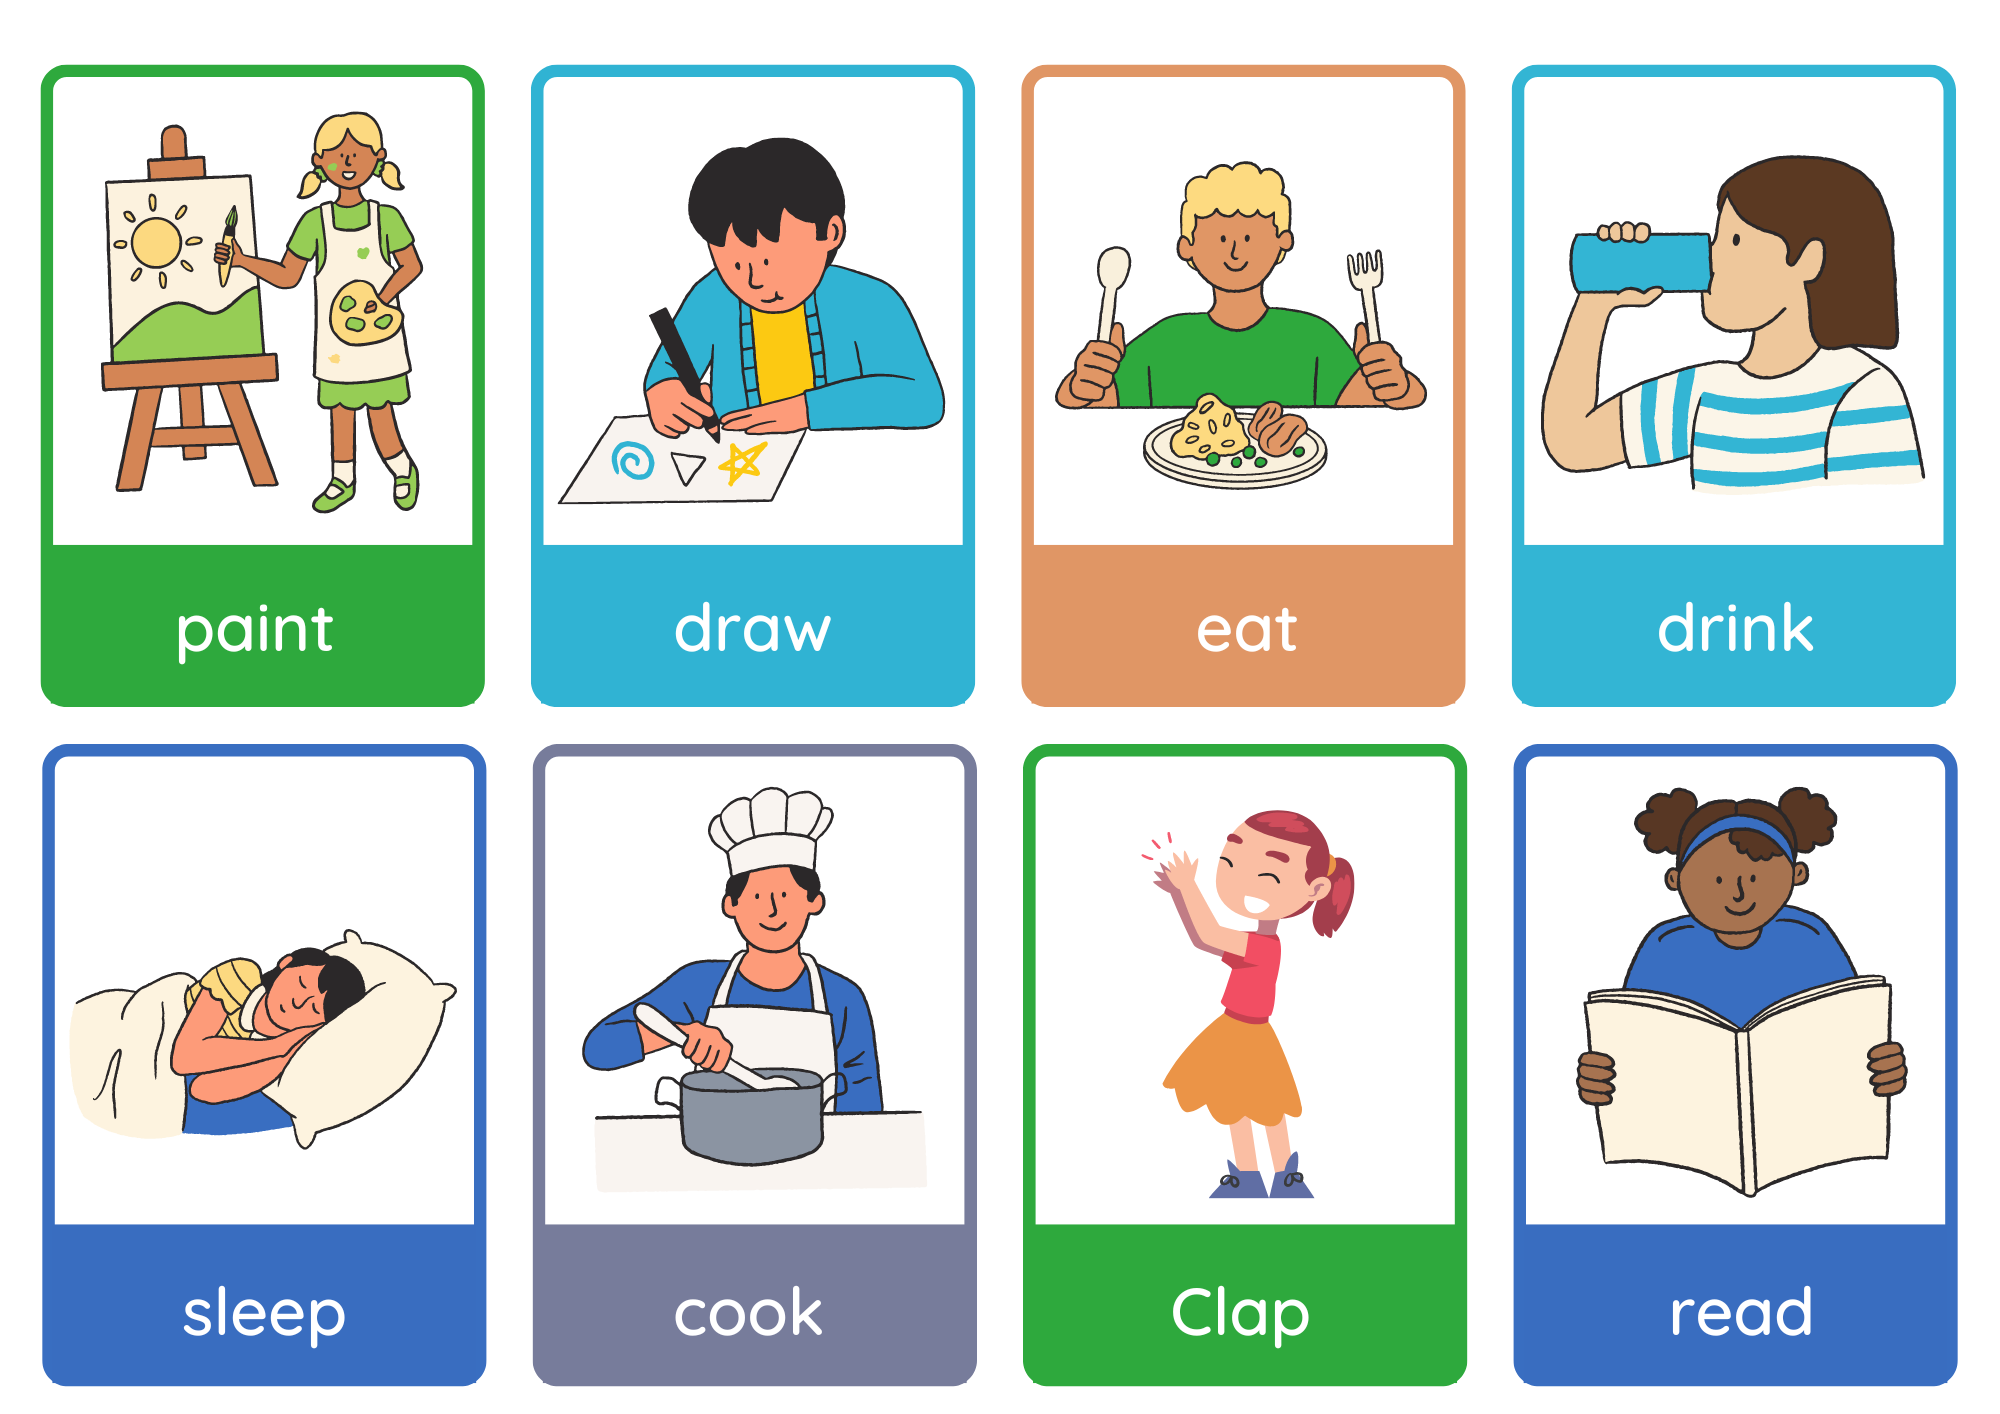
As the teacher, guide students through a creative coding activity. Start with a charades game using action cards, then introduce a Scratch Jr project where they’ll program a car to drive across a city scene, adding movements and experimenting with resizing.