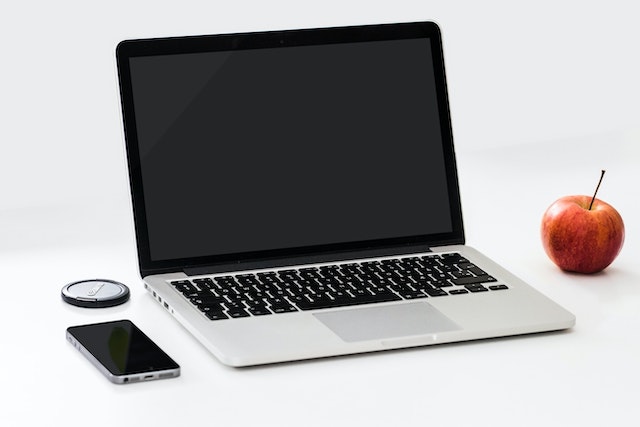
Chromebooks, laptops, and PCs are crucial tools for coding and digital skills education. Chromebooks are ideal for web-based applications and collaborative projects, while laptops and PCs support a wider range of programming environments and software for more intensive tasks like software development and data analysis.
Equipped with full keyboards and the ability to run specialized coding software, these devices enable students to learn programming languages, debug code, and understand software architecture. Their versatility supports both individual learning and group projects, making them indispensable for developing critical digital and computational thinking skills in the classroom.
 Chromebooks, laptops, and PCs are crucial tools for coding and digital skills education. Chromebooks are ideal for web-based applications and collaborative projects, while laptops and PCs support a wider range of programming environments and software for more intensive tasks like software development and data analysis.

