Sensors & Circuits
Beginner
30 mins
Teacher led

Conduction
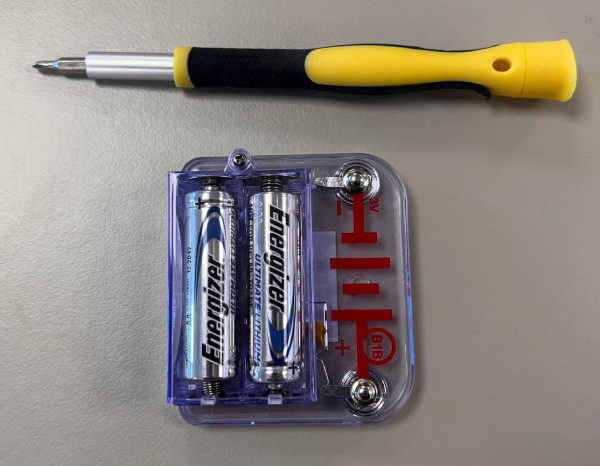
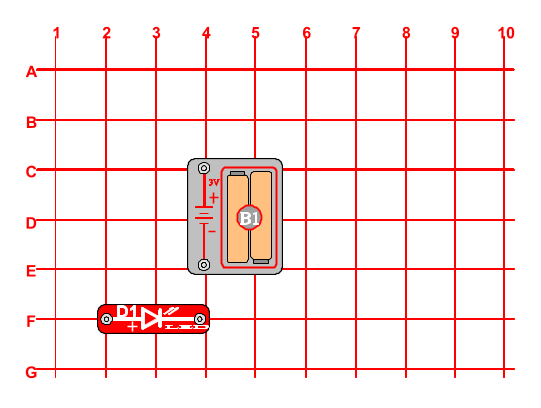
As the teacher, guide your students through building a circuit using Snap Circuits to explore electrical conduction. Help them assemble components, test various materials as conductors or insulators, and discuss their findings to reinforce key concepts.

.png)
.png)
.png)


