Welcome to the lesson on Creating Your First Animation! In this exciting beginner's guide, you'll dive into the world of animation using Wick Editor. You'll start by exploring the editor's interface, then create a new project where you'll draw a simple circle and make it bounce up and down like a ball.
Along the way, you'll learn how to add frames, use tools like onion skinning for smoother animations, preview your work, adjust settings, save your project, and even export it to share with others. By the end, you'll have your very own animated creation and a solid foundation for more advanced projects. Let's jump in and have some fun animating!
Wick Editor is a free online tool that allows you to create animations, games, and interactive projects directly in your web browser. It's designed to be easy and fun for beginners, similar to old tools like Flash but modern and accessible.
To get started, visit the Wick Editor website at https://www.wickeditor.com/ and click on 'Editor' to launch it. Then, create a new animation project.
To create a new animation project and open up the editor in Wick go to this website: https://www.wickeditor.com/editor
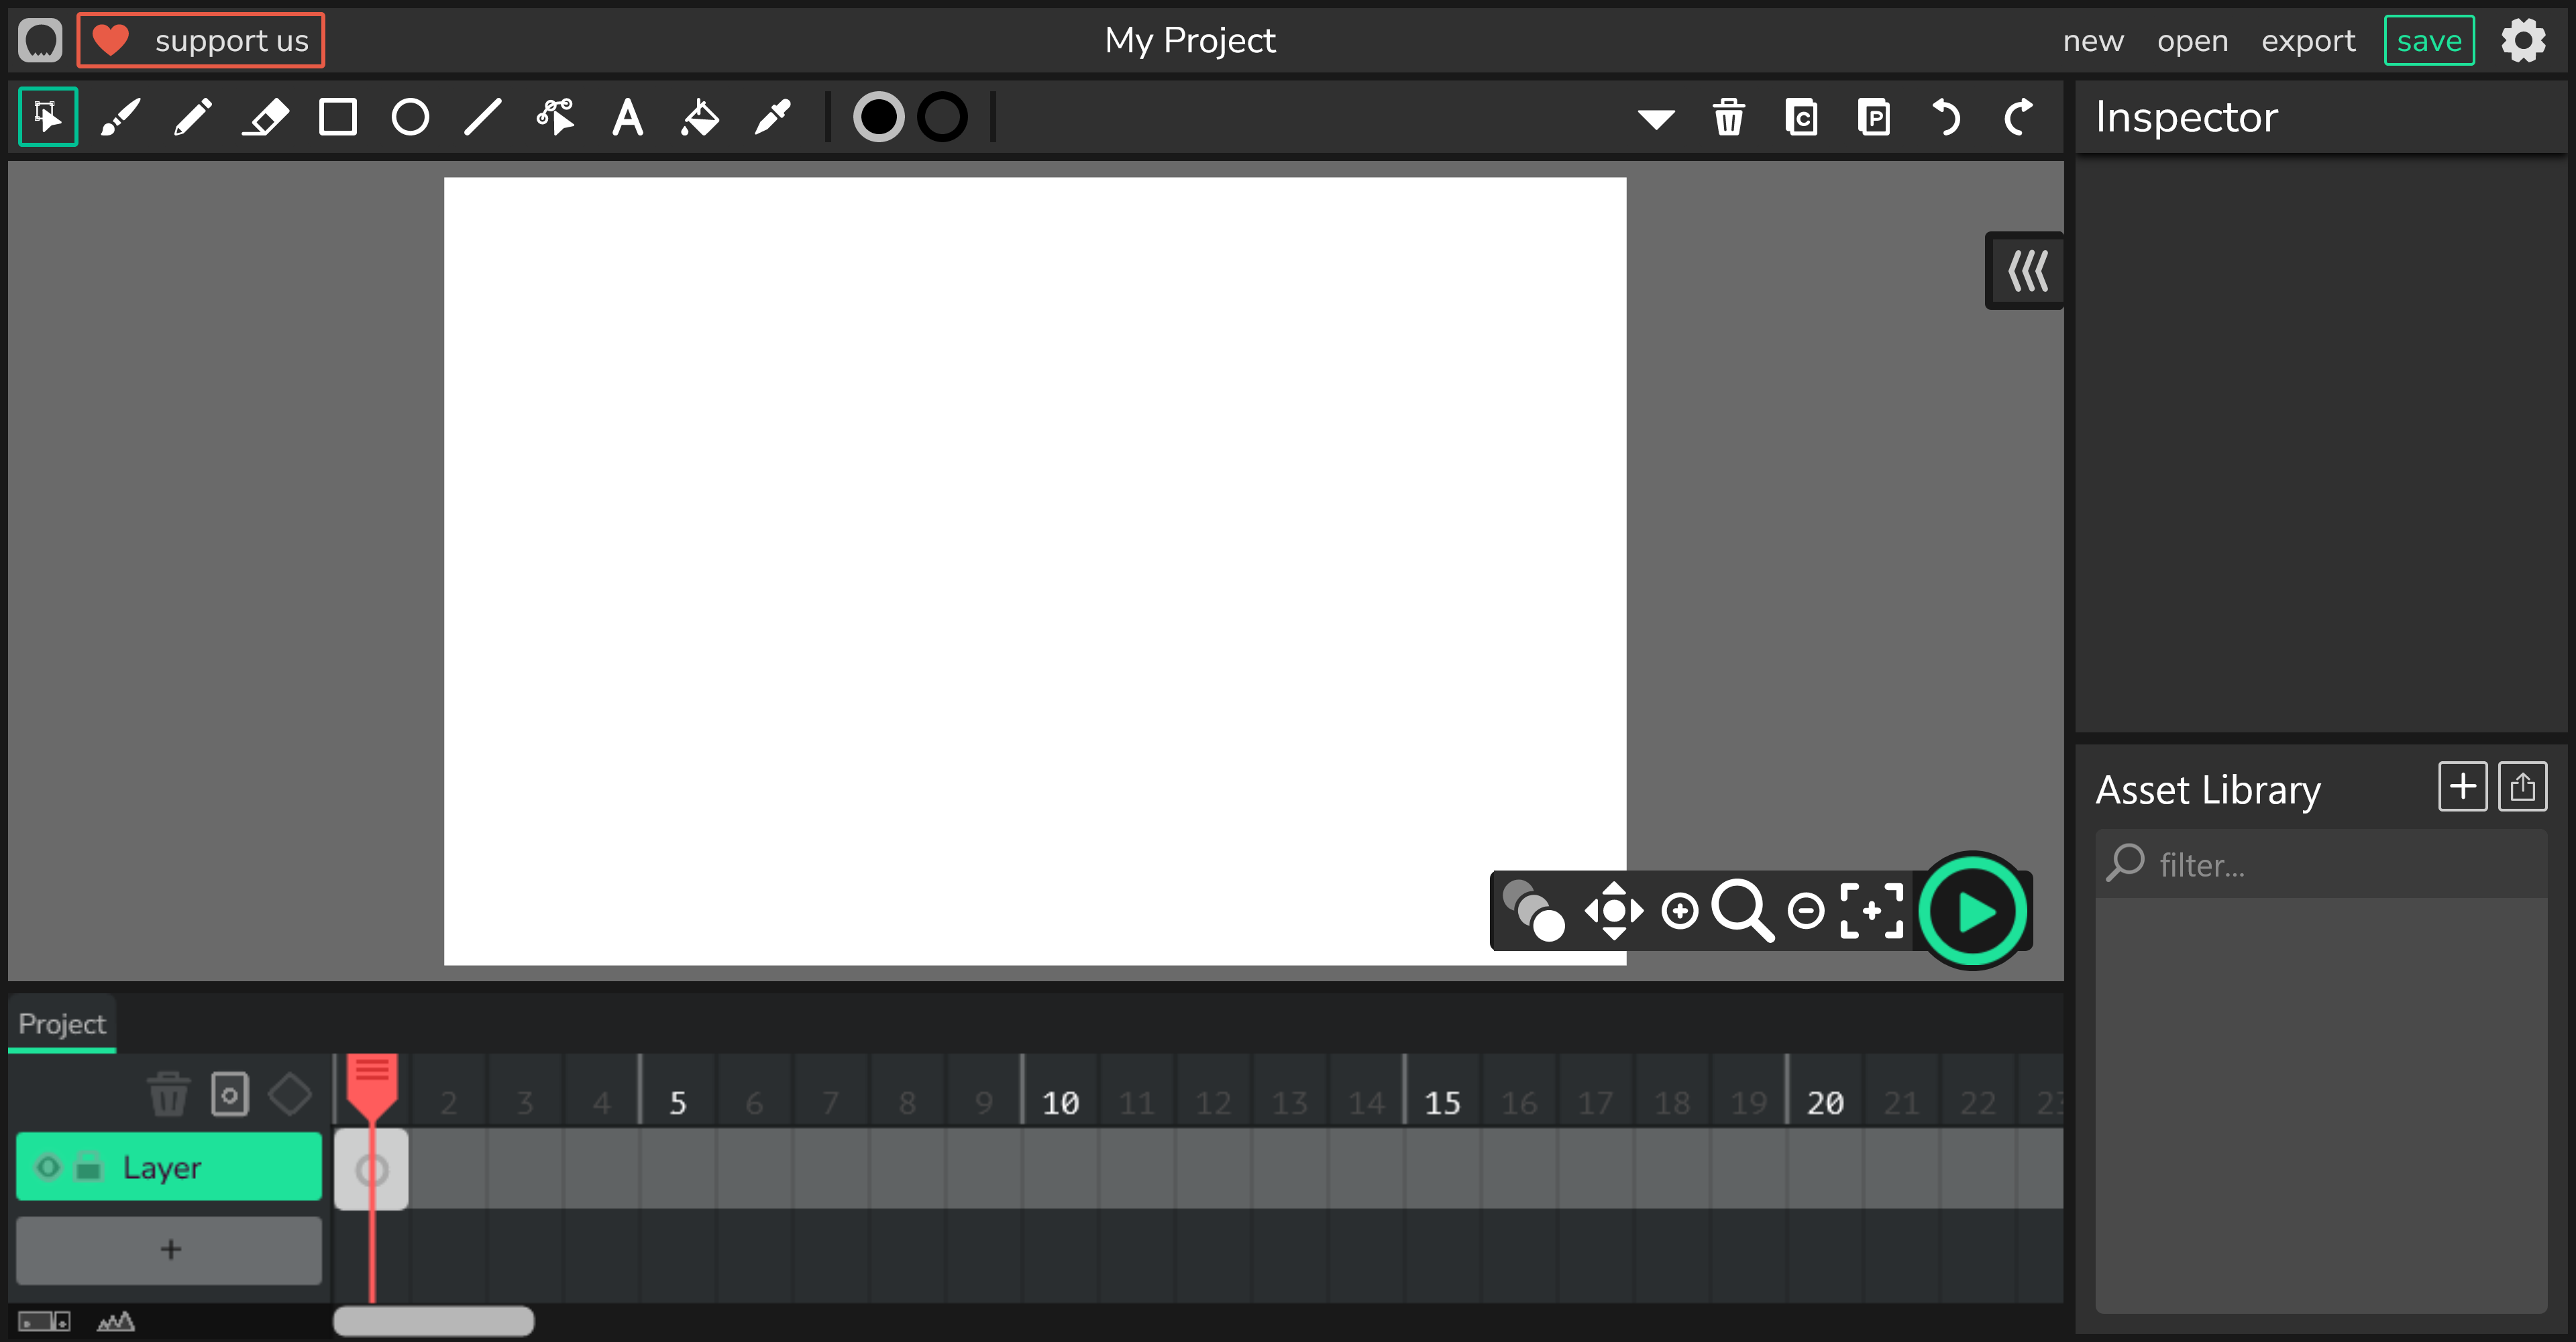
Let's begin by getting to know the Wick Editor interface. It's like the control center for all your animation creations! Take a moment to look around and see where everything is located. This will help you feel more comfortable as you start creating your first animation.
At the top, you'll find the toolbar which contains drawing tools like the brush, eraser, and shape tools. These tools will help you create and modify your animations.
On the right, you'll find the inspector panel where you can adjust properties of your selected objects. You'll also see the project library where you can manage your assets like images, sounds, and fonts.
The center of the screen is your canvas, this is where you'll create your animation.
At the bottom, you'll see the timeline where you can manage your frames and layers.
Now that you're familiar with the interface, let's start drawing your first frame!
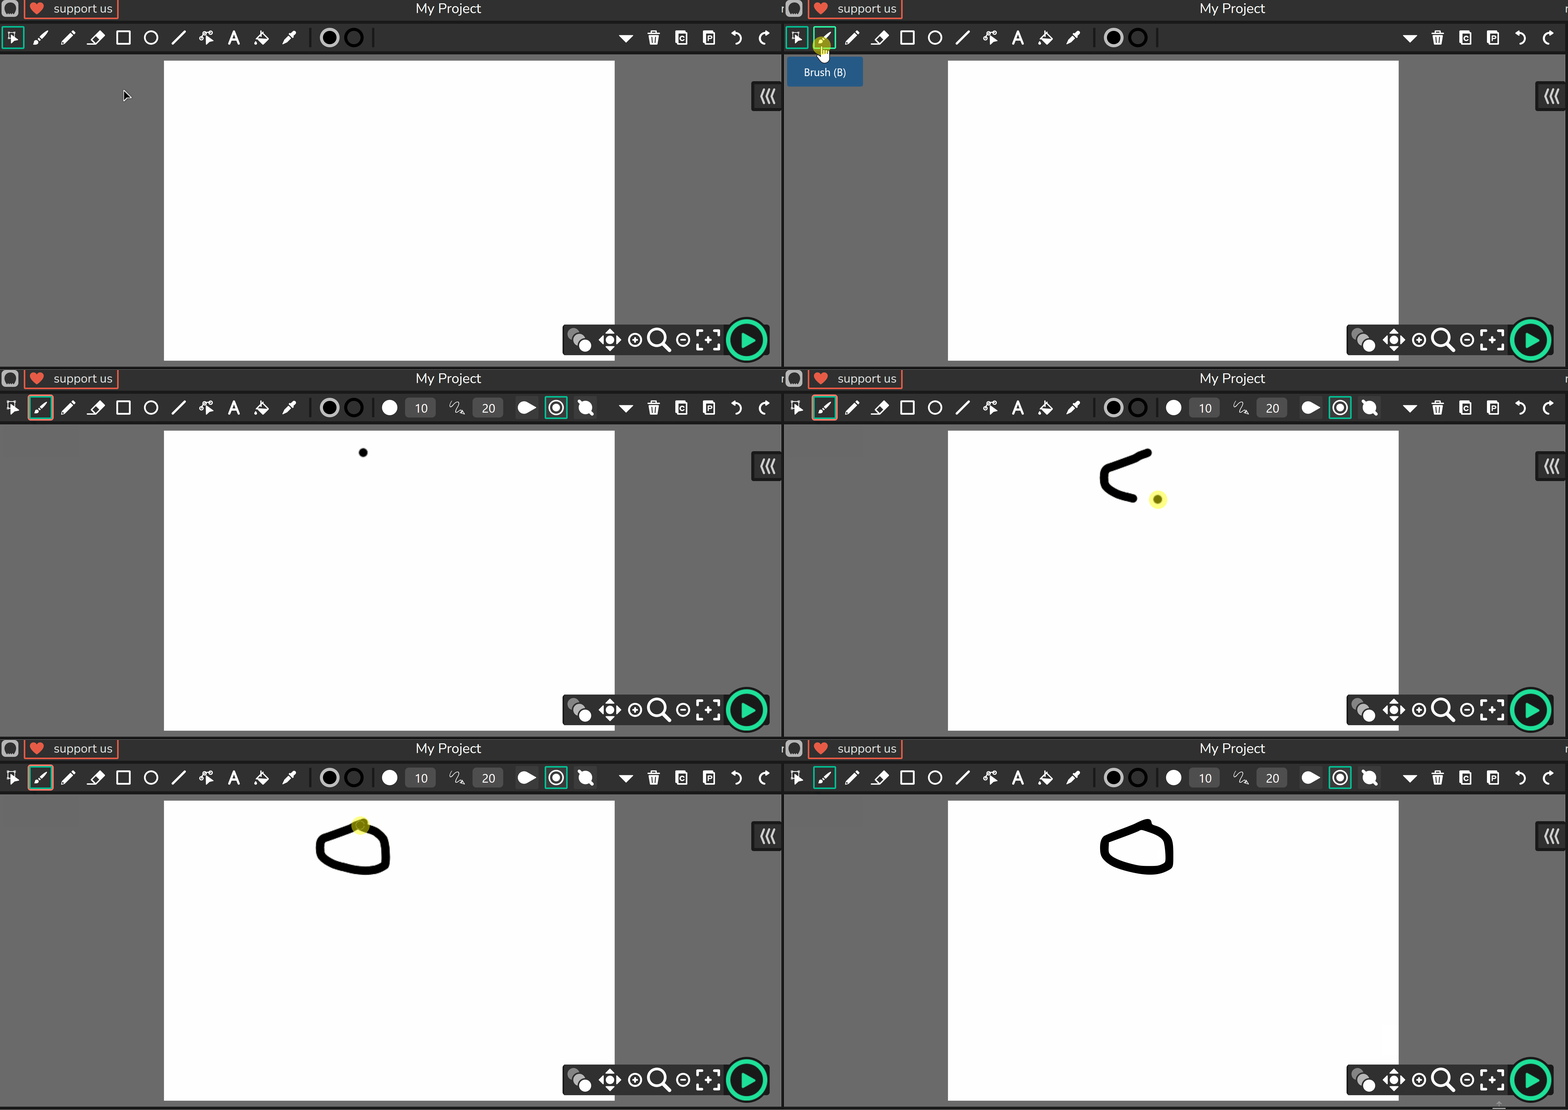
From the toolbar at the top, select the Brush tool – it looks like a paintbrush icon.
If you want, you can adjust the brush size or colour in the inspector panel on the right side of the screen. For now, the default settings are fine.
We're going to animate a ball bouncing up and down, so for this first frame, draw a simple circle freehand at the top of the canvas. Just click and drag on the canvas to draw it.
Don't worry if it's not perfectly round – animations are all about having fun and practising!
Now that you've drawn your first frame with a circle at the top of the canvas, it's time to add more frames to make your ball start moving!
Locate the timeline at the bottom of the screen. This is where you control the sequence of your animation.
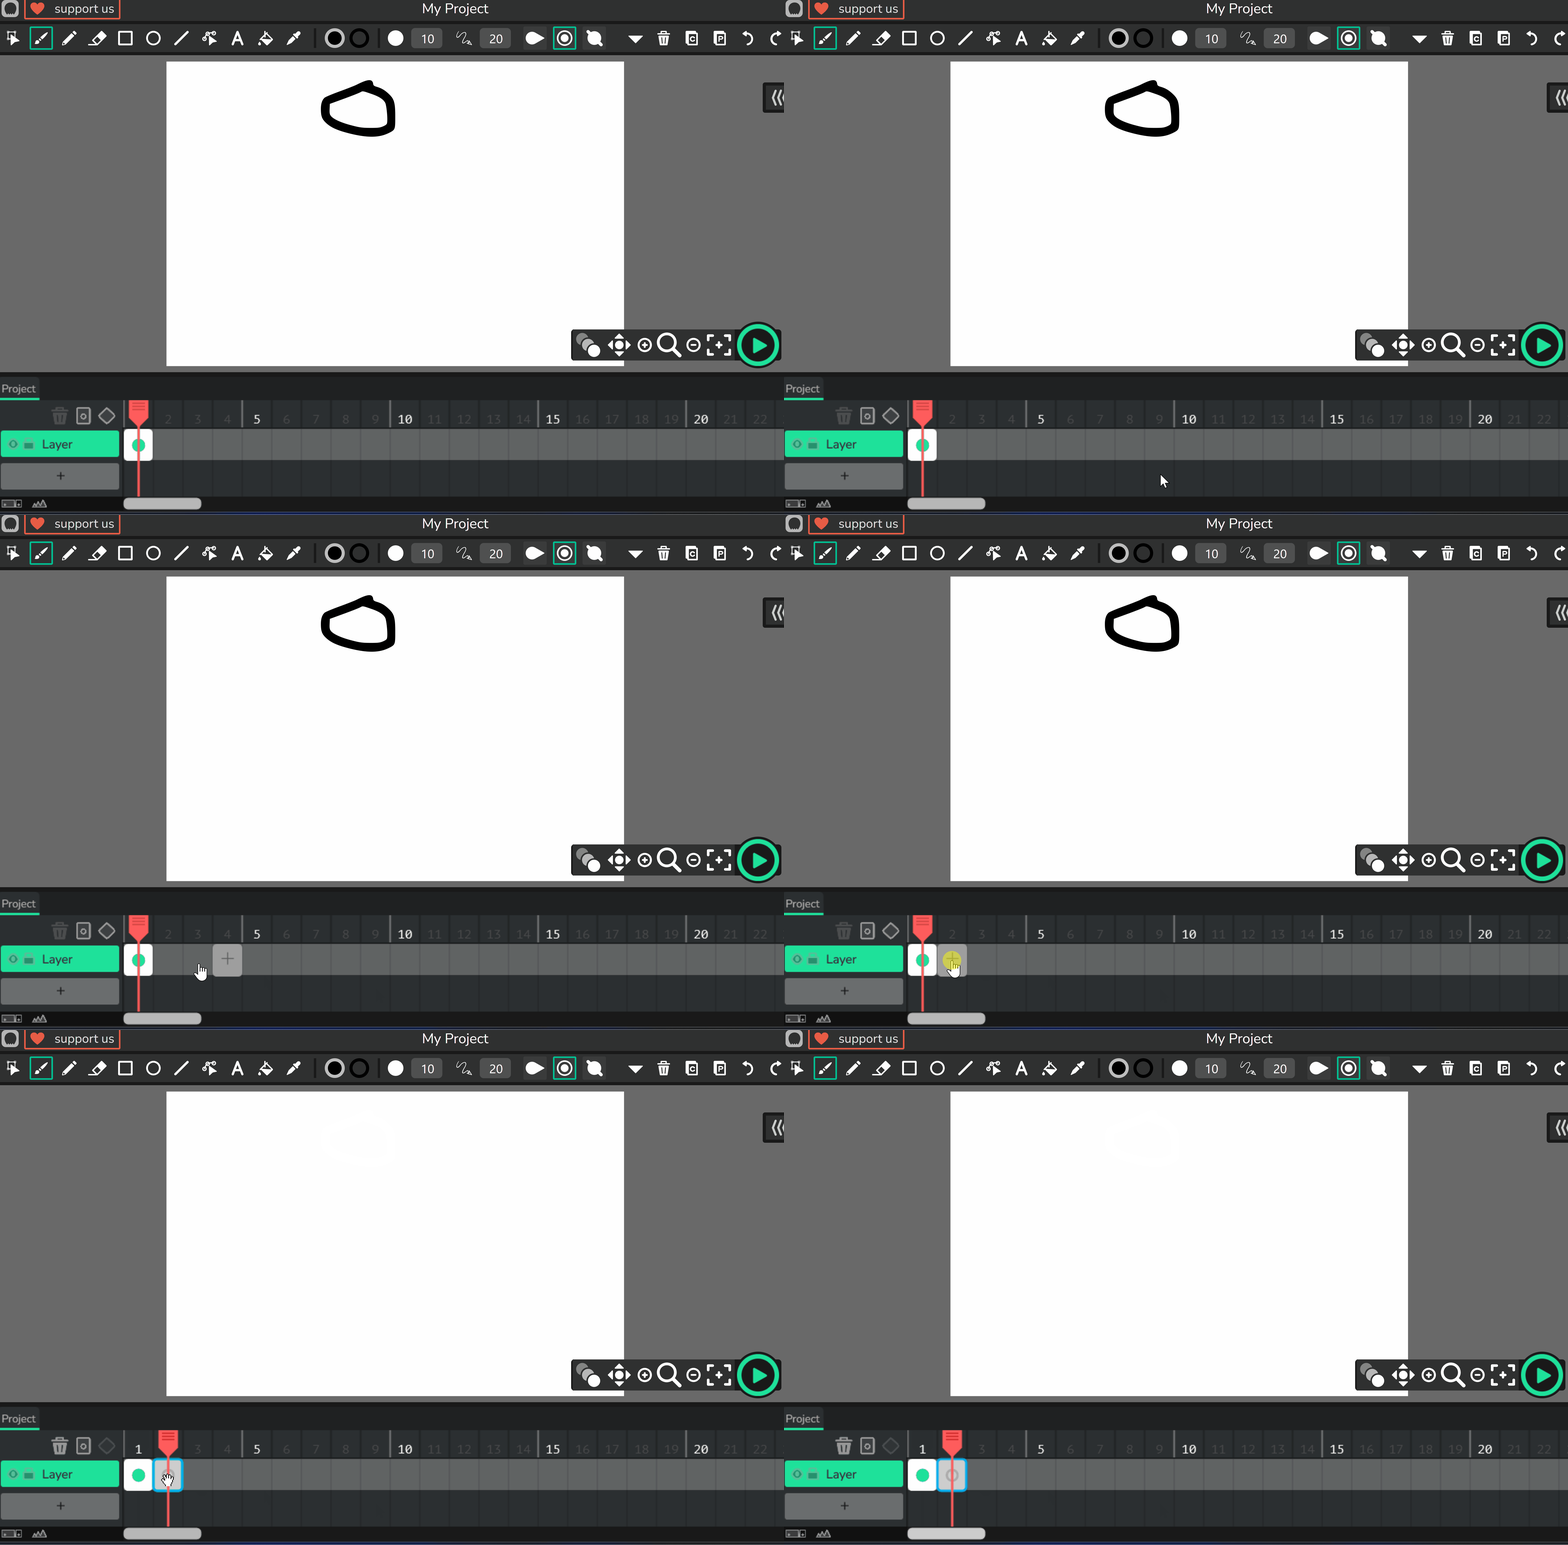
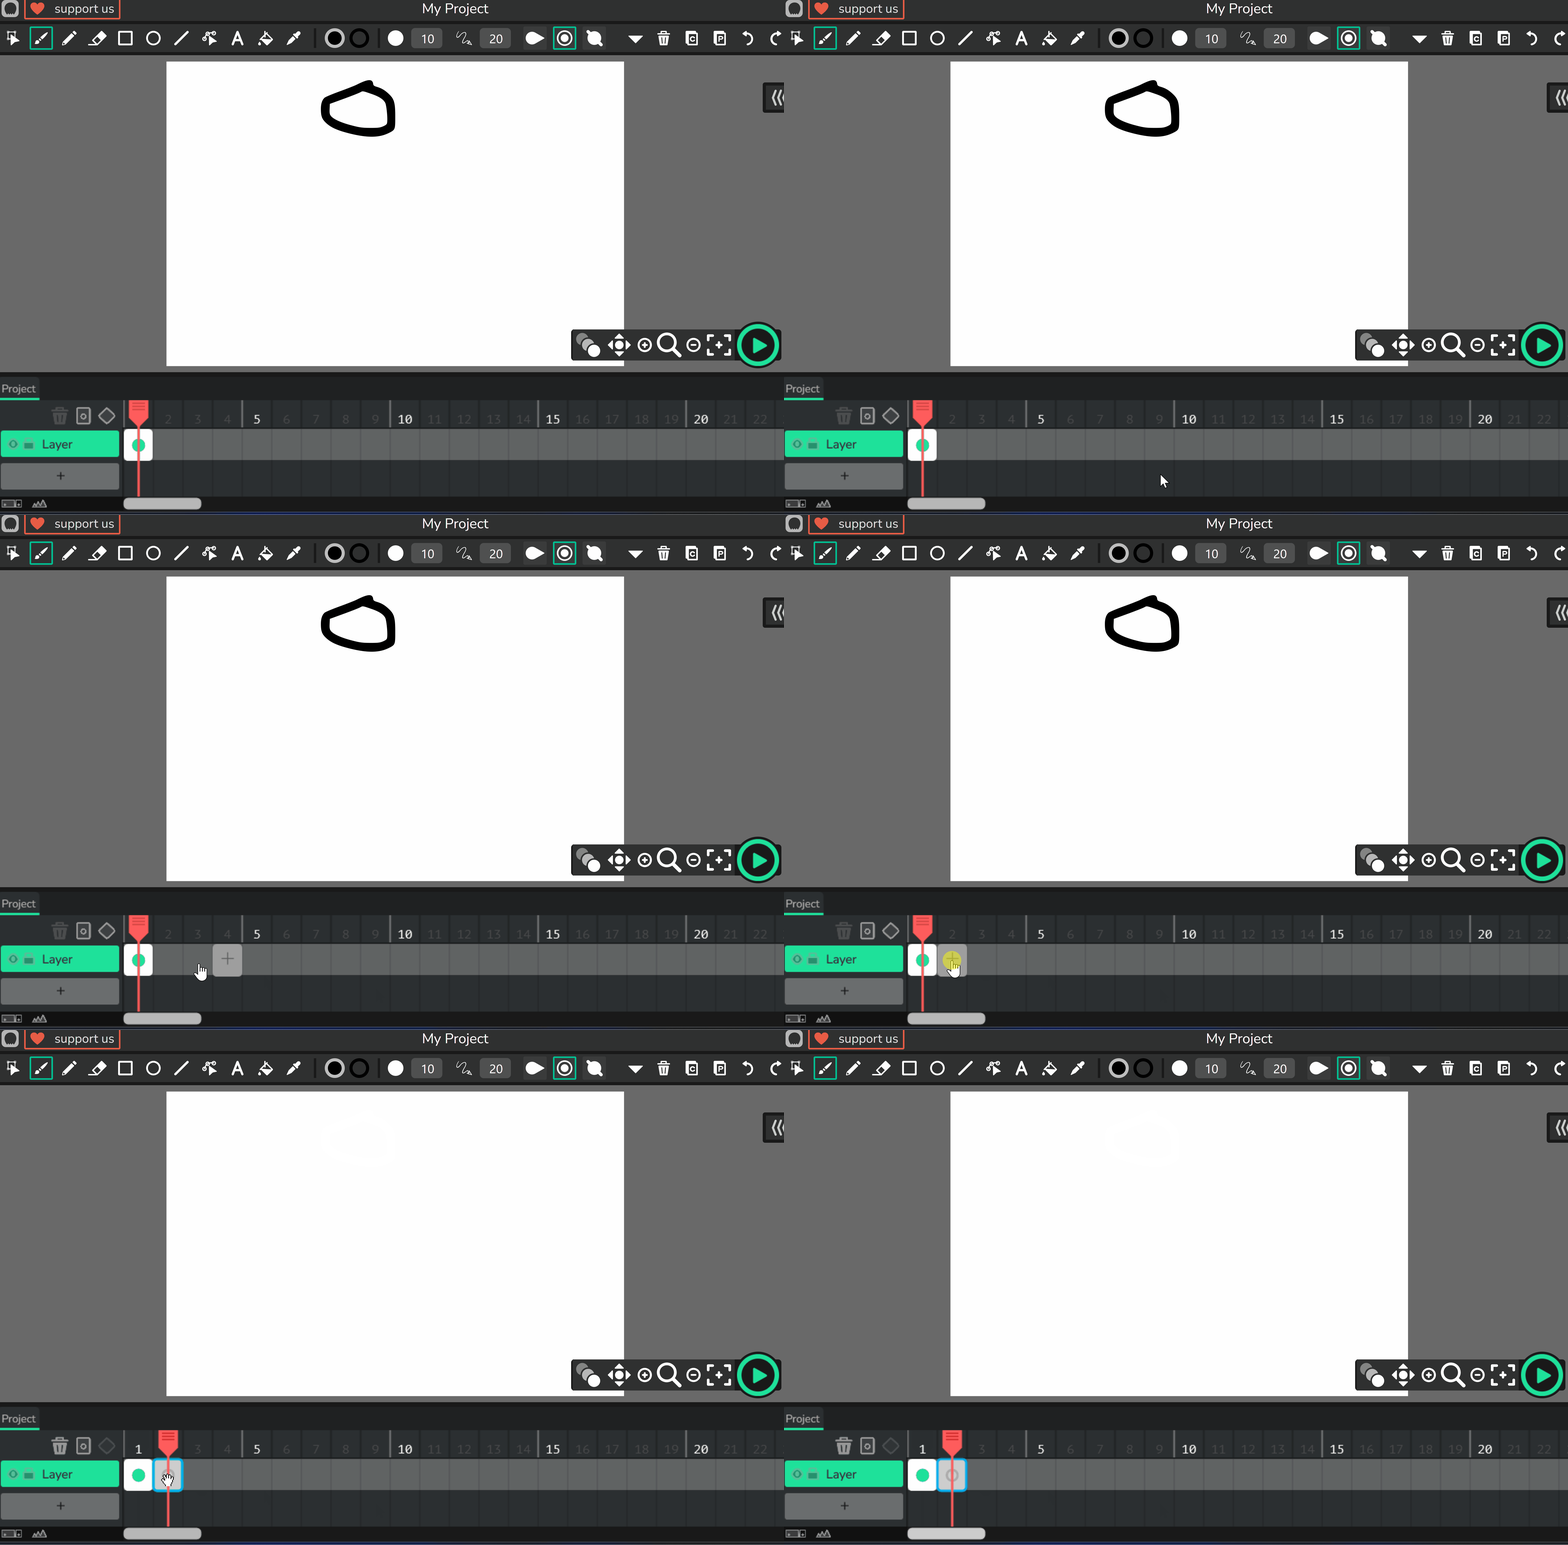
To add a new frame, click on an empty spot in the timeline next to your existing frame. You can also right-click in the timeline and select 'Add Frame' from the menu that appears.
For now, add at least one new frame. In the next steps, we'll draw in these frames to create the bouncing effect.
Remember, each new frame is like a new page in a flipbook – small changes between frames will create the illusion of movement when played back.
To add a new frame to your project, click an empty spot in the timeline at the bottom of the screen.
