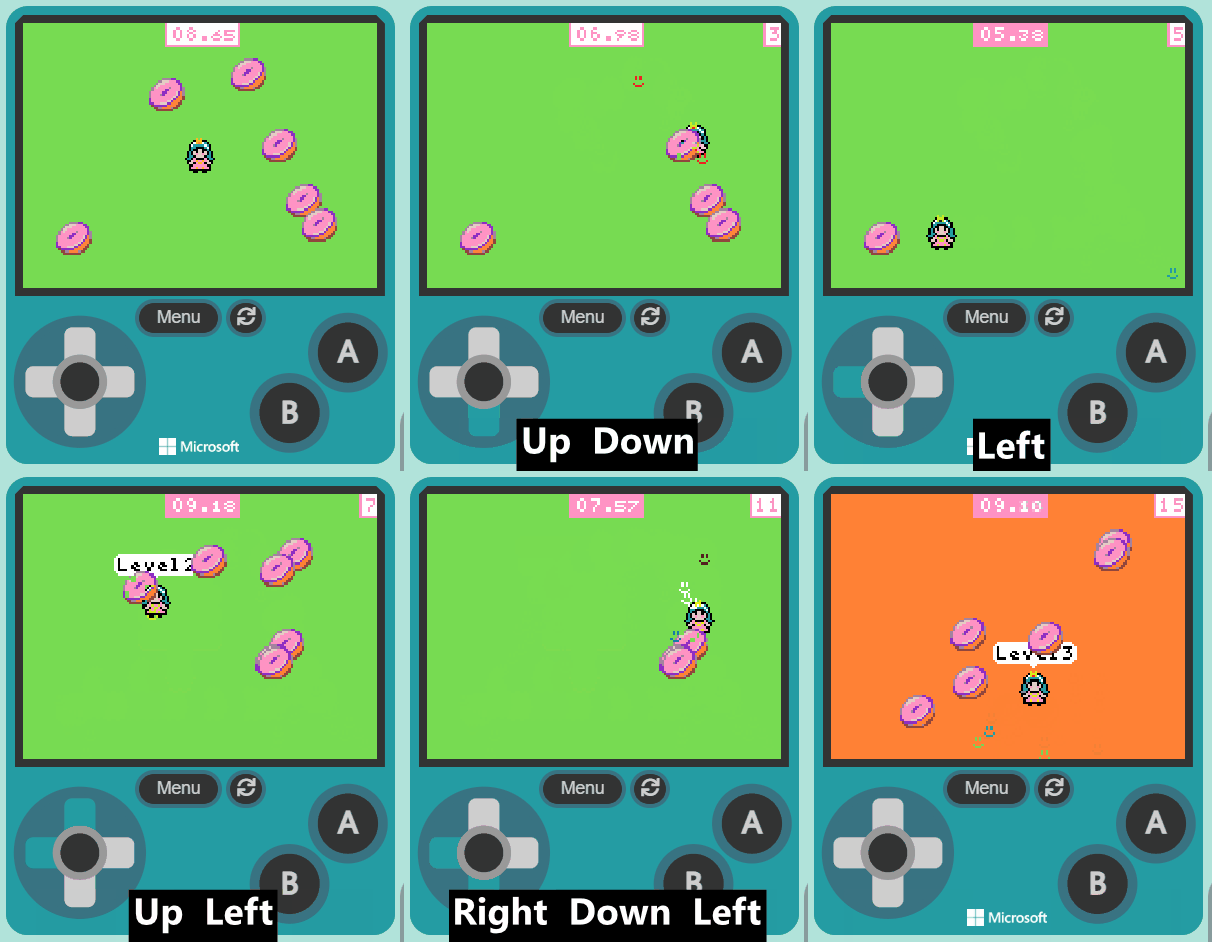
Welcome to the 'Donut Rush' game creation lesson! In this exciting course, you'll learn how to create your very own interactive game using MakeCode Arcade. The game you'll be creating is called 'Donut Rush'. The goal of the game is to collect as many donuts as possible within a set time limit. You'll learn how to write code to create game sprites, handle events like sprite overlaps, and control the game logic. Let's get started!
Start by creating a new project in MakeCode Arcade. To do this, go to the MakeCode Arcade website and click on 'New Project'.
Create a new Arcade project using the makecode.com website.
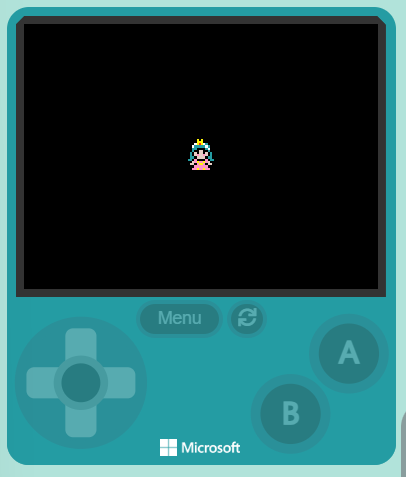
Let's set up the game. We'll create a splash screen, set up some variables, and create our player sprite. The splash screen is the first screen that appears when the game starts. It's a great place to display the game's title or any instructions for the player.
The variables we're creating will be used to keep track of the game's state:
Add the following code:
let mySprite: Sprite = null
let collected = 0
let target = 0
let level = 0
game.splash("Collect the donuts!")
level = 1
target = 0
collected = 0
mySprite = sprites.create(img`
    . . . . . . 5 . 5 . . . . . . .
    . . . . . f 5 5 5 f f . . . . .
    . . . . f 1 5 2 5 1 6 f . . . .
    . . . f 1 6 6 6 6 6 1 6 f . . .
    . . . f 6 6 f f f f 6 1 f . . .
    . . . f 6 f f d d f f 6 f . . .
    . . f 6 f d f d d f d f 6 f . .
    . . f 6 f d 3 d d 3 d f 6 f . .
    . . f 6 6 f d d d d f 6 6 f . .
    . f 6 6 f 3 f f f f 3 f 6 6 f .
    . . f f d 3 5 3 3 5 3 d f f . .
    . . f d d f 3 5 5 3 f d d f . .
    . . . f f 3 3 3 3 3 3 f f . . .
    . . . f 3 3 5 3 3 5 3 3 f . . .
    . . . f f f f f f f f f f . . .
    . . . . . f f . . f f . . . . .
    `, SpriteKind.Player)
controller.moveSprite(mySprite, 70, 70)
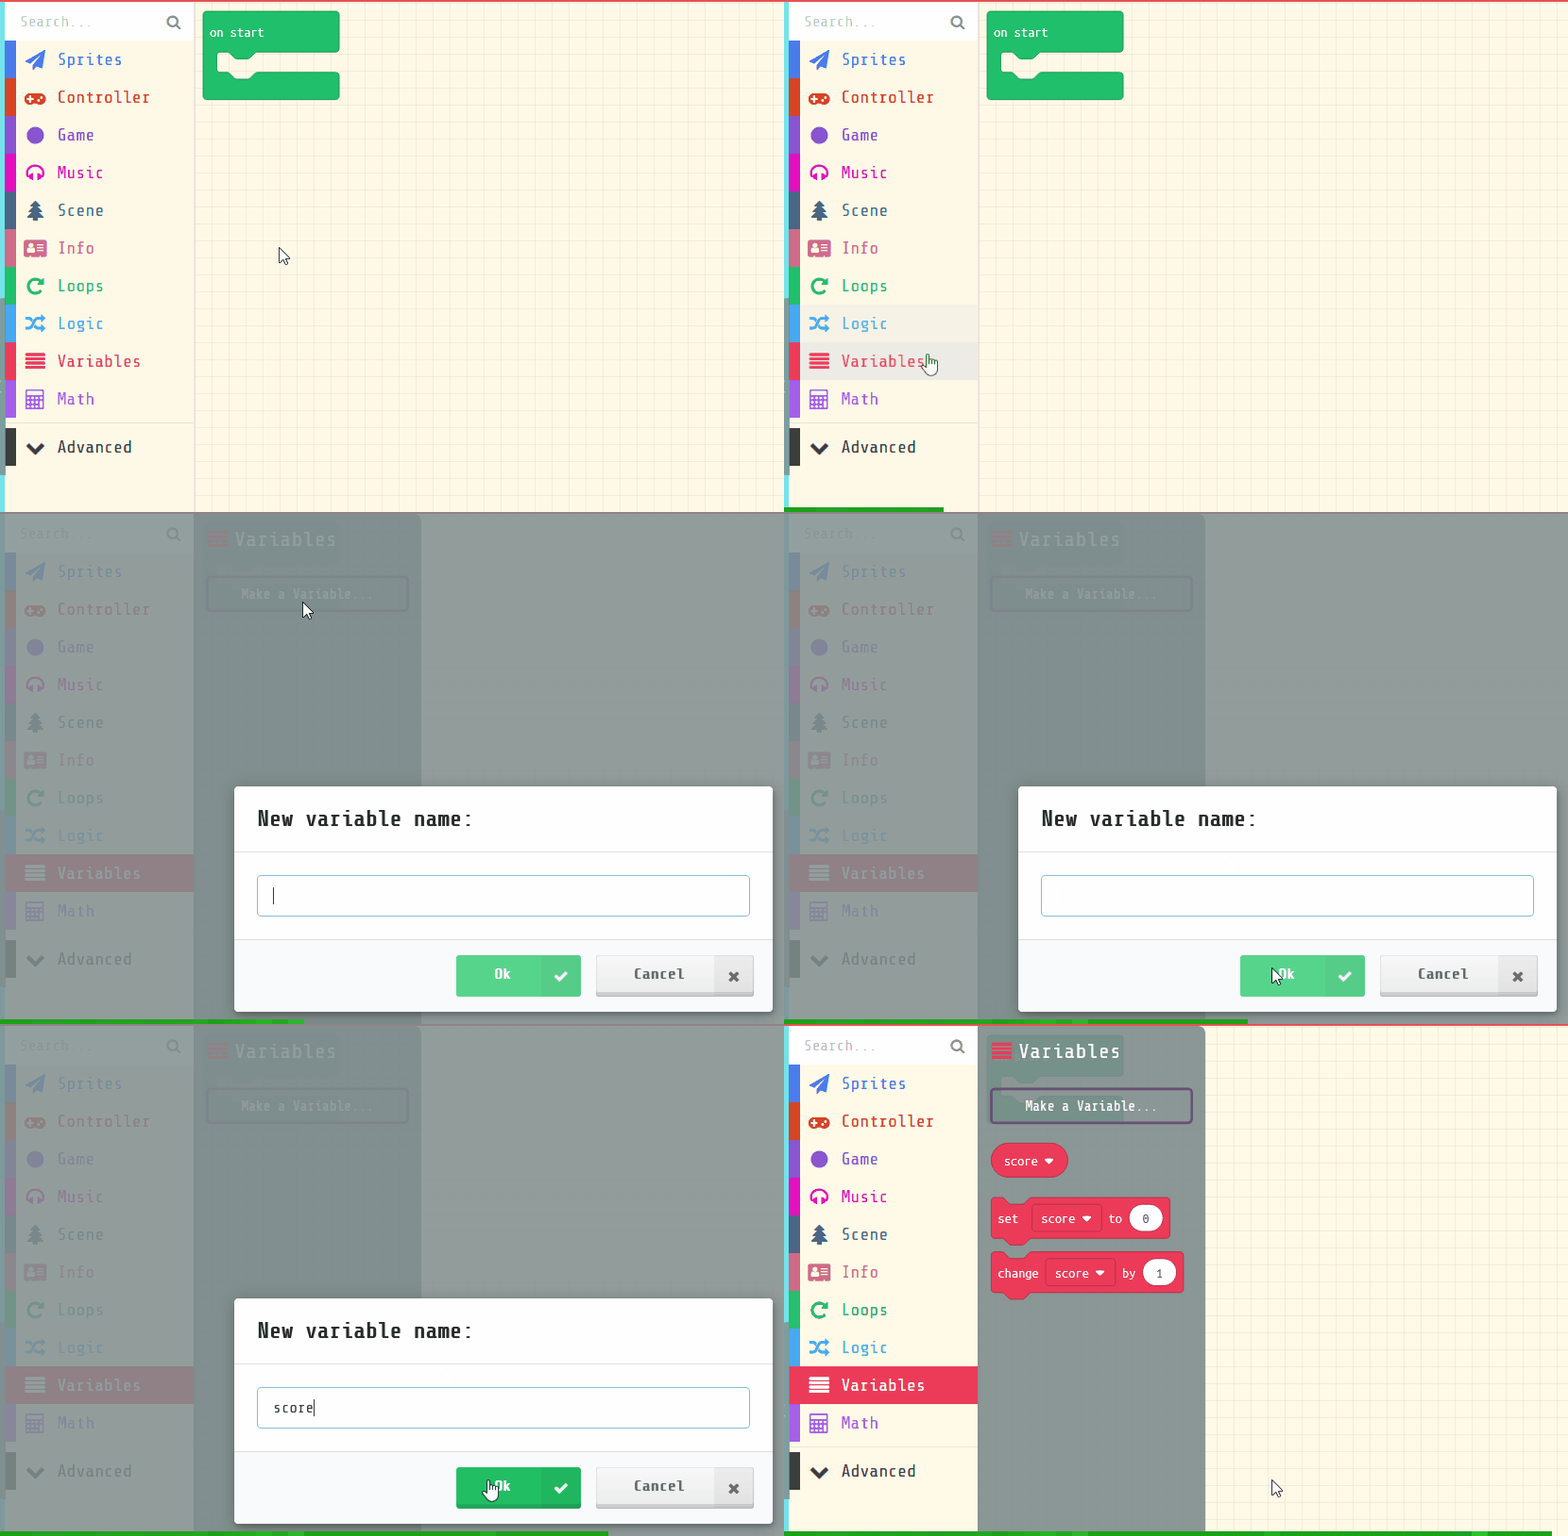
In the Variables toolbox, create a new variable by clicking the 'Make a Variable' button.
Once you click this button a box will appear asking what you want to call your variable. Give it a name that reminds you what you will be using it for. For example, if you wanted to keep track of your score in a game, you would create a variable called 'score'.
A function in programming is a reusable piece of code. It allows you to group several commands together, which can then be called upon whenever you need them. This helps to make your code more organised and efficient.
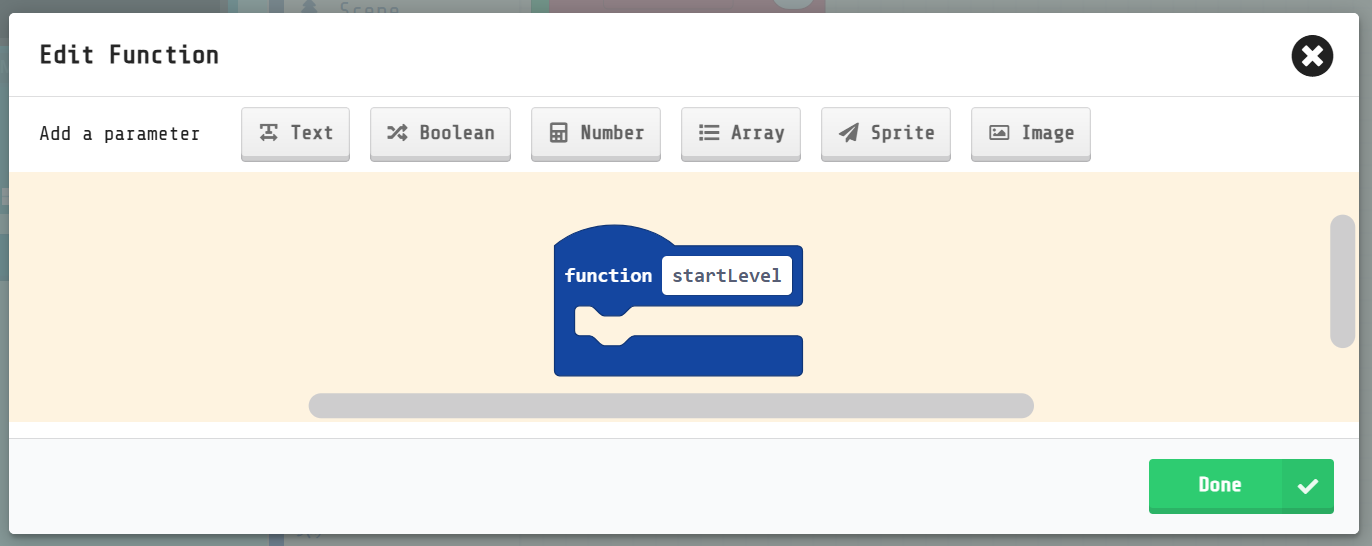
Create a function called startLevel.
function startLevel () {

}
Functions are useful if you have some code/instructions that you want to use again and again.
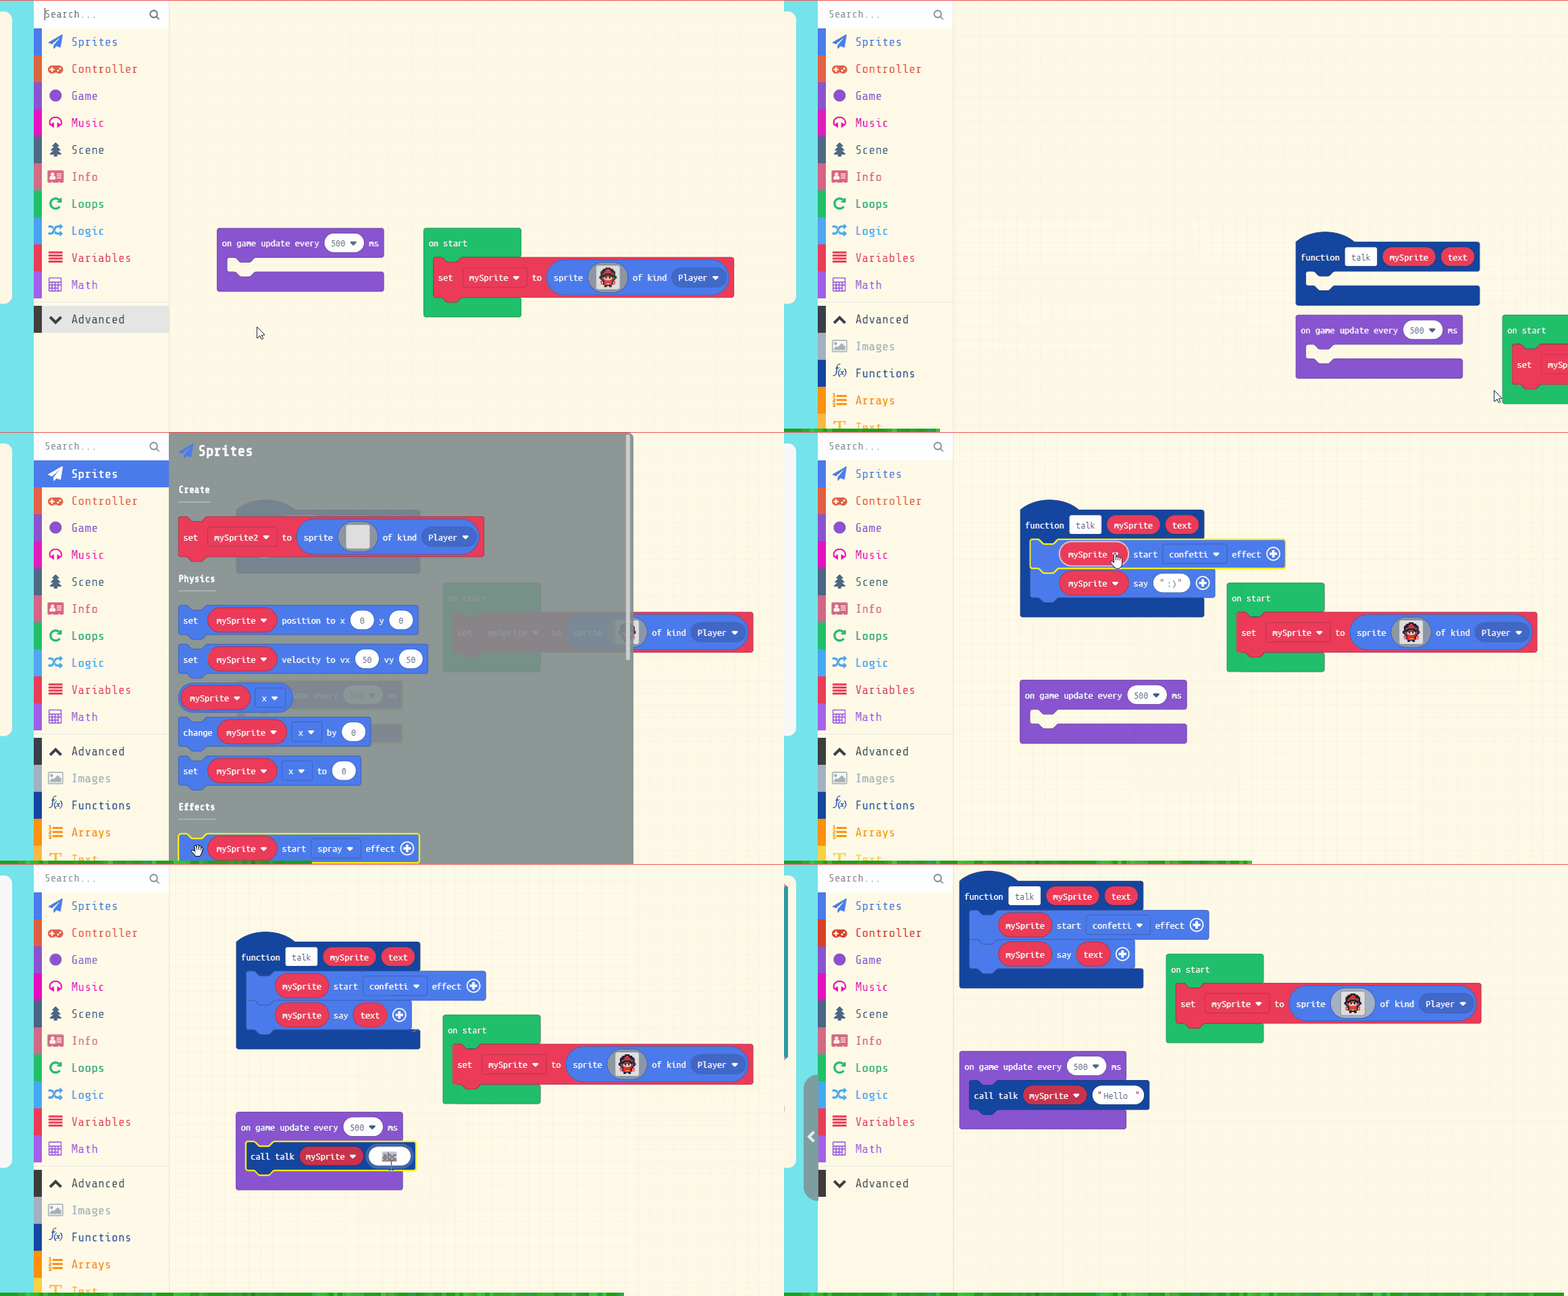
To create a function go to the Advanced > Functions toolbox and click 'Make a Function'.
Give your function a name that makes sense and choose whether to pass anything into the function. In this example we will pass in a sprite and some text for it to say.
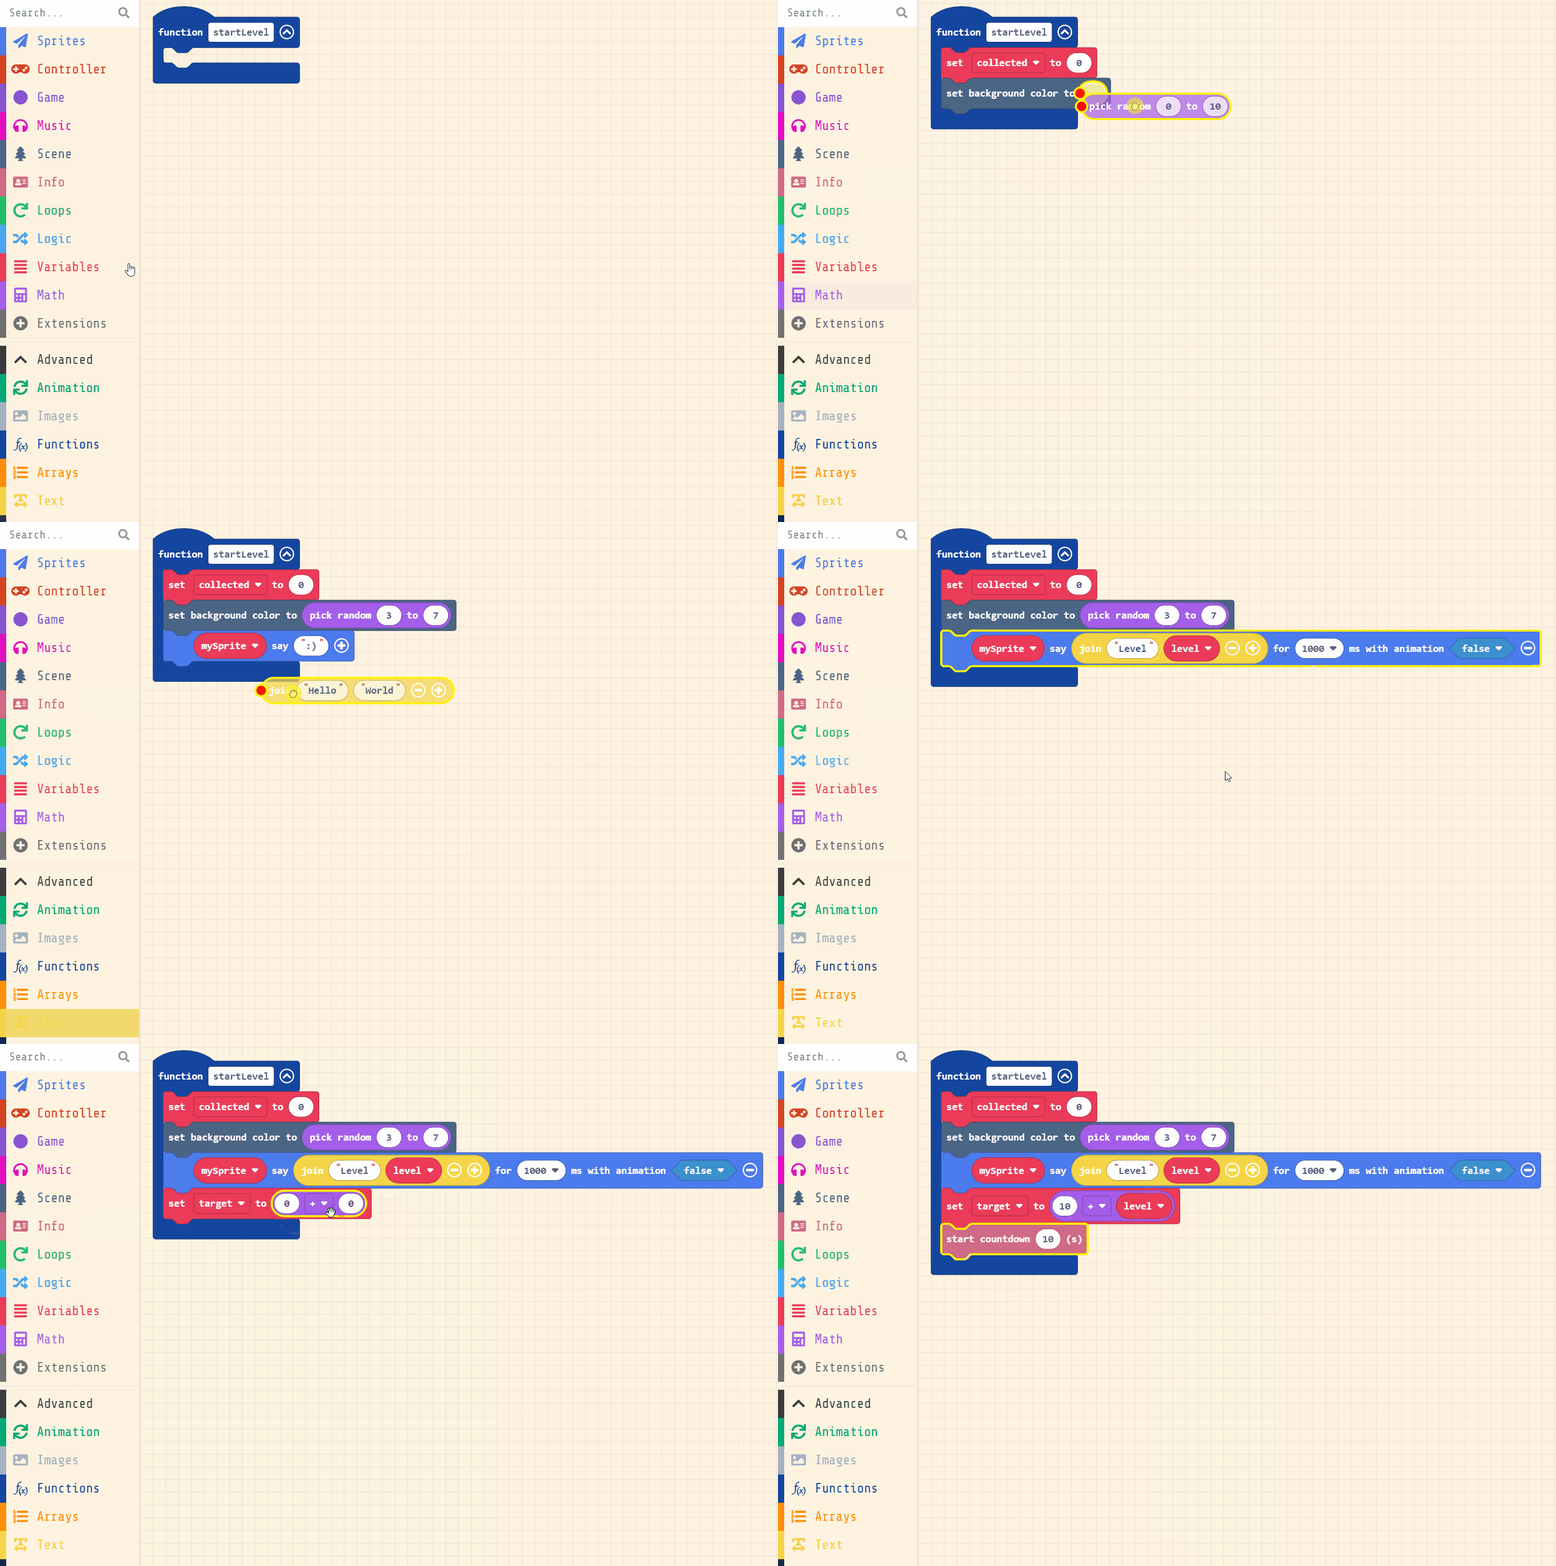
Now let's add some code to the function. This code will run each time we want to setup and start a new level in the game.
Here's what we will does:
Add the following code inside the startLevel function:
let mySprite: Sprite = null

function startLevel () {
    collected = 0
    scene.setBackgroundColor(randint(3, 7))
    mySprite.sayText("Level " + level, 1000, false)
    target = 5 + level
    info.startCountdown(10)
}
