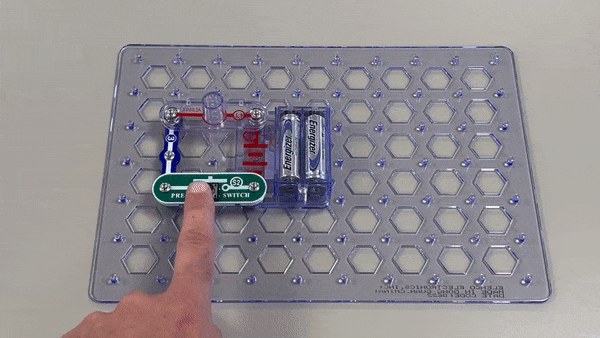
Sensors & Circuits
Beginner
30 mins
Teacher led
What you need:
Snap Circuits

Electric Light and Press Switch

In this step-by-step lesson, you'll learn about electricity and how to control it using a press switch. You'll build a circuit using Snap Circuits, starting with preparing the base grid, inserting batteries, and placing various components like the battery holder, wire block, lamp block, and press switch block. Finally, you'll light up your circuit and explore further with your Snap Circuits set.
Learning Goals Learning Outcomes Teacher Notes

Live Class Feed

This is a live feed of the latest activity by your students on this lesson. It will update in real-time as they work on the lesson.
Load previous activity

    1 - Introduction

    Welcome to our exciting lesson on 'Electric Light and Press Switch'! Today, we are going to learn about how electricity works and how we can control it using a press switch. 

    Start the lesson by reminding your students what electricity is. You can say, 'Electricity is a type of energy that can build up in one place and then flow from that place to another, doing work like lighting up a bulb or powering a computer.'

    Next, remind them of the concept of a switch. You can say, 'A switch is a device that can control the flow of electricity. When a switch is on, electricity can flow. When a switch is off, the flow of electricity stops.'

    Our goal is to understand how electricity can be controlled to light up a bulb using a press switch, which is slightly different from the slide switch in the previous lesson.
    Due to the age of the students and the 'toy' nature of Snap Circuits with all the parts, students will naturally deviate off the path of this lesson and will want to explore all the fun and interesting parts of the Snap Circuits set.

    Try and keep them on track as much as possible and maybe offer them a reward of some time to explore and play at the end, if they get the circuit in the lesson made.

    2 - Prepare the Base Grid

    Instruct your students to place the base grid on a flat, stable surface. Make sure each group has enough space to work comfortably. This is an important step to ensure the stability of the snap circuits they will build.


    3 - Inserting Batteries

    At this stage, we need to ensure that the batteries are in the battery holder. If they are not already there, please insert them now. Each Snap Circuits set you are using will need its own set of batteries. So, if you are using multiple sets, make sure each one has its batteries properly inserted in the battery holder. This is crucial for the functioning of the circuits we will be building.


    4 - Place the battery holder (B1)

    Now, let's place the battery holder on our base grid. Tell your students to find the spot marked as C4 on the grid, this is where we will place the battery holder (B1).

    Once they have placed the battery holder correctly, they should press it gently to snap it into place.

    To explain the grid to your students, you can say it's like a map. The letters A-G are like streets running up and down (vertical), and the numbers 1-10 are like roads running side to side (horizontal). So, to find C4, they need to find the 'street' C and the 'road' 4, where they meet is where the battery holder goes.


    5 - Place wire block (3)

    Now let's put in the number 3 wire. Instruct your students to find the number 3 wire block. They need to connect one end of the wire block to the point C2 on the grid and the other end to E2. Make sure the wire block snaps into place securely.

    Explain to your students that the wire block is like a road that allows electricity to travel from the battery holder to the lamp (once we have all the blocks in place).


    Unlock the Full Learning Experience

    Get ready to embark on an incredible learning journey! Get access to this lesson and hundreds more in our Digital Skills Curriculum.

    Copyright Notice
    This lesson is copyright of Coding Ireland. Unauthorised use, copying or distribution is not allowed.
    πŸͺ Our website uses cookies to make your browsing experience better. By using our website you agree to our use of cookies. Learn more