Sensors & Circuits
Beginner
30 mins
Teacher led

Electric Light and Switch
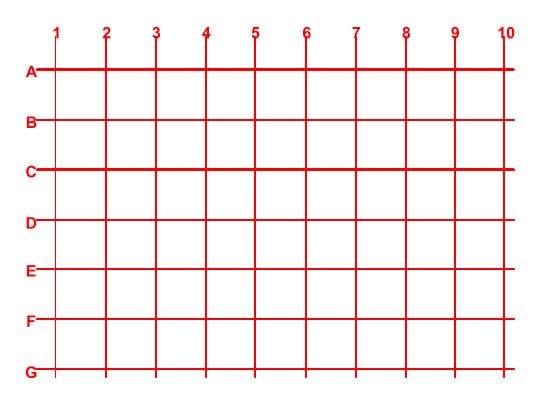
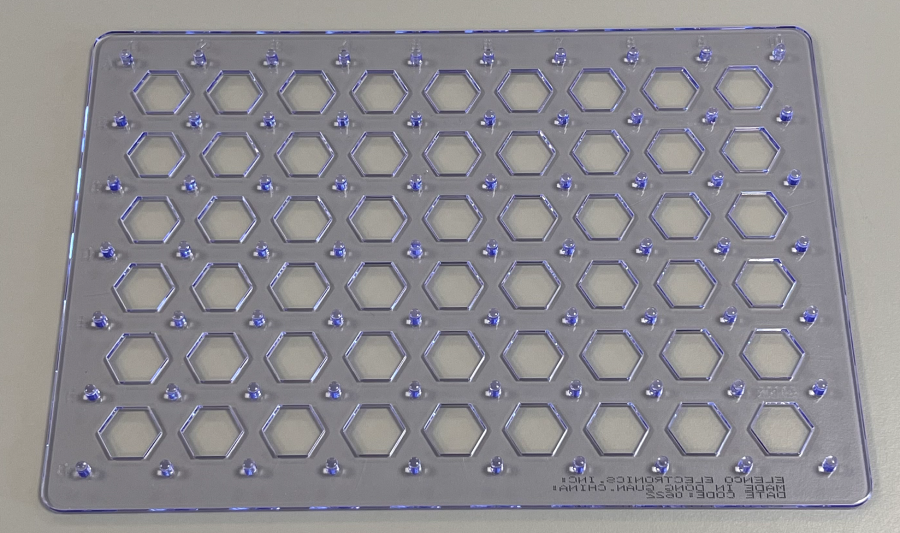
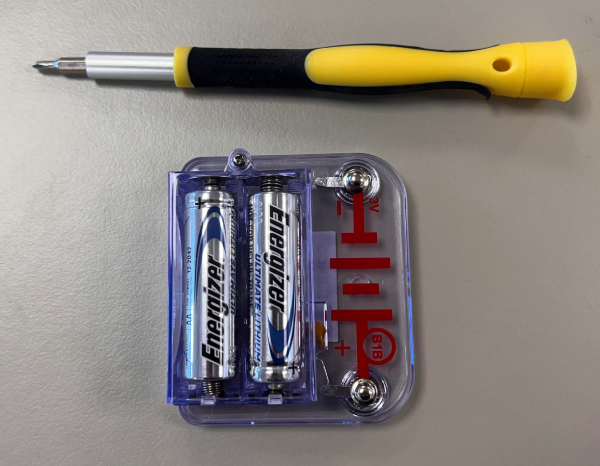
As the teacher, guide your students through the basics of electricity and switches using Snap Circuits. Explain key concepts, assist with assembling components on the base grid, and ensure safety while they light up a lamp with a slide switch.
.png)

.png)
.png)
.png)
.png)


