Welcome to today's exciting Scratch Jr. lesson! Your students are about to embark on a space adventure by programming a spaceman to float through the cosmos.
This mission is designed to teach them one of the most powerful tools in coding: the repeat block (or loop). A loop allows a character to perform an action over and over without you having to manually input each step—perfect for simulating endless floating!
They'll then program this movement by:
Using a sequence of basic movement blocks to create a short "floating" motion.
Adding the repeat block around that movement sequence to create an endless floating motion, simulating the weightlessness of space.
This lesson will solidify their understanding of basic movement and introduce the crucial concept of loops in coding.
Start the lesson by introducing the idea of space exploration! Discuss with the students how astronauts move in space compared to how we move on Earth.
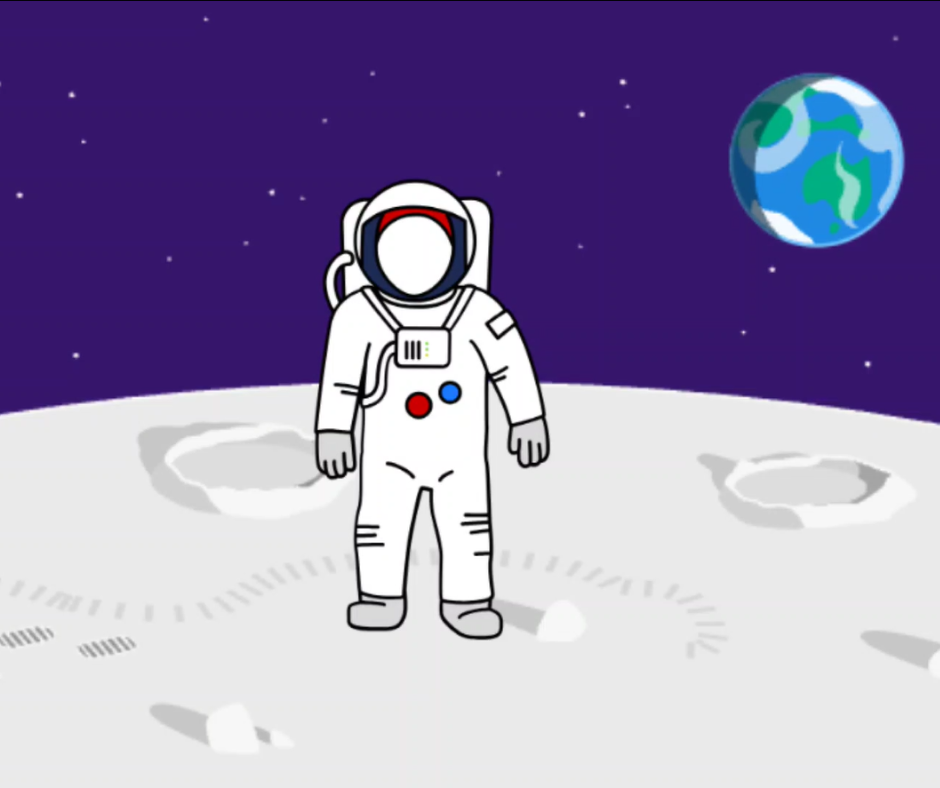
Click on the picture to display the visual stimulus for discussion. Ask the students:
How do you think a spaceman would move? (Prompt for answers like floating, slowly, or smoothly).
What directions can they move in? (Up, down, left, right—not just forward on the ground!).
This discussion is crucial, as the way astronauts move—floating, with slow, smooth motions—is exactly the sequence of movements they will need to program into Scratch Jr. for their spaceman.
Now that we've discussed how astronauts move, let's set the stage in Scratch Jr. for our space mission.
Guide your students to open a new project and get ready for their new character:
Open New Project: Tap the Home button, then tap the large plus icon (+) to start fresh.
Remove the Cat: Since we're going to space, we need to remove the default character. Show students how to tap and hold on the Scratch the Cat sprite until the "X" appears, then tap the "X" to delete it.
Add the Spaceman: Tap the plus icon (+) in the character area again to open the library. Guide them to browse through the characters and select a spaceman/astronaut sprite.
Next, have the students choose the environment for their spaceman:
Tap the background icon (the small landscape picture) above the stage area.
Browse through the options and select a space-themed background.
Once the steps are complete, click on the picture to show the students what their screen should look like—a spaceman floating against the cosmos, ready to be coded!
First, let's discuss how we translate our ideas about floating into code. Gather your students and encourage them to think about using the four directions—up, down, left, and right—to simulate the continuous, slow floating motion of an astronaut. Remind them they need small, smooth movements, not big jumps.
Now, demonstrate how to build this basic "floating" sequence in Scratch Jr.
Start the Program: Remind the students to drag the green flag block (the yellow start block) into the coding area.
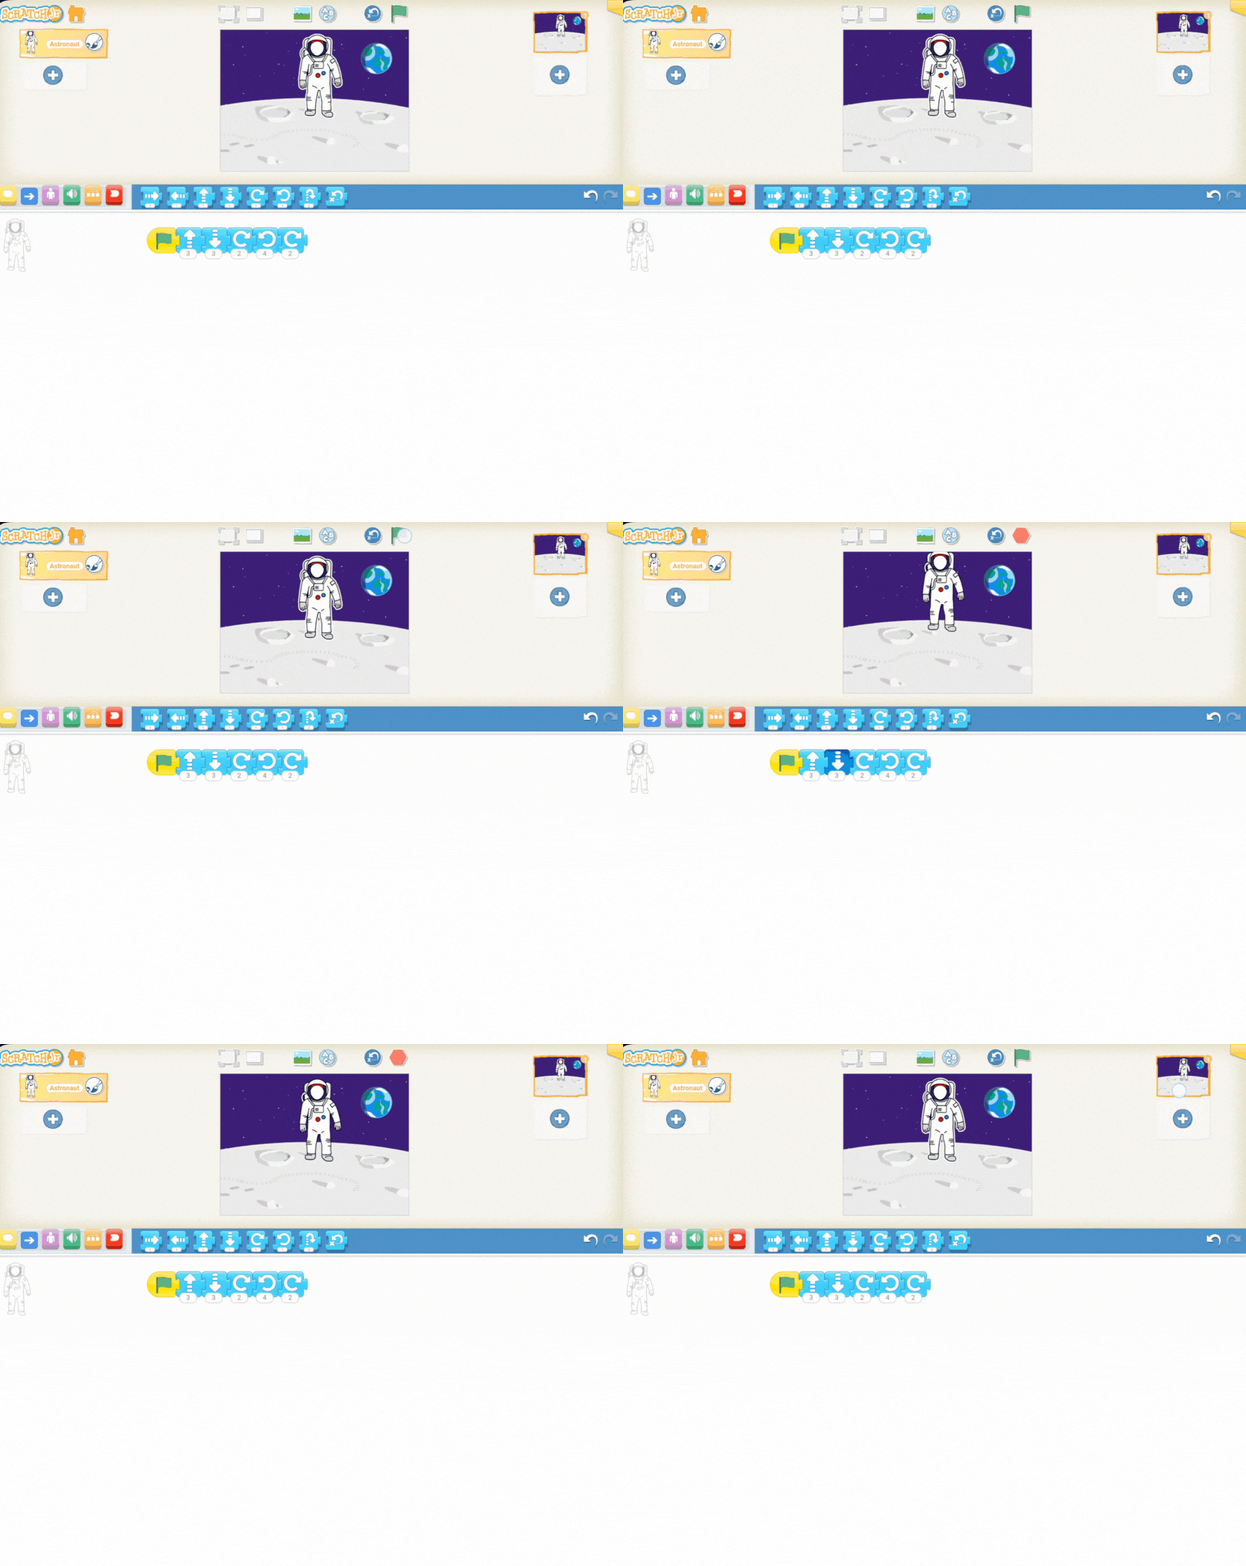
Build the Float: Show them how to add a sequence of movement blocks (the blue blocks) to create one short floating cycle. For example, your sequence could be:
One Up block
One Down block
One Left block
One Right block
Test: Have them click the green flag to see their spaceman perform this short floating pattern.
Click on the video to preview what this specific movement should look like. This sequence is the foundation for the continuous floating motion we will create next!
Now it's time to make the spaceman float continuously! Tell your students you're going to introduce the repeat block, which is one of the most powerful ideas in coding.
Explain that the repeat block (found in the Control category—the orange blocks) creates a loop. A loop makes the computer do the same thing over and over again without needing a long list of instructions. This is perfect for simulating the endless, weightless floating of space!
Find the Block: Guide students to the orange repeat block.
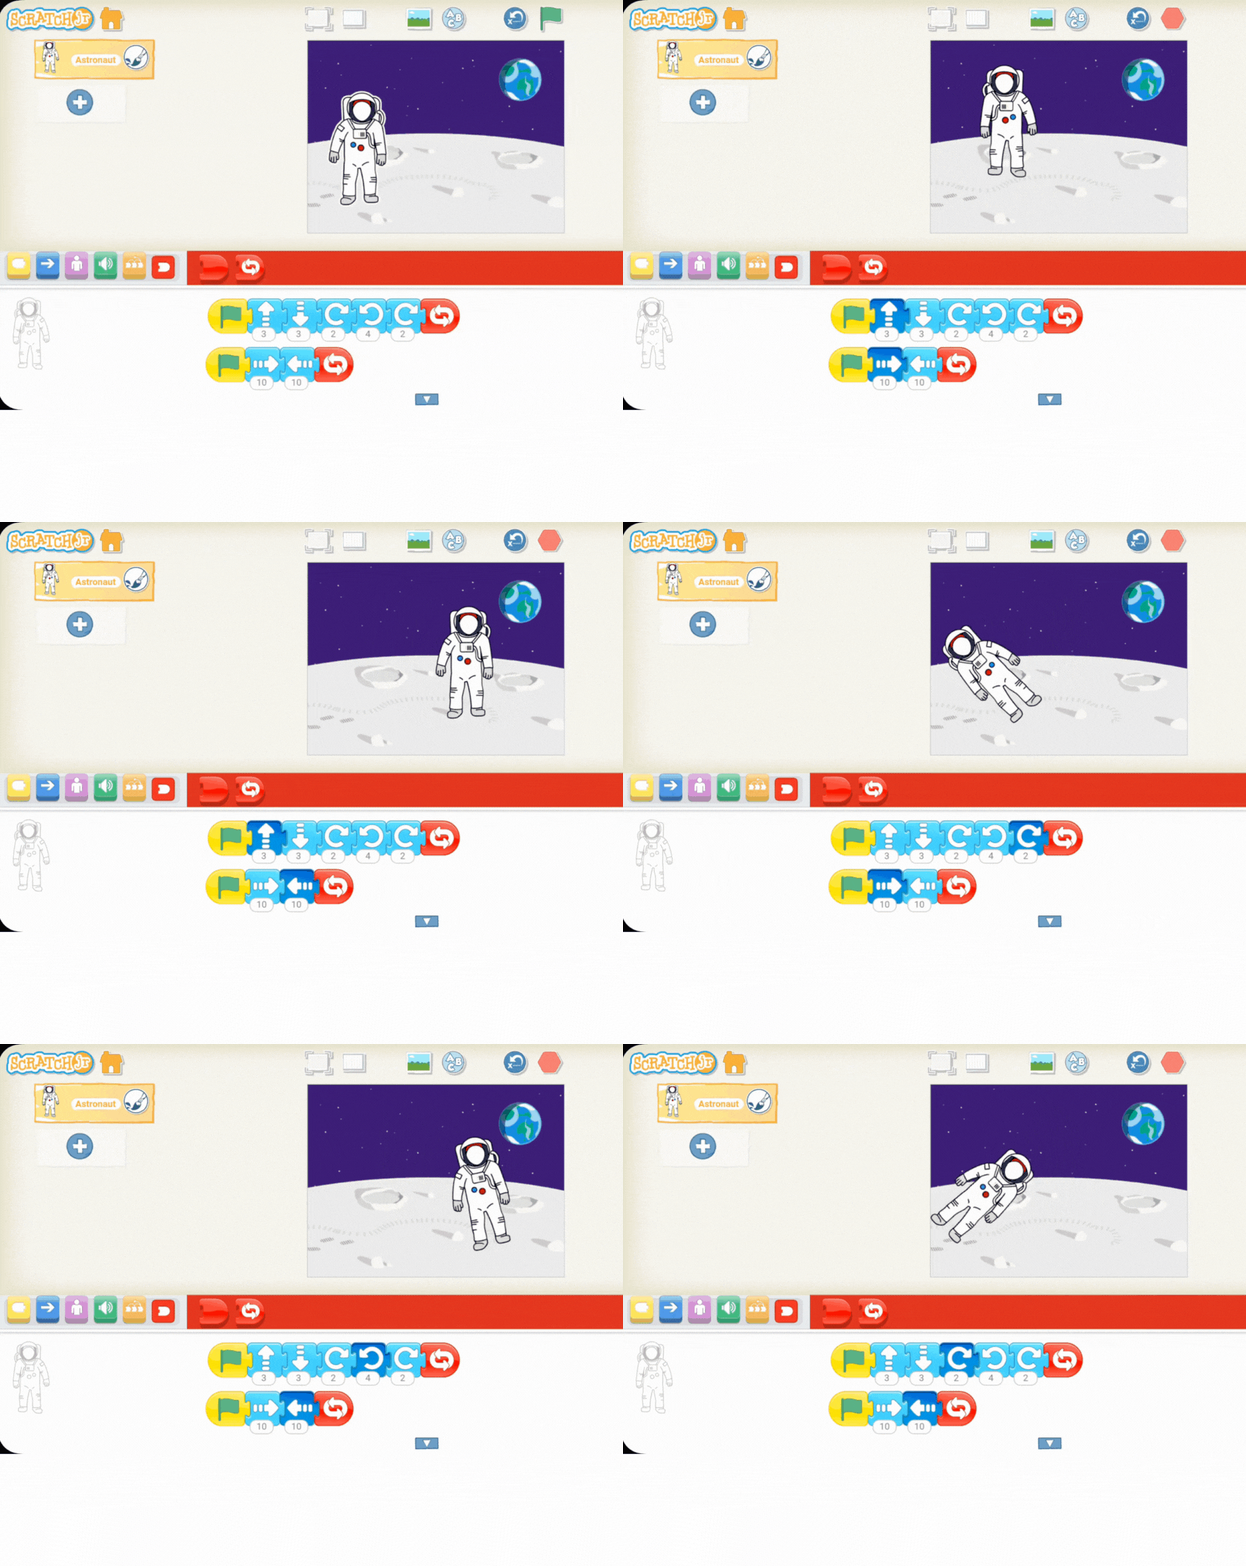
Encapsulate the Code: Show them how to place the repeat block around their existing floating sequence of movement blocks. (The repeat block should now be attached to the green flag, with the movement blocks tucked inside).
Test the Program: Instruct the students to click the green flag to start their project and watch as the spaceman floats continuously in space.
Click on the green flag to preview this smooth, endless floating movement. If the spaceman is moving too fast, encourage them to adjust the numbers on the movement blocks to slow down the motion!
.png)


