Unplugged Lesson
Beginner
40 mins
Teacher led
+100 XP
What you need:
IWB/Projector/Large Screen

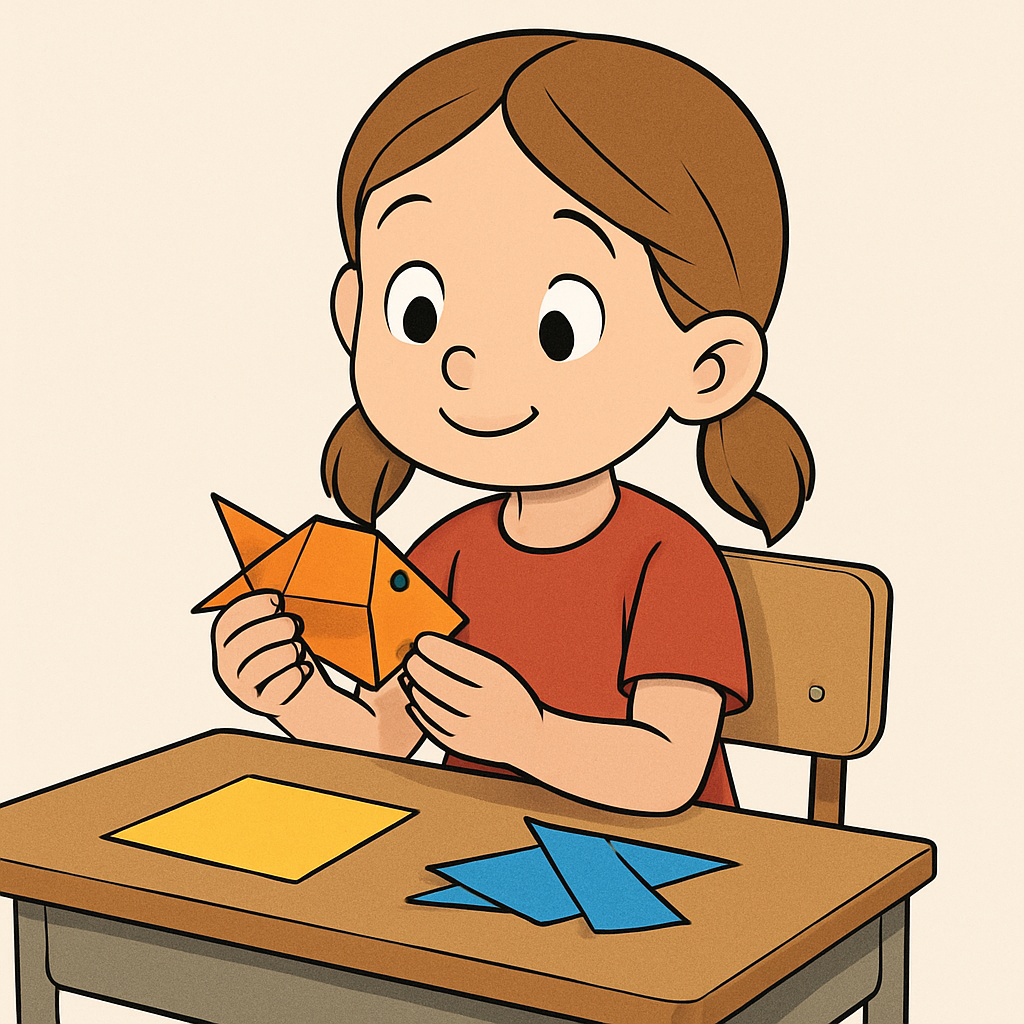
Fold-a-Fish — Why Clear Steps Matter

As a teacher, guide your students through a hands-on activity to highlight the importance of clear instructions. Lead them in creating an origami fish, first with vague guidance, then with precise steps, to contrast the outcomes and teach the value of structured directions.
Learning Goals Learning Outcomes Teacher Notes

Teacher Class Feed

Load previous activity

    1 - Introduction

    This lesson will help your students distinguish the difference between clear and vague instructions and see how each affects a task's outcome.

    They'll experience this firsthand by attempting to make an origami paper fish.

    First, they'll try to make a paper fish on their own, and then they'll try again with step-by-step instructions.

    Origami is typically done with a Square of paper rather than a typical A4 Rectangle. You could prepare these prior to the class using a guillotine or have each student cut their own page to size during the lesson.

    2 - The Vague Instruction

    Begin by handing each pupil a single sheet of paper. Frame the activity as a fun challenge, emphasising that it's designed to be a bit tricky.

    Without providing any examples, diagrams, or verbal instructions on how to fold, simply state the goal:

    โ€œYour challenge is to fold your piece of paper into the shape of a fish.You cannot tear or cut your page and you cannot draw or colour it! โ€

    Set a visible timer for the entire class (5 minutes should be plenty). During this time, resist the urge to provide any hints. The purpose of this step is to let students experience the frustration and uncertainty that come from a vague instruction!

    Observe how they approach the taskโ€”some might experiment randomly, while others might give up quickly. This crucial period of ambiguity will serve as the perfect contrast for the next part of the lesson.

    3 - The First Reflection

    After the timer for the first attempt goes off, invite the students to put their paper creations down and gather their thoughts. Before you move on to the next step, guide a brief discussion to capture their immediate feelings and observations.

    Ask them a few key questions to get them to reflect on the process:

    • "How did that feel? What was the hardest part?"

    • "Did anyone feel frustrated or unsure of what to do next?"

    • "What did you need to make the task easier?"

    As students share their thoughts, jot down a few of their key phrases on the board.

    This will serve as a powerful reminder of the problems that arise from a vague instruction, setting the stage for the next part of the lesson where they will receive a clear, ordered algorithm.

    4 - The Clear Instruction

    Hand a fresh sheet of paper to each student. Explain that this time, you'll provide a clear, step-by-step algorithm to guide them. Tell them to follow your instructions precisely, without guessing ahead. This is a critical moment in the lesson, as your deliberate delivery will demonstrate the power of unambiguous commands.

    Read the steps below one at a time, pausing after each one to ensure every student has completed the action before you move on. For the best result, model each fold with your own paper as you speak.

    Simple Paper Fish โ€” step-by-step (no cutting/glue):

          1. Place your square like a diamond with the point facing up.
          2. Fold the left point to the right point to make a triangle; crease it well. Make sure the point of the triangle is now facing right (this is the fish's nose).
          3. Fold the top corner of the triangle down to the long edge to make a small top fin; crease it.
          4. Fold the left (tail) point of the triangle in toward the body by about a third; crease it.
          5. Now, fold a little of that tail back out (a small triangle) to make a tail fin; crease it.
          6. Optional: Fold a thin strip along the bottom edge up to make the belly; crease it.
          7. Finally, press all of your creases one more time so it holds its shape.

          5 - undefined

          Bring the class together to discuss their experience. Invite them to hold up their two finished pieces, putting their first, "guesswork" creation side-by-side with their second, "instruction-based" one.

          Guide the discussion with a few key questions to help them reflect on the process:

          • "Let's talk about how this felt. What was easy about the second time? What was tricky about the first attempt?"

          • "How long did you spend just trying to decide what to do in your first attempt, versus the second?"

          • "What did the clear instructions give you that you didn't have before?"

          As students share their thoughts, jot down 3โ€“4 key phrases on the whiteboard. You'll likely hear things like, "didnโ€™t know where to start," "kept changing my plan," or "it was frustrating." Acknowledging these feelings helps them understand the value of having a clear plan. This is the core takeaway: a clear, ordered algorithm is what turns frustration and confusion into a successful outcome.

          Unlock the Full Learning Experience

          Get ready to embark on an incredible learning journey! Get access to this lesson and hundreds more in our Digital Skills Curriculum.

          Copyright Notice
          This lesson is copyright of Coding Ireland 2017 - 2025. Unauthorised use, copying or distribution is not allowed.
          ๐Ÿช Our website uses cookies to make your browsing experience better. By using our website you agree to our use of cookies. Learn more