Game
Makecode Arcade
Advanced
60 mins
Teacher/Student led
+165 XP
 Chromebooks, laptops, and PCs are crucial tools for coding and digital skills education. Chromebooks are ideal for web-based applications and collaborative projects, while laptops and PCs support a wider range of programming environments and software for more intensive tasks like software development and data analysis.
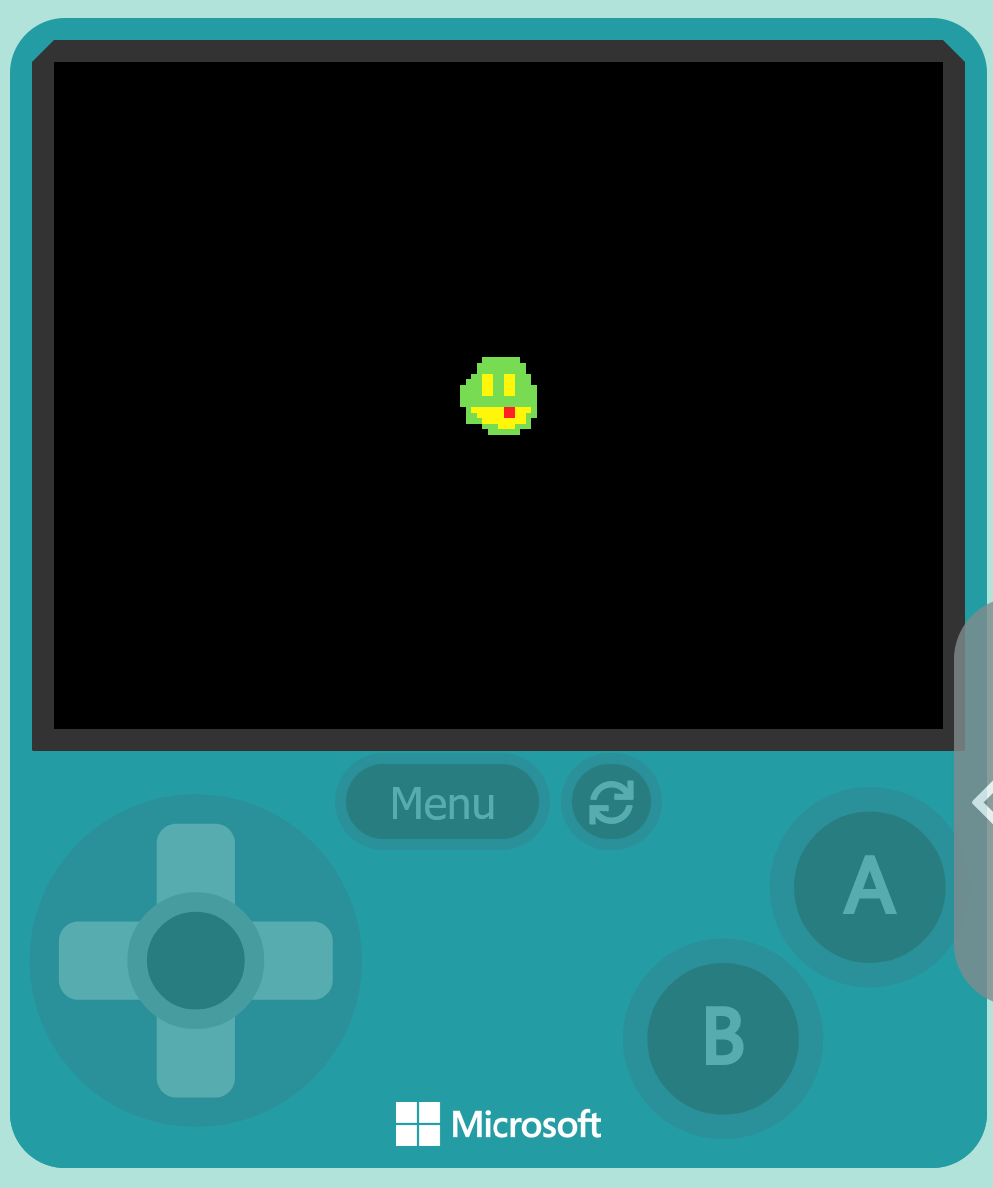
Fruit Frenzy
In this lesson, you'll create an interactive game called 'Fruit Collector' using MakeCode Arcade. You'll learn how to create and control a character, generate falling fruits and harmful rocks, and manage scoring and lives. The lesson covers game loops, character controls, collision detection, and more. No prior coding experience is required.