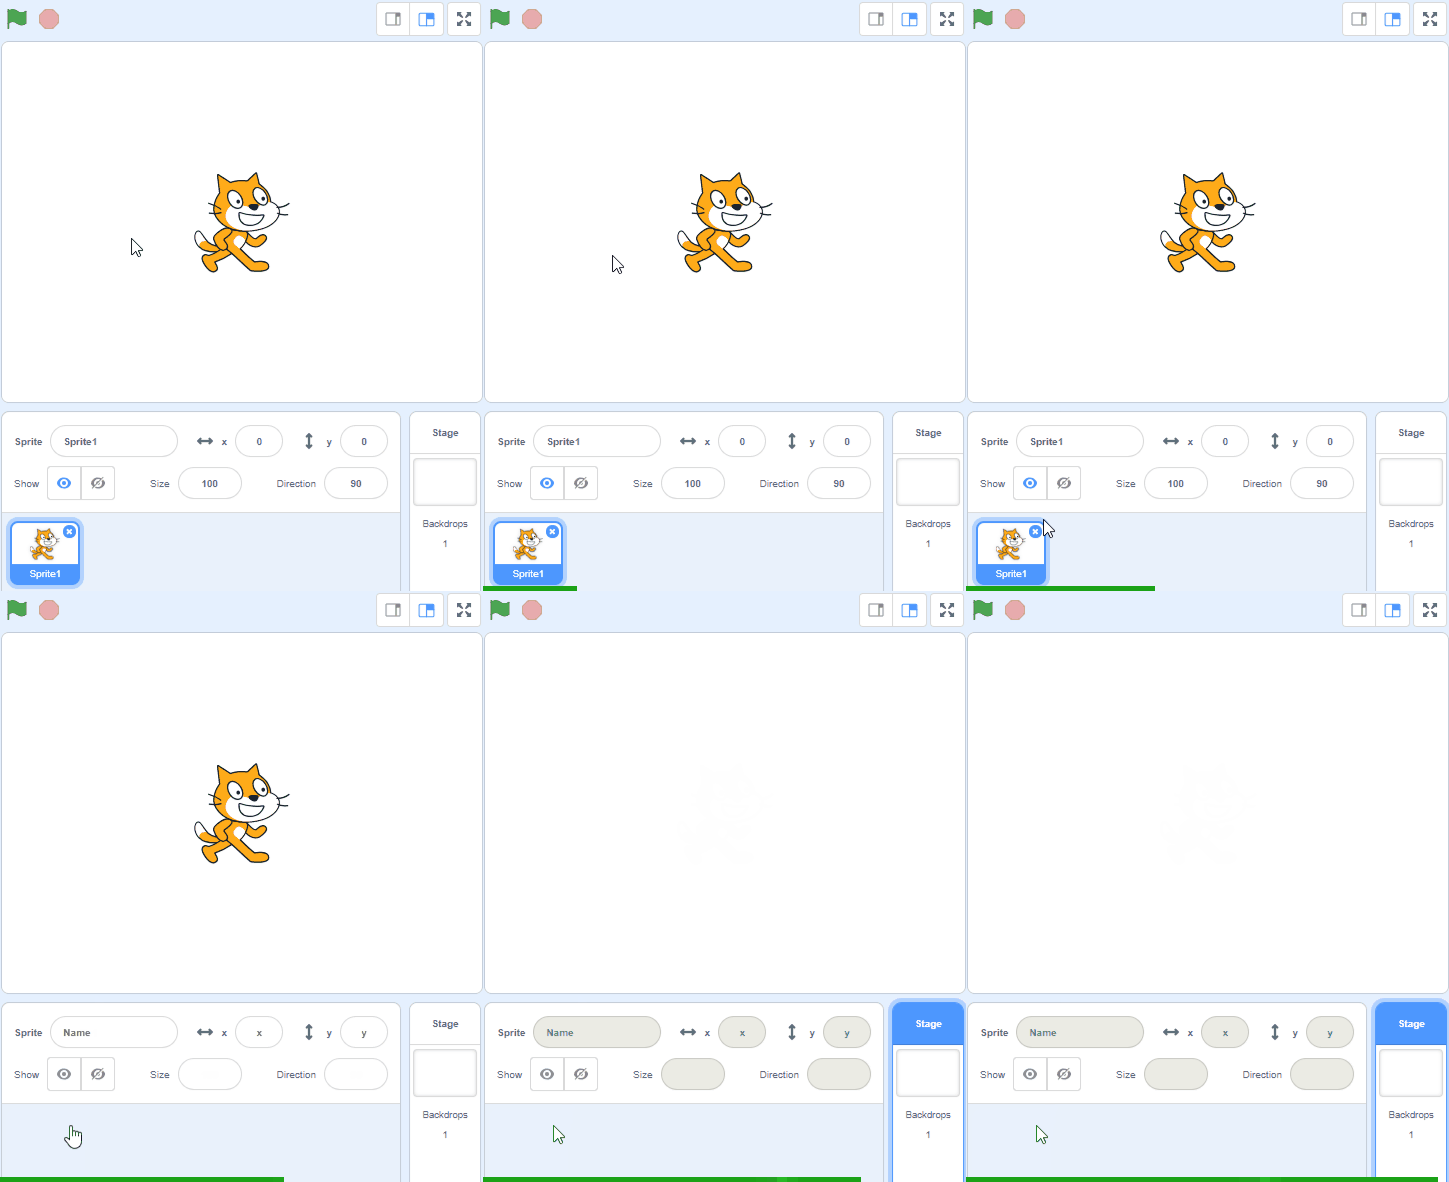
Visit the Scratch website at scratch.mit.edu. Click on 'Create' at the top of the page to start a new project.
Go to the Scratch website using the link below and click on the 'Create' link in the blue bar at the top.
By default, each new project starts with the cat sprite already added. To delete the cat click on the x in the blue circle beside the cat in the sprite list.
Welcome to the Scratch interface! This is the space where you'll be creating your projects. Let's take a closer look at each part of it.
On the right side of the screen, you'll see the 'Stage'. This is where your animation or game will come to life. You'll see your sprites (characters or objects) move, interact, and perform actions here. You can also change the backdrop of the stage to set the scene for your project.
On the left side of the screen, you'll find the 'Blocks Palette'. This is where all the coding happens. The blocks are color-coded and categorized based on their functions. For example, motion blocks are blue, looks blocks are purple, and so on. You can drag and drop these blocks into the workspace to control your sprites.
The center of the screen is your 'Workspace'. This is where you'll drag and drop blocks from the Blocks Palette to build your scripts (sets of instructions for your sprites). You can snap these blocks together like puzzle pieces to create sequences of actions.
At the bottom, you'll find the 'Sprites List'. Here, you can add, delete, or edit sprites for your project. You can choose sprites from the Scratch library or create your own.
Now that you're familiar with the interface, let's start creating!
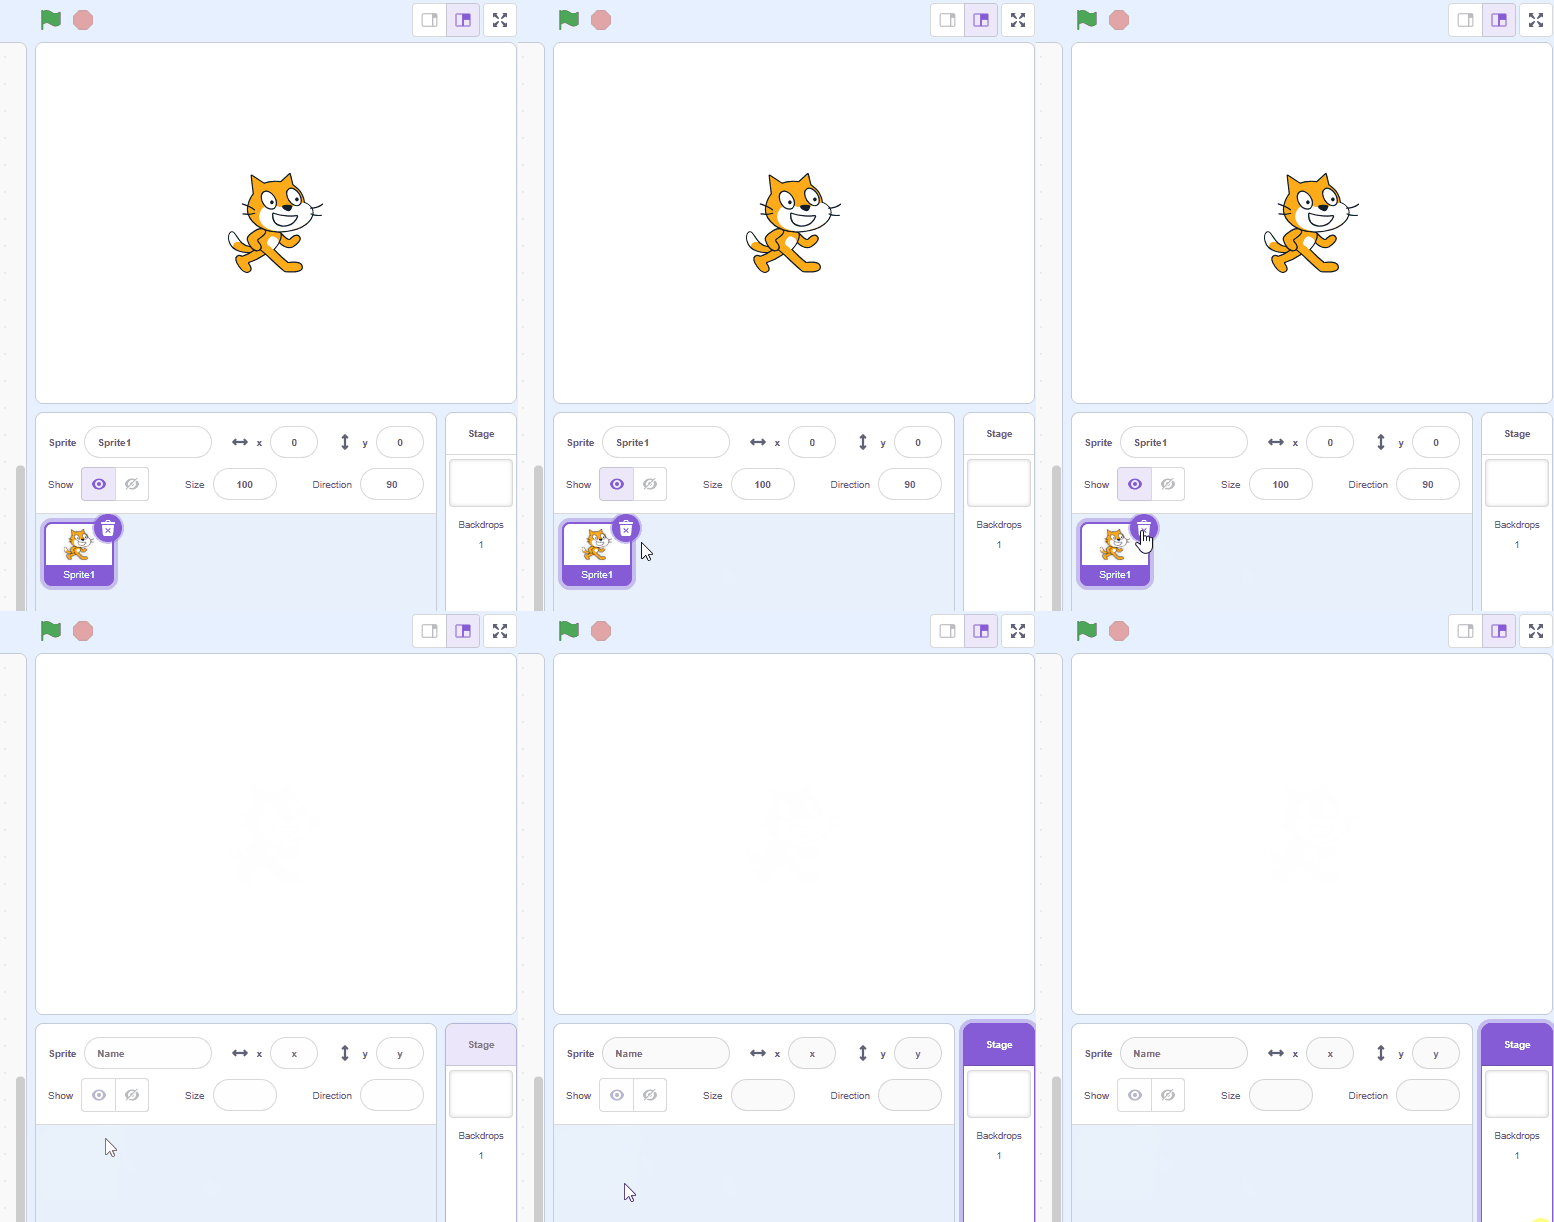
When you start a new Scratch project, the Cat sprite is added by default. We won't be using it for this lesson so click on the Trash icon of the Cat sprite in the Sprites List.
Start by clicking on the 'Choose a Sprite' button, located below the stage on the right. This will open the Scratch sprite library.
Browse through the available options and select a sprite that you like. Once you click on it, the sprite will appear on your stage, ready for you to animate in the next steps.
To add a sprite from the sprite library follow these steps:
You can use search box or the filter links (Animals, People, Fantasy etc) to locate your sprite.
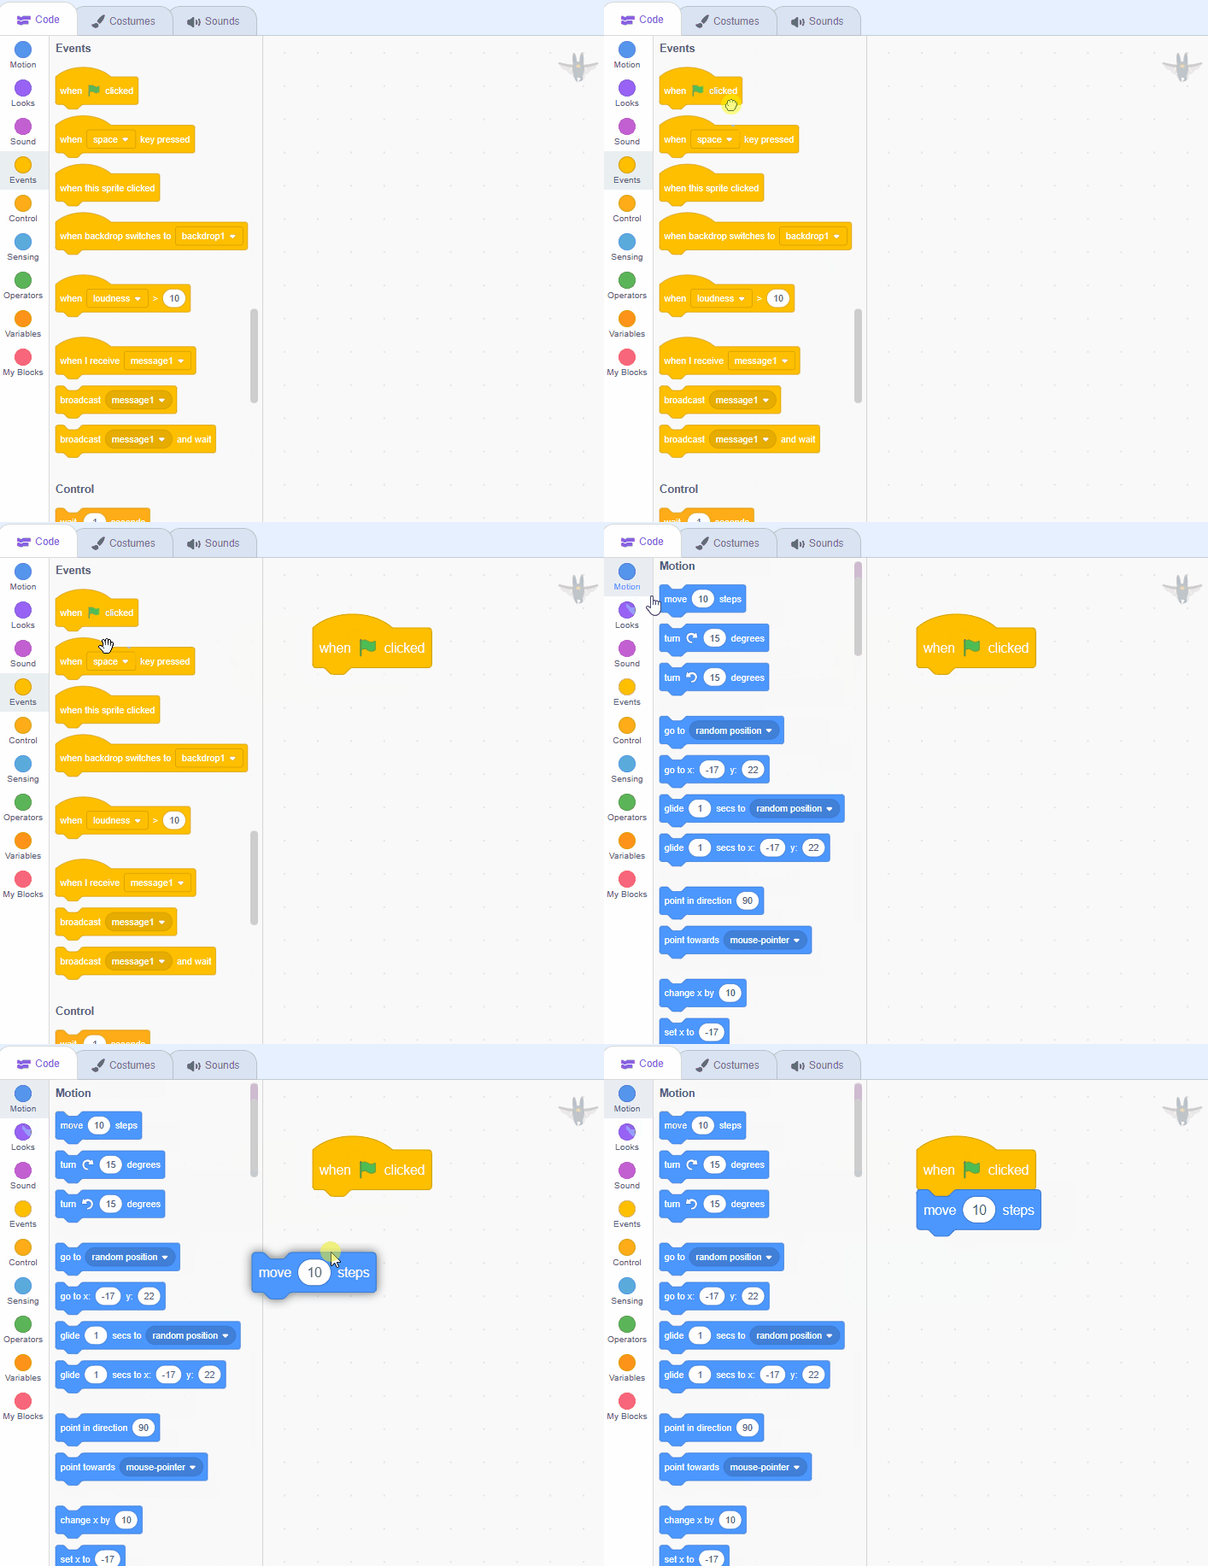
Let's make your sprite move! Drag the
when green flag clicked
block onto the workspace. Then, attach the
move (10) steps
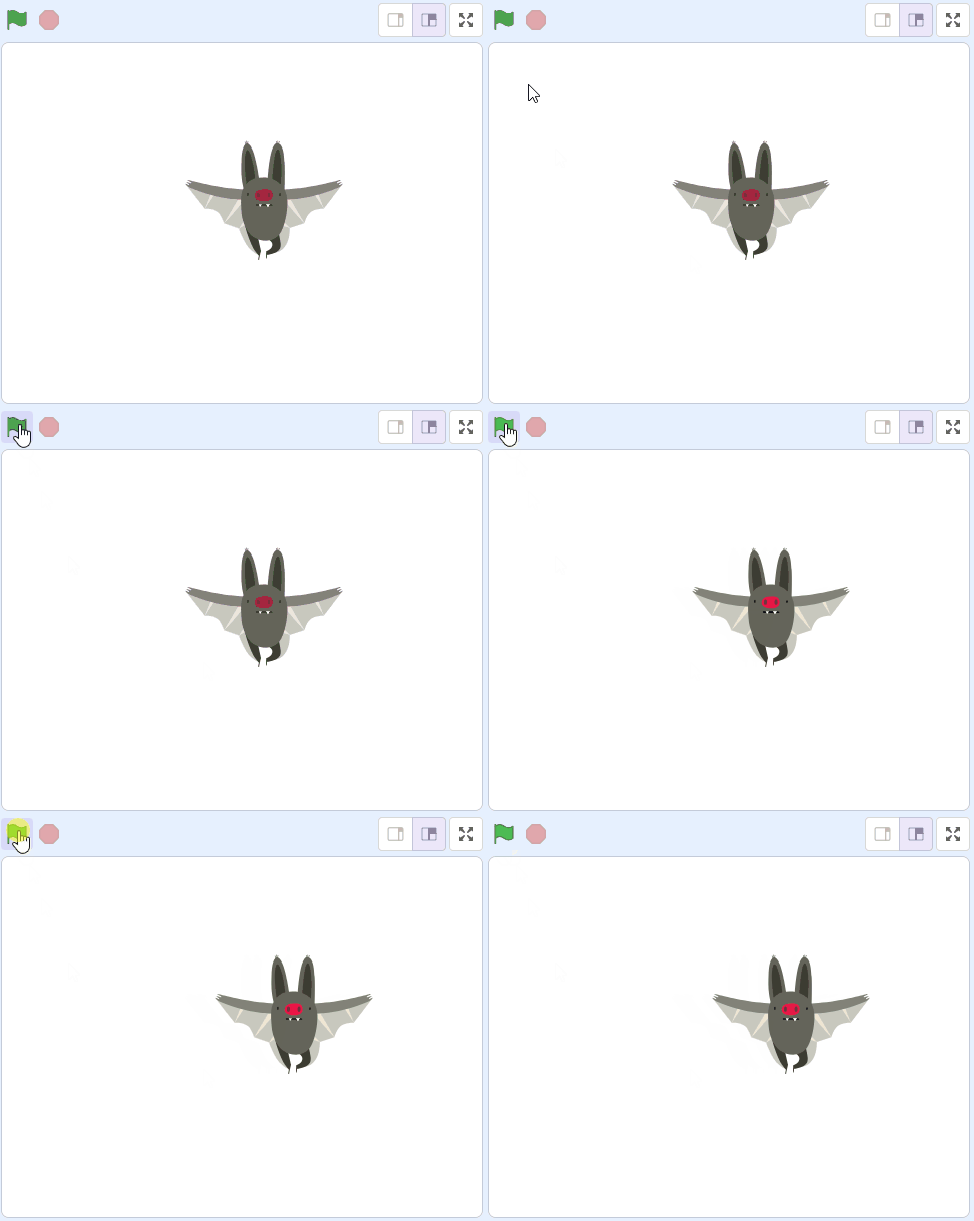
block to it. Click the green flag above the stage to see your sprite move!

.png)


