Sensors & Circuits
Beginner
30 mins
Teacher led

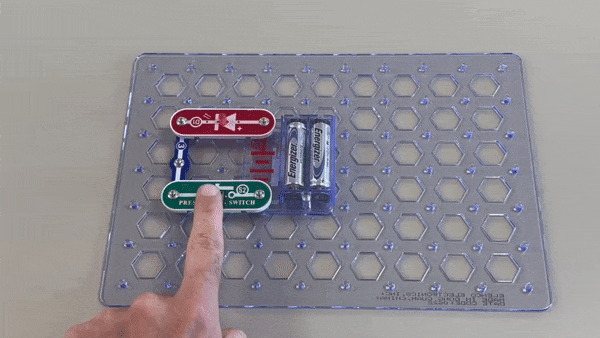
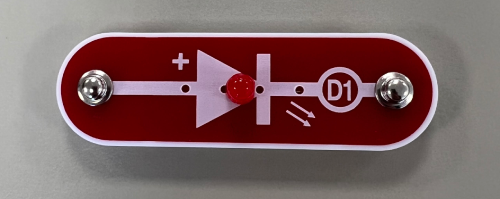
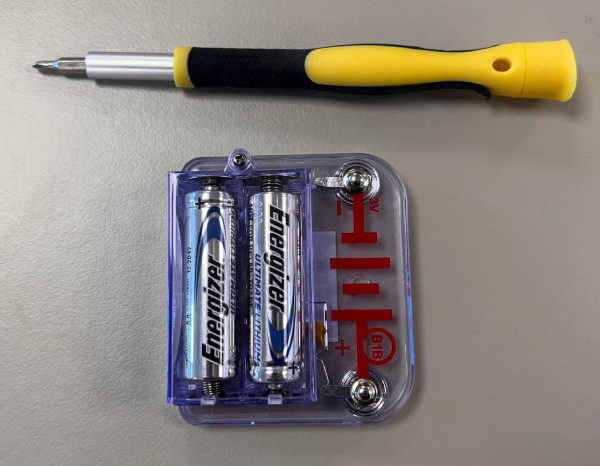
LED Circuit
As the teacher, guide your students through building a basic LED circuit using Snap Circuits. Explain the importance of electricity flow direction, assist with assembling components like the battery holder and LED, and encourage experimentation to reinforce learning.


.png)
.png)
.png)
.png)


