Chromebooks, laptops, and PCs are crucial tools for coding and digital skills education. Chromebooks are ideal for web-based applications and collaborative projects, while laptops and PCs support a wider range of programming environments and software for more intensive tasks like software development and data analysis.
Make a Character
In this lesson we will make a program that allows us to create characters and dress them up in different clothes and accessories.
In this lesson we will make a program that allows us to create characters and dress them up in different clothes and accessories.
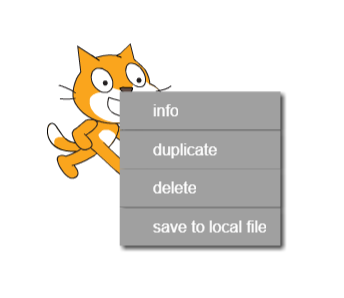
Create a new Scratch project and delete the cat sprite by right clicking on the cat and then clicking on the 'delete' option in the menu that appears.
New Scratch projects have the cat sprite automatically added to them so this step of deleting the cat (if it's not needed) will be frequently performed.
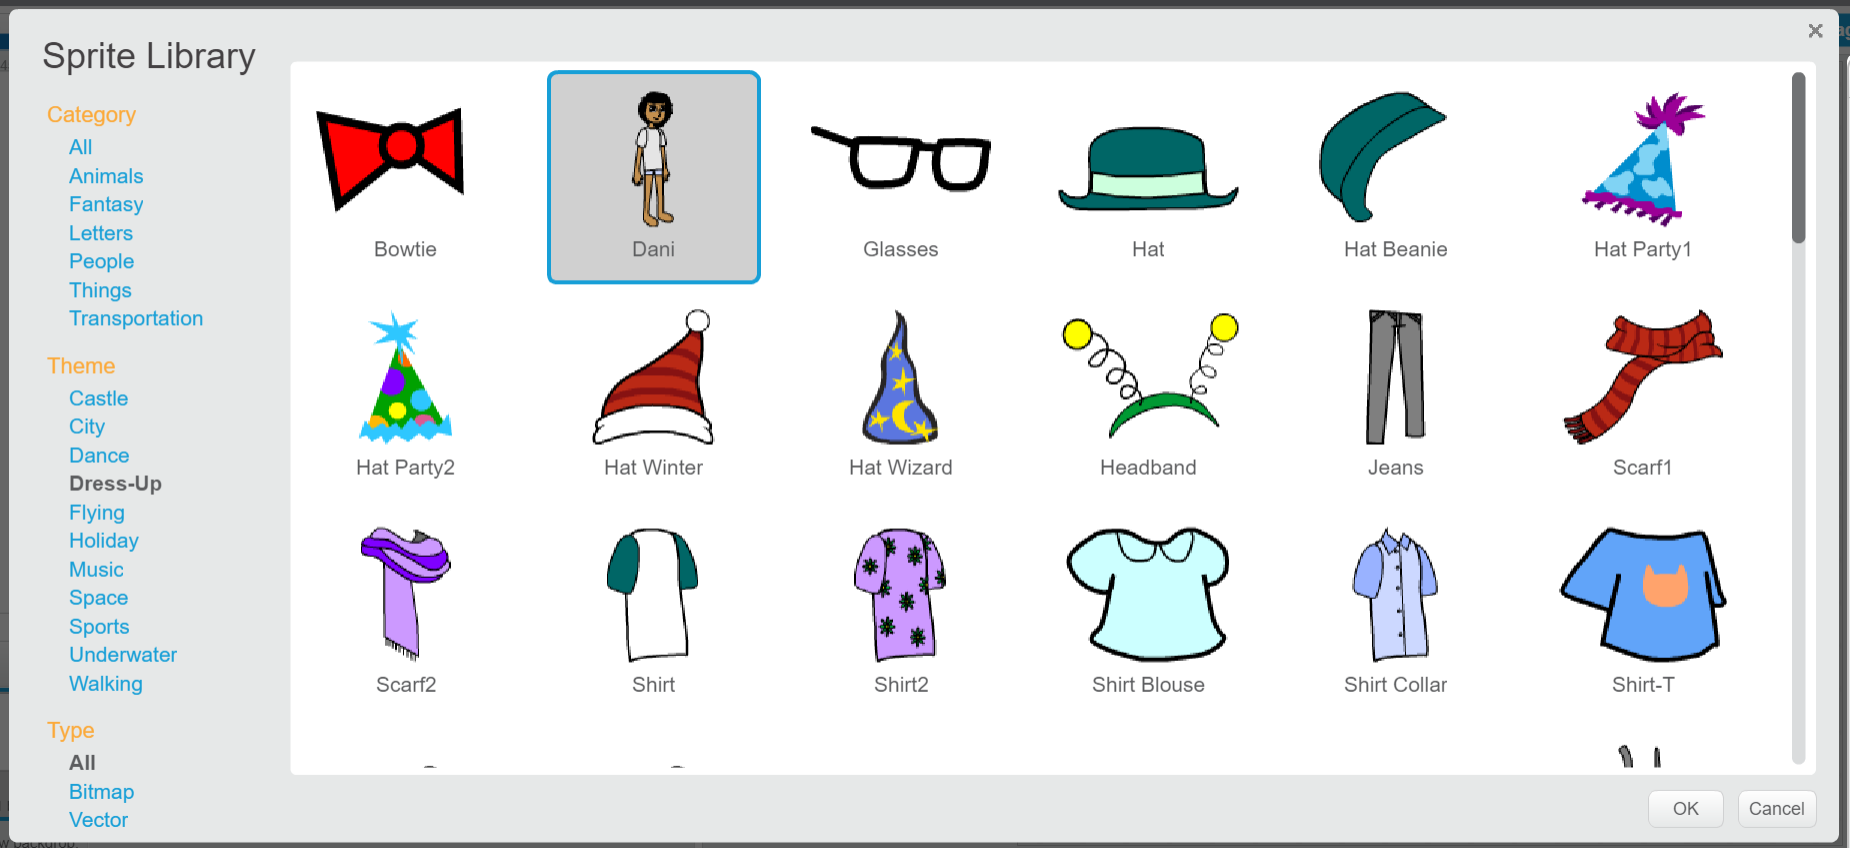
Open the sprite library and click on the 'Dress-Up' link in the Theme list. This will show you only the sprites for the 'Dress-Up' theme. Select the 'Dani' sprite by clicking on it and then click 'OK' to add it to your project (you can also double click it to add it).
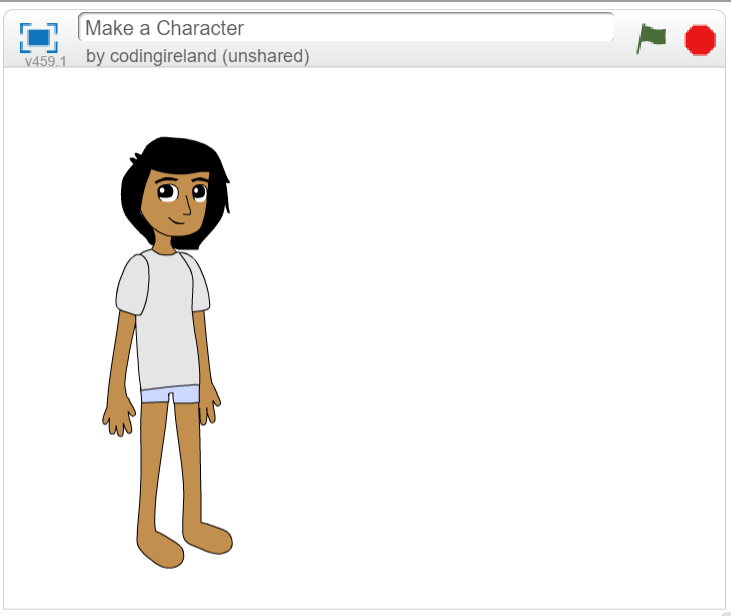
Once the sprite has been added to your stage area, drag it over to the left as we'll need some space on the right hand side to put in the controls for changing the character.
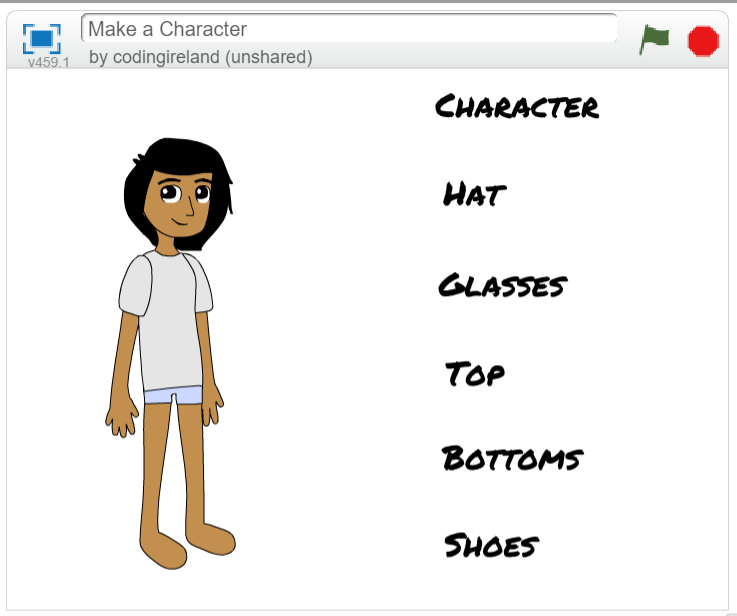
We're going to put in controls for the character, hats, glasses, tops, bottoms and shoes. For each of these we'll put in a heading with the text and then put the buttons for changing that item underneath.
To put in the headings:
We're going to add an arrow sprite and program it to send a 'next character' message each time the arrow is clicked.
Add the 'Arrow1' sprite from the sprite library and rename it to be called 'next character'. We need to rename it as we'll be adding several arrow sprites and it'll be easier to know which arrow is used for which item. To rename the 'Arrow1' sprite click on the blue circle with 'i' in it in the sprite list then just replace the 'Arrow1' text with 'next character'.
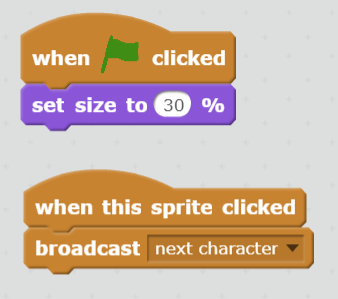
To make the arrow smaller add the following code to the arrow sprite:
Click the green flag to run this code and shrink the arrow, then drag it and put it underneath the 'Character' heading.
Finally add the following code to the arrow sprite to program it to send a message to change the costume of the character:
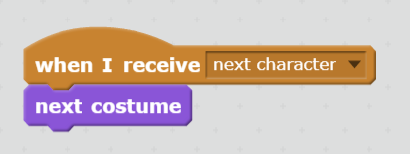
Now we will program the Dani sprite to receive the 'next character' message and change the costume. Add the following code to the Dani sprite:
Once you've added this code text it out, click on the green flag and then click on the arrow. Each time you click on the arrow your character should change to the next costume.

Get ready to embark on an incredible learning journey! Get access to this lesson and hundreds more in our Digital Skills Curriculum.