Unplugged Lesson
Beginner
40 mins
Teacher led
+50 XP
What you need:
IWB/Projector/Large Screen

Making Decisions (If/Then)

In this lesson, you'll explore how to make decisions in coding using conditional statements. Follow step-by-step activities to understand if/then/else logic, visualise concepts with flowcharts, and apply rules in a fun 'Lunch Robot' group activity.
Learning Goals Teacher Notes

Teacher Class Feed

Load previous activity

    1 - Introduction

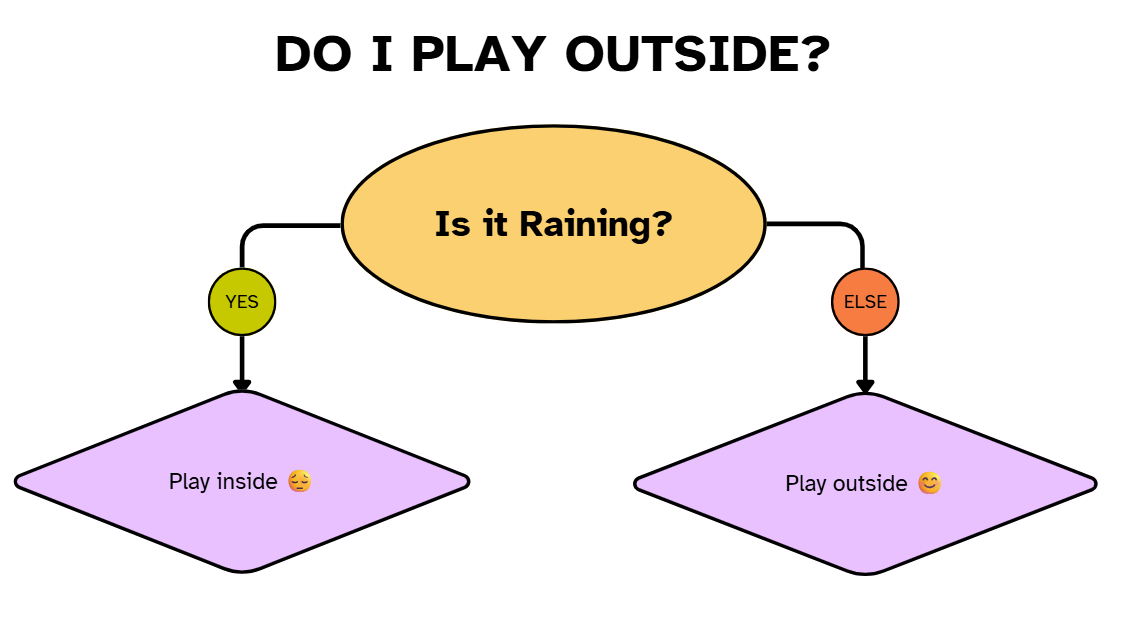
    Today, we're going to learn how to make decisions in code. Just like you make choices every day, a program needs to follow a set of rules to decide what to do. The key to this is if/then logic, where a program says, 'if this happens, then do that.'

    To explore this, we’ll become the Lunch Robot! We'll look at fun examples, draw flowcharts, and even act like a robot that decides what to serve for lunch based on a series of rules. Get ready to program your own decisions and make some exciting choices!

    2 - What's a Conditional?

    Start the lesson by asking your students if they've ever had to make a decision based on something else happening first. You can give a few simple, relatable examples to get them thinking, like:

    • "If it's sunny, then I can play outside."

    • "If the bus is late, then I'll walk to school."

    • "If I finish my homework, then I can watch TV."

    Explain that these are called conditional statements. The word conditional simply means that an action depends on a specific condition being true. In coding, we use conditional statements to give a computer a set of rules to follow. The most basic and important of these is the if... then... statement.

    3 - Visualising the Statement

    Before you introduce the full if/then/else structure, start with the most basic conditional to build a strong foundation. This simple model helps students understand that a program's path depends on whether a single condition is true.

    Display this flowchart on the board:

    Explain that this shows the most direct way a program makes a decision. It checks a condition, and if it's true, it follows one path. This naturally leads to the next big question for the class: "But what should the program do if it is raining?" This is the perfect moment to introduce the else path.

    4 - Adding a Plan B: The Else Statement

    Now, point out to your class that the last flowchart only gave instructions for one outcome. What if we want the computer to do something different if the condition is not true? This is where our code needs a "Plan B."

    In coding, when we want to give our robot an instruction for what to do if the condition is false, we use the word else. Think of it like a backup plan! The robot will always have an instruction, no matter what.

    Display this new flowchart on the board to show how the else feature gives our program a path for every possible situation.

    This is a complete conditional statement, and it ensures our robot will always have an instruction.


    5 - The Lunch Robot Challenge

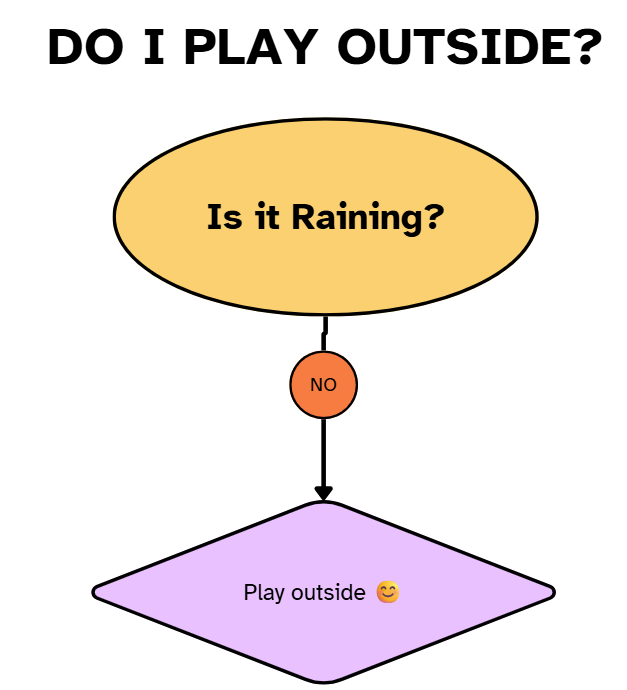
    Now that we understand how conditionals work, you're going to put your skills to the test! Explain to your students that they are going to become a "Lunch Ordering Robot" for the day. This robot's job is to figure out what to serve for lunch, but it needs a set of very specific rules to follow. These rules are all based on what's available.

    Establish the following rules on your whiteboard or a display chart so they can remain visible for the entire lesson. These are the conditions your robots must follow.

    Our Rules:

    • Rule A: If the day is Monday, then serve a roast.

    • Rule B: If the temperature is above 20°C, then serve a salad.

    • Rule C: If the day is Friday, then serve pizza.

    • Rule D: If we have pasta, then serve spaghetti.

    • Rule E: If the day is NOT Monday and the temperature is NOT above 20°C, then serve soup.

    Now, explain the scenario to the students: they will work in small groups and pretend to be the Lunch Robot. Their job is to follow these rules precisely to create the day's menu.

    Explain that these conditions are the facts the Lunch Robot has to process to decide what to serve.

    Give each group a list of conditions for the day. For example:

    Group 1

    • It is Friday.

    • The temperature is 15°C.

    • We have no pasta.

    Group 2

    • It is Tuesday.

    • The temperature is 28°C.

    • We have no pasta.

    Group 3

    • It is Monday.

    • The temperature is 18°C.

    • We have no pasta.

    Group 4

    • It is Wednesday.

    • The temperature is 19°C.

    • We have pasta.

    Group 5

    • It is Thursday.

    • The temperature is 12°C.

    • We have no pasta.

    Unlock the Full Learning Experience

    Get ready to embark on an incredible learning journey! Get access to this lesson and hundreds more in our Digital Skills Curriculum.

    Copyright Notice
    This lesson is copyright of Coding Ireland 2017 - 2025. Unauthorised use, copying or distribution is not allowed.
    🍪 Our website uses cookies to make your browsing experience better. By using our website you agree to our use of cookies. Learn more