In this lesson, we are going to create an exciting game called 'Bop It' on our Microbit. The game will display a random image on the Microbit's LED display, and you will have to perform the correct action corresponding to that image. You will have 20 seconds to see how many actions you can get right!
To start, we need to create a new Microbit project.
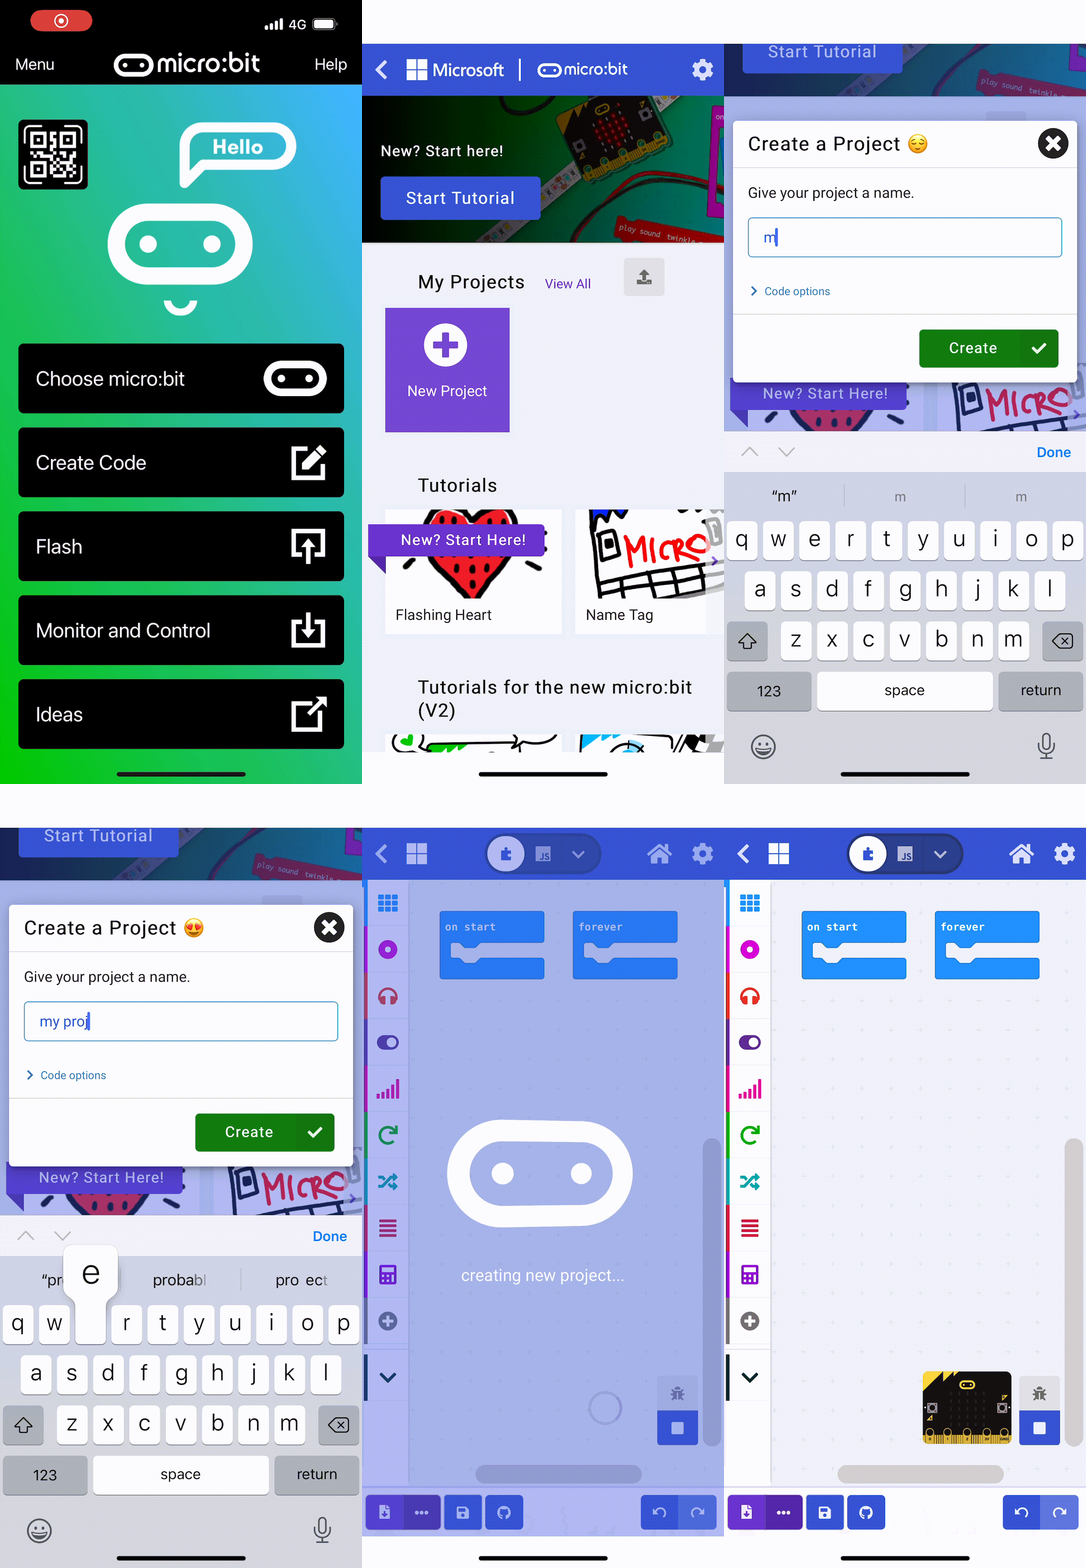
Go to the Makecode.com Microbit website using the link below and click on the 'New Project' button underneath the 'My Projects' heading.
https://makecode.microbit.org/
Install the micro:bit app on your iPad or tablet.
Open the app, tap 'Create code' and then create a new project.

Create a variable called ‘action’, we will use this variable to store and remember a random action. In the on start block, set ‘action’ to -1 by adding this code:
let action = -1
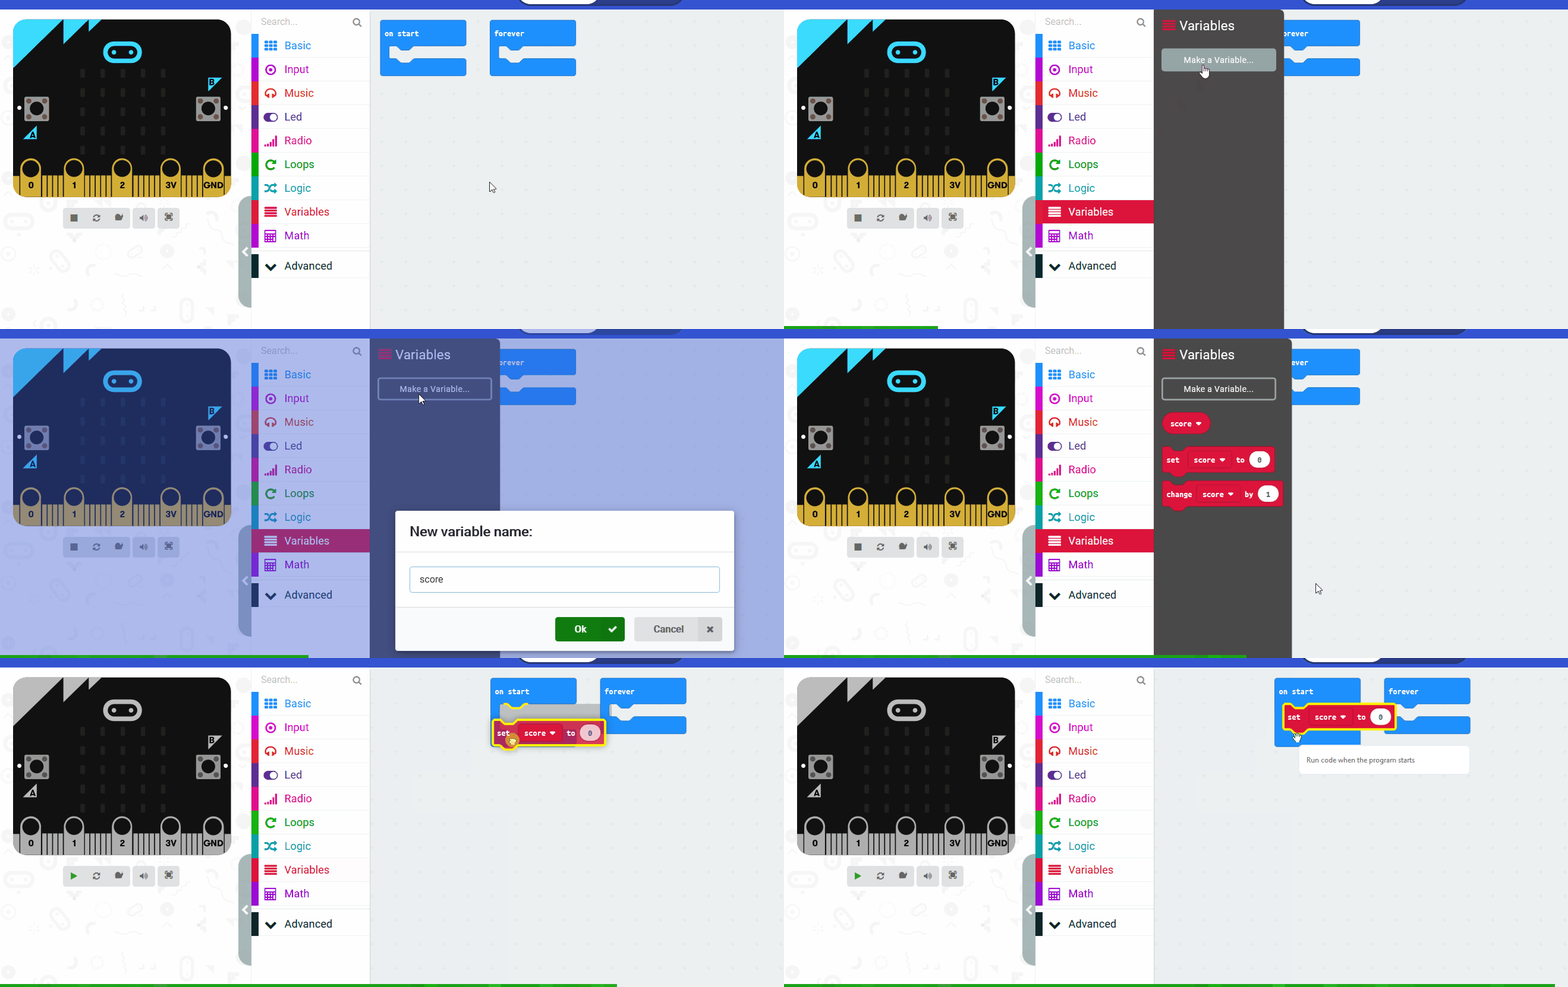
In the Variables toolbox, create a new variable by clicking the 'Make a Variable' button.
Once you click this button a box will appear asking what you want to call your variable. Give it a name that reminds you what you will be using it for. For example, if you wanted to keep track of your score in a game, you would create a variable called 'score'.
Add a start countdown block and set it to 20000 milliseconds (which is 20 seconds).
let action = -1
game.startCountdown(20000)
This means the player has 20 seconds to get as many correct actions as they can!
In the forever block we want to check if ‘action’ is equal to -1, if it is then we want to set ‘action’ to a random number between 0 and 2.
basic.forever(function () {
    if (action == -1) {
        action = Math.randomRange(0, 2)
    }
})
We choose a random number between 0 and 2 as that will give us three possibilities: 0, 1 and 2.
We choose a random number between 0 and 2 as that will give us three possibilities: 0, 1 and 2.
Next depending on what ‘action’ is now equal to, we are going to display an image on our Microbits telling the user what action they need to do.
Add the following code to check what 'action' is equal to and show the appropriate image.
basic.forever(function () {
    if (action == -1) {
        action = Math.randomRange(0, 2)
    }
    if (action == 0) {
        basic.showLeds(`
            . . # . .
            . # . . .
            # . . . .
            . # . . .
            . . # . .
            `)
    } else if (action == 1) {
        basic.showLeds(`
            . . # . .
            . . . # .
            . . . . #
            . . . # .
            . . # . .
            `)
    } else if (action == 2) {
        basic.showLeds(`
            . . # . .
            . # . # .
            # . . . #
            . # . # .
            . . # . .
            `)
    }
})
