Microbit Sensors & Circuits
Intermediate
60 mins
Teacher/Student led
125 points
What you need:
Chromebook/Laptop/PC
Microbit

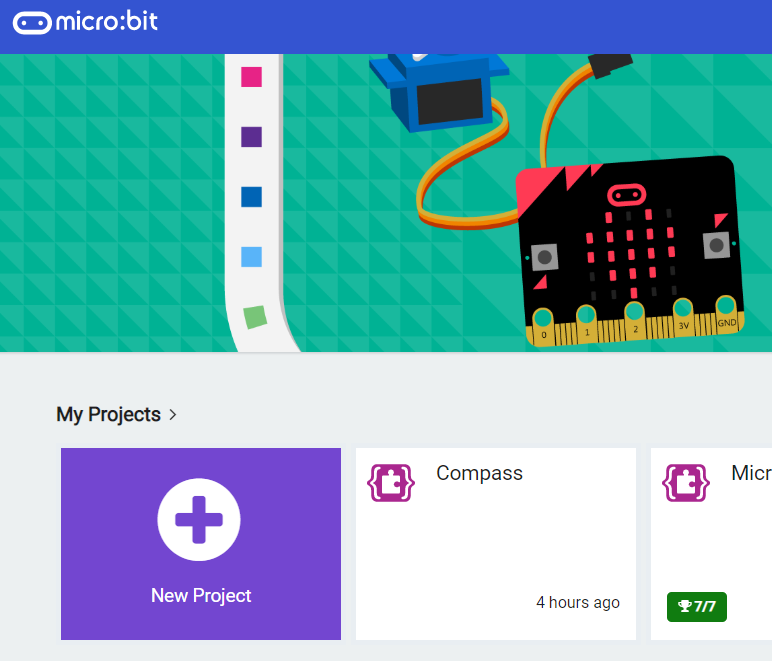
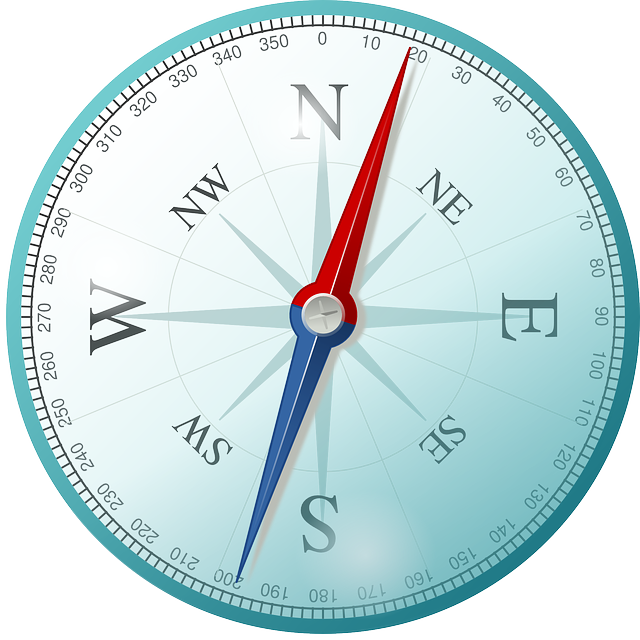
Microbit Compass and Thermometer

Embark on a fascinating journey to create your own Microbit compass and thermometer. Learn to create and set variables, program buttons, and display results. Test your code using a simulator before sending it to your Microbit. Discover the joy of seeing your Microbit display the direction you're facing and the current temperature.
Learning Goals Learning Outcomes Teacher Notes

Live Class Feed

This is a live feed of the latest activity by your students on this lesson. It will update in real-time as they work on the lesson.
Load previous activity

    1 - Create a new Microbit project

    Go to the makecode.com website and create a new Microbit project.

    2 - Create the 'direction' variable

    Our microbits have a compass in them that can tell your direction with respect to the North Magnetic Pole. We're going to create a variable to store your direction (in degrees) and in a later step we will display N (for north), S (for south), E (for east) or W (for west) depending on what direction the microbit is pointing in.

    In the Variables toolbox, create a new variable by clicking the 'Make a Variable' button.

    1. 'direction' this will be store the direction in degrees

    3 - Set the 'direction' variable

    Now add the following code to set the 'direction' variable equal to the current reading of the microbit's compass. 

    basic.forever(function () {
        direction = input.compassHeading()
    })


    We use the 'forever' block as we continually want to keep checking the compass heading and setting the 'direction' variable equal to it.

    4 - Program the A button

    Next we need to program our microbit to tell us if the direction we're facing is North, South, East or West. We're going to do this when you press the A button and we will need an 'if then else' block to test what direction we're pointing in. Add the following code:

    input.onButtonPressed(Button.A, function () {
        if (true) {
        	
        } else if (false) {
        	
        } else if (false) {
        	
        } else {
        	
        }
    })


    Note you will need to click the + button twice on the 'if then else' block. This adds extra 'else if' lines into the block.

    We modify the 'if then else' block so that we can test for 3 conditions (for North, East and South) and the else part will be used for West.


    5 - Check the direction and display it

    Now we will fill out the 'if then else' block to check which direction the microbit is pointing in and display North, South, East or West.

    DirectionDisplay

    is greater than or equal to 315
    or is less than 45

    N
    is less than 135E
    is less than 225S
    otherwise it must be between 225 and 314W

    Using the blocks in the Basic, Logic and Variables toolboxes, add the following code to the 'if then else' block:

    input.onButtonPressed(Button.A, function () {
        if (direction >= 315 || direction < 45) {
            basic.showString("N")
        } else if (direction < 135) {
            basic.showString("E")
        } else if (direction < 225) {
            basic.showString("S")
        } else {
            basic.showString("W")
        }
    })


    Unlock the Full Learning Experience

    Get ready to embark on an incredible learning journey! Get access to this lesson and hundreds more in our Digital Skills Curriculum.

    Copyright Notice
    This lesson is copyright of Coding Ireland. Unauthorised use, copying or distribution is not allowed.
    🍪 Our website uses cookies to make your browsing experience better. By using our website you agree to our use of cookies. Learn more