Tell the students that they will be brainstorming ideas for their own Microbit projects. They will work in groups, discuss their ideas, and then start creating their projects in Microbit. Remind them that the goal is to come up with a simple project idea that they can create using the basic Microbit blocks they have learned so far.
Finally, demonstrate a simple Microbit project to inspire the students, like a simple LED pattern. This will give the students a better understanding of what they can achieve and spark their creativity for the brainstorming session.
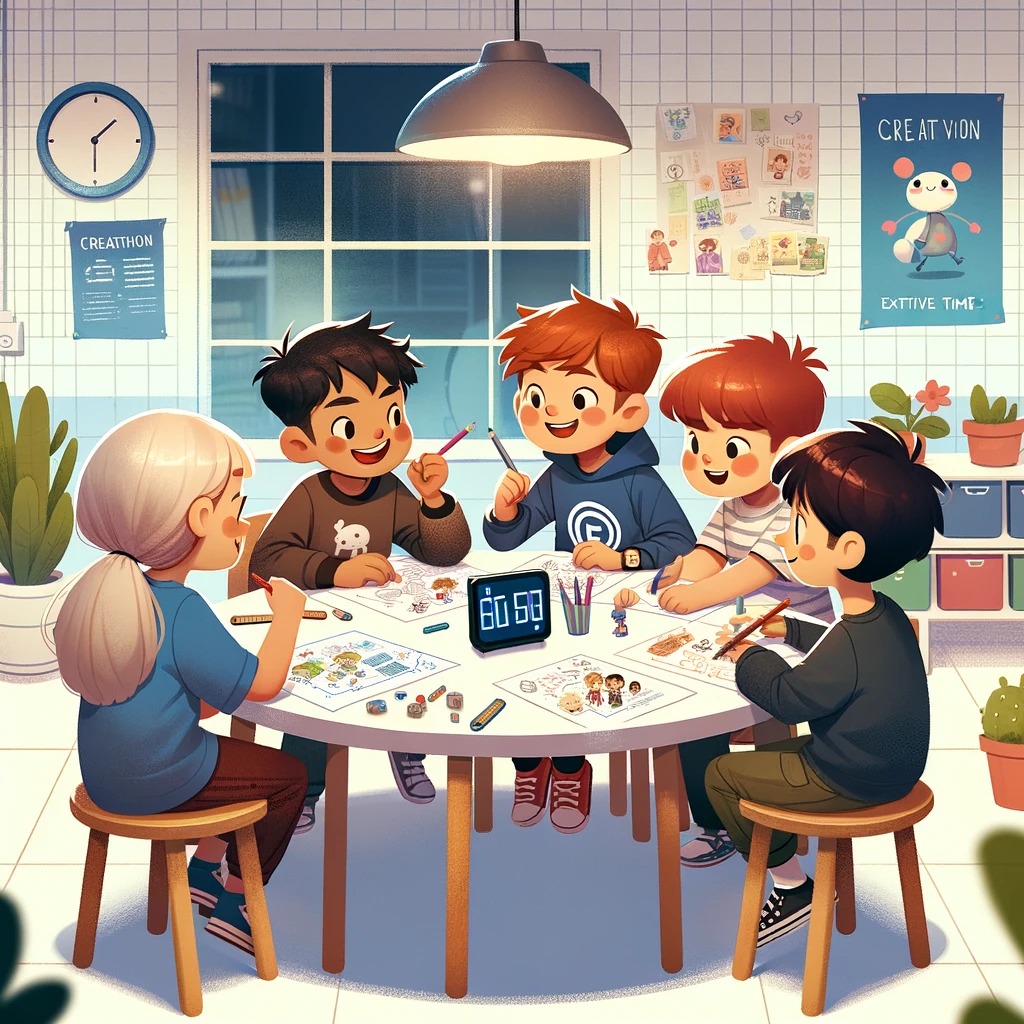
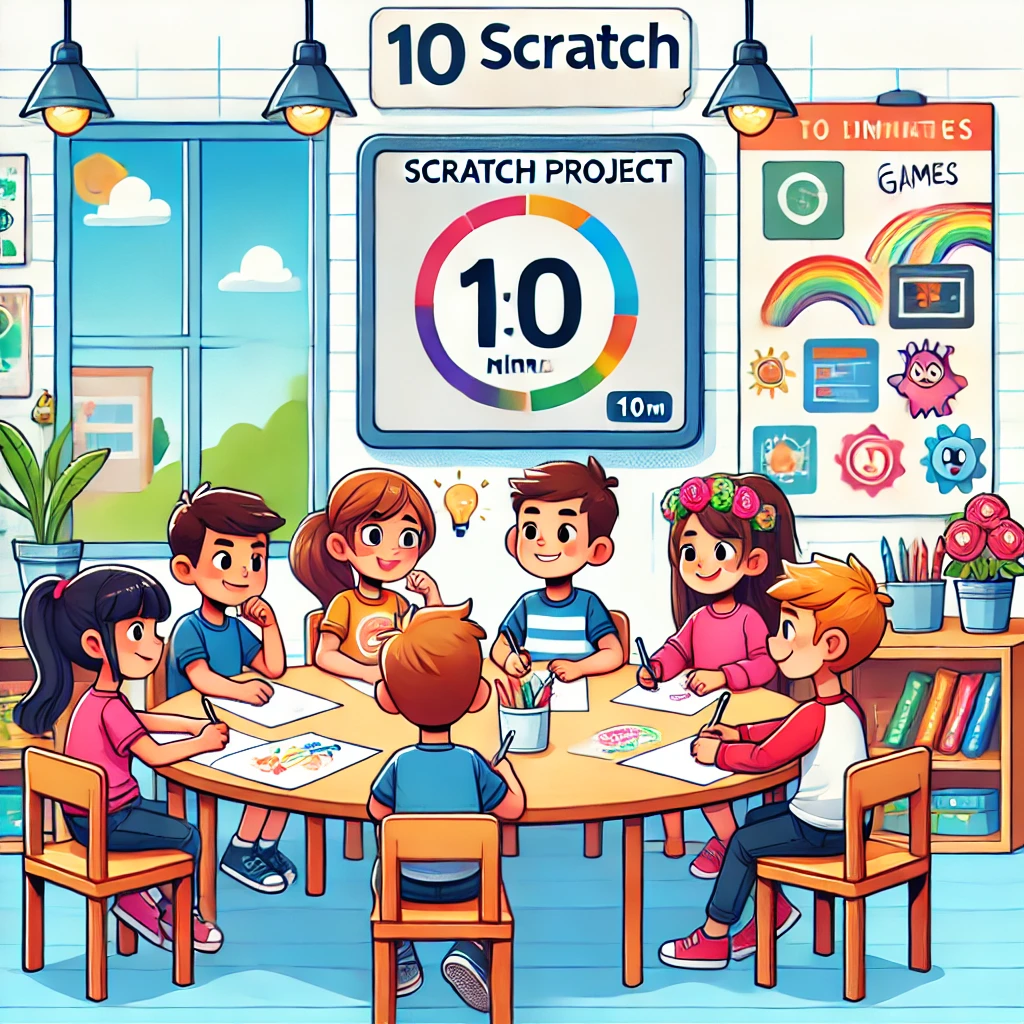
Divide the students into small groups of 3-5. Provide each group with pens and paper. Explain to the students that they will be working together as a team to brainstorm and create their own Microbit project. Remind them that teamwork is about listening to each other's ideas and making decisions together.
Start a timer for 10 minutes. During this time, students should brainstorm ideas for a simple Microbit project. Remind them to keep their ideas simple and achievable.
Encourage them to think about what LED patterns, inputs, and sounds they might use. They can write or draw their ideas on the paper provided. Once the time is up, ask each group to select their best idea to work on.
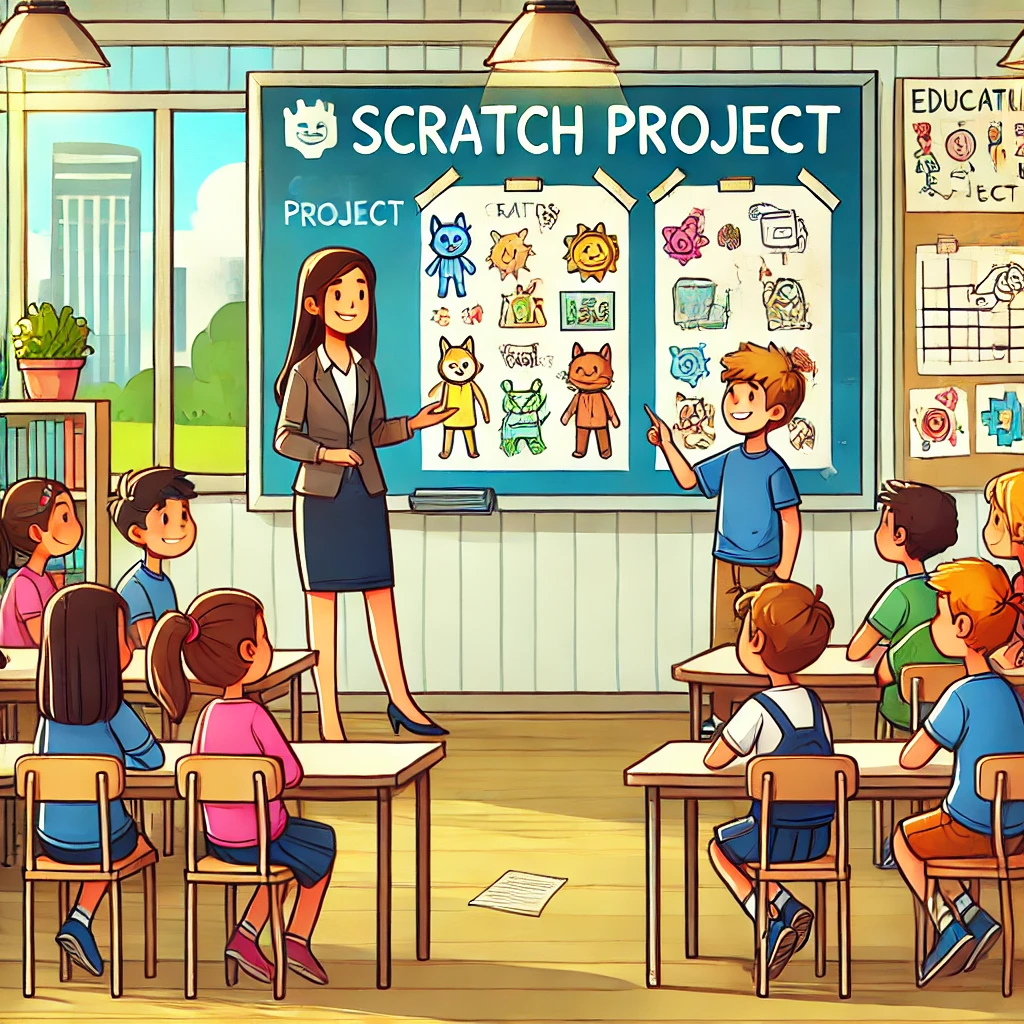
Ask one student from each group to come forward and present their group's project idea. They should explain what their Microbit project is about, what LED patterns and inputs they plan to use, and how they envision the final project. Encourage them to share any drawings or notes they made during the brainstorming session.
After each presentation, facilitate a short feedback session. Ask the rest of the class to share what they liked about the idea and offer suggestions for improvement. Remind students to give constructive feedback that is kind and helpful. Also, share your own feedback and guide the students on how they can simplify their project if needed, keeping in mind their beginner level skills in Microbit.
Once all groups have presented and received feedback, allow them some time to discuss and incorporate the feedback into their project plans. Remind them that it's okay to make changes to their ideas based on the feedback they received.
Now it's time to bring the project ideas to life! Each group should work together on one computer. If some students prefer to work individually, that's okay too. Guide the students to open Microbit on their computers and create a new project.
As the students are working, circulate around the room to provide assistance and answer any questions. Encourage them to help each other and share their discoveries with the class.
