Microbit Paddle Ball
In this project we will use a Microbit to control the paddle in a Scratch Paddle Ball game. You will control the paddle by tilting the Microbit to the left and right.
In this project we will use a Microbit to control the paddle in a Scratch Paddle Ball game. You will control the paddle by tilting the Microbit to the left and right.
Create a new Scratch project and delete the cat sprite that's added by default.
Go to the Scratch website using the link below and click on the 'Create' link in the blue bar at the top.
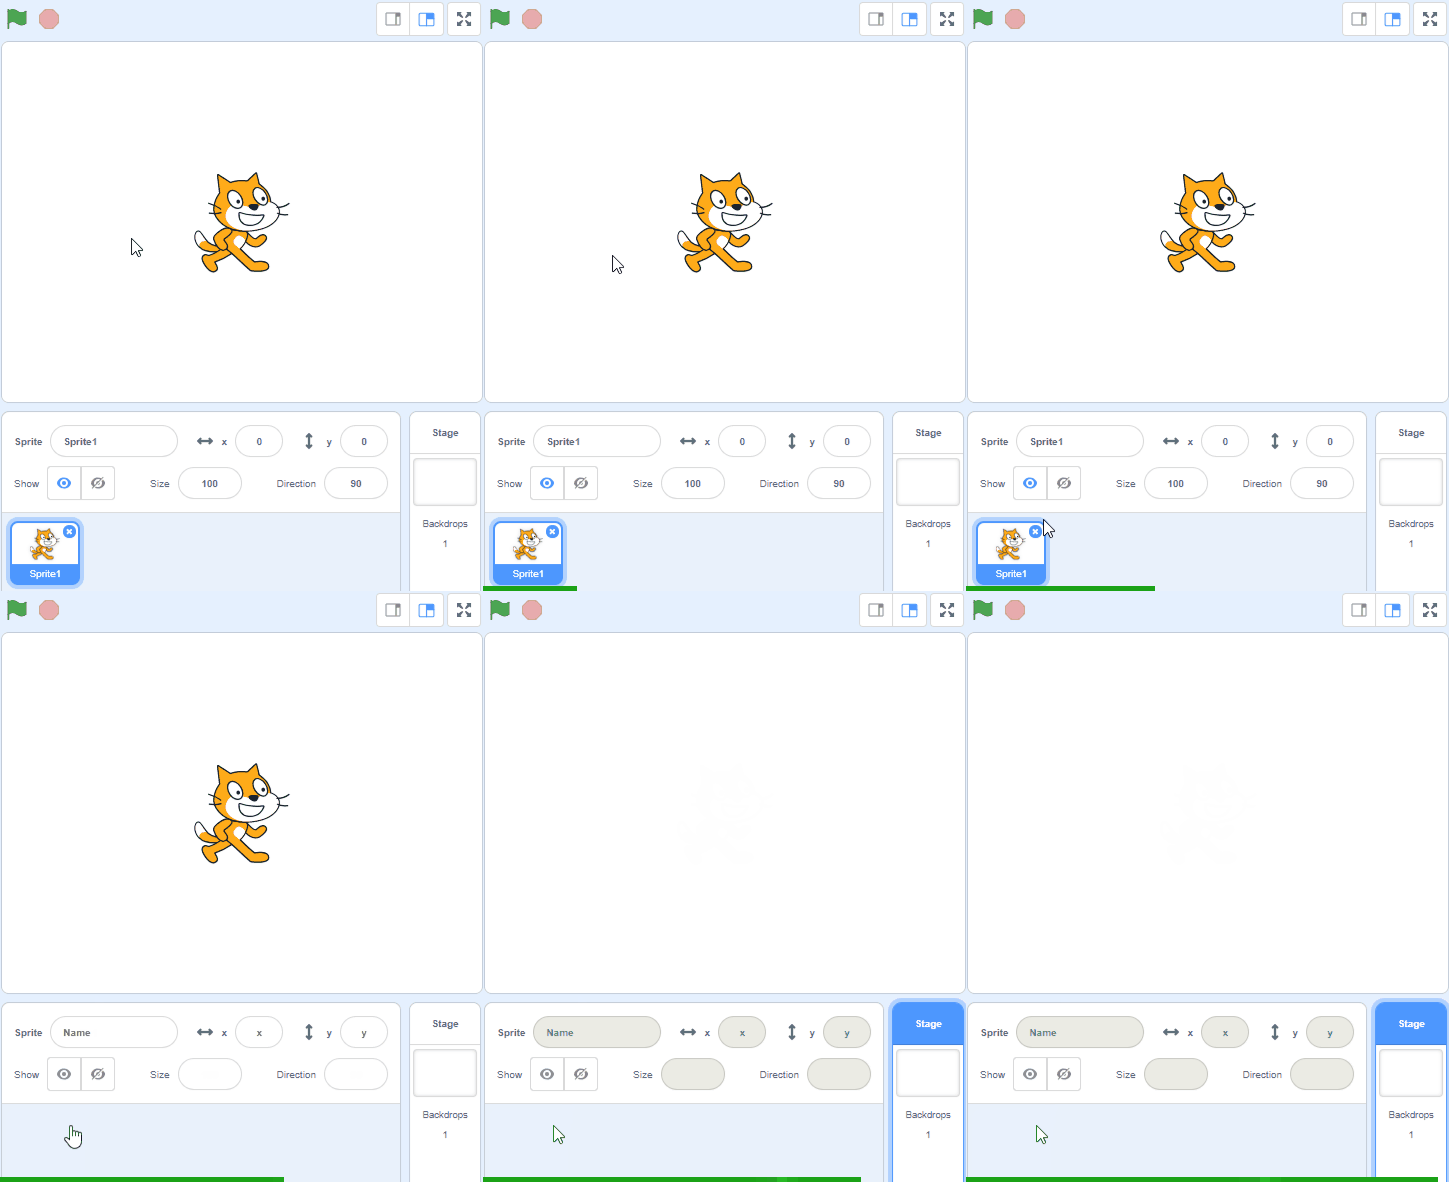
By default, each new project starts with the cat sprite already added. To delete the cat click on the x in the blue circle beside the cat in the sprite list.
New Scratch projects have the cat sprite automatically added to them so this step of deleting the cat (if it's not needed) will be frequently performed.
Add the sprite called 'Paddle' from the sprite library.
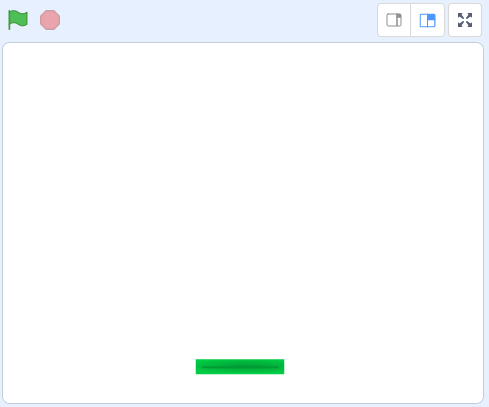
Drag the paddle to near the bottom of the stage area (by holding down the left mouse button and moving your mouse). Make sure to leave some space between the bottom of the stage area and the paddle (this is important later on as we'll be putting something there).
To add a sprite from the sprite library follow these steps:
You can use search box or the filter links (Animals, People, Fantasy etc) to locate your sprite.
When students are doing the initial lessons they will start to become familiar with clicking (left clicking), right clicking and dragging items on the screen.
Add the sprite called 'Soccer Ball' from the sprite library.
To add a sprite from the sprite library follow these steps:
You can use search box or the filter links (Animals, People, Fantasy etc) to locate your sprite.
At the start of the game we want the ball to start at the top center of the screen. We can do this by setting the X and Y coordinates of the ball.
We want the ball to start at the top center of the screen which as at the location X:0 Y:170. To do this we add the following code to the ball sprite:
Once you've added this code and entered the correct X and Y coordinates, click on the green flag at the top right of your screen to run the code. Your ball should go to the top center of your screen.
Using the X Y axis image get the students to point to different positions on the screen to help them understand X and Y coordinates. For example X:-100 Y:200 etc.
Now that we have the ball in the correct position for the start of the game, we want to make the ball start moving around the screen and bouncing of the edge of the screen when it touches it.
First we point the ball in a downwards diagonal direction and then we get it to continually move, if it touches the edge of the screen we want it to bounce. Add the following code underneath the go to x: 0 y: 170 block:
Run your code by clicking the green flag. The ball should start bouncing around the screen!
Some of the students may ask why the ball goes straight through the paddle without bouncing, this is because we haven't programmed it to do that yet!


