Game
Makecode Arcade
Advanced
60 mins
Teacher/Student led
.png)
+100 XP
 Chromebooks, laptops, and PCs are crucial tools for coding and digital skills education. Chromebooks are ideal for web-based applications and collaborative projects, while laptops and PCs support a wider range of programming environments and software for more intensive tasks like software development and data analysis.
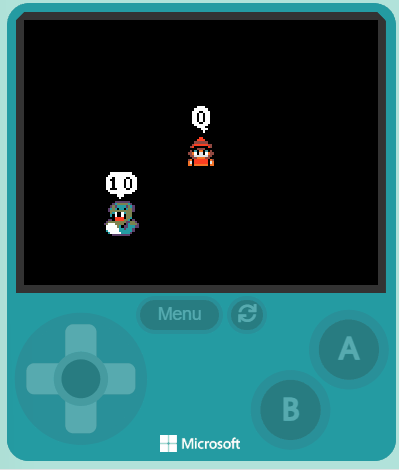
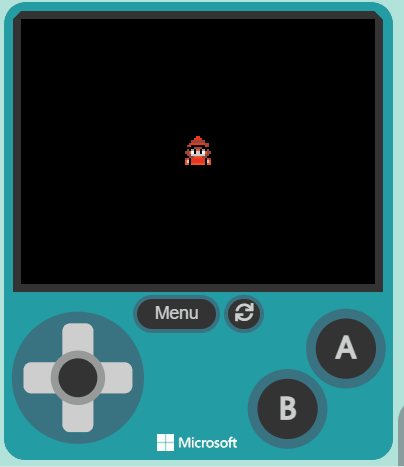
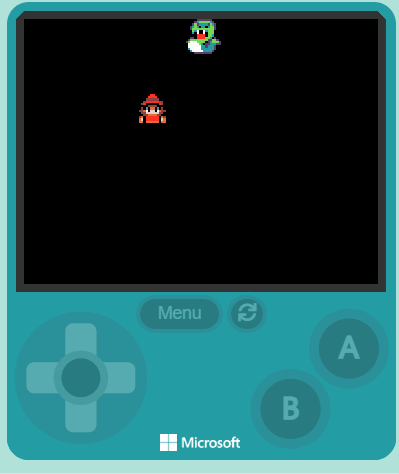
Monster Battle Arena
Get ready to build an exciting monster battle game using MakeCode Arcade! You'll create a player sprite and an AI-controlled monster, design combat mechanics, and manage health systems. By the end, you'll have a game to play and share with friends.