Animation
Beginner
60 mins
Teacher/Student led
+140 XP
 Chromebooks, laptops, and PCs are crucial tools for coding and digital skills education. Chromebooks are ideal for web-based applications and collaborative projects, while laptops and PCs support a wider range of programming environments and software for more intensive tasks like software development and data analysis.
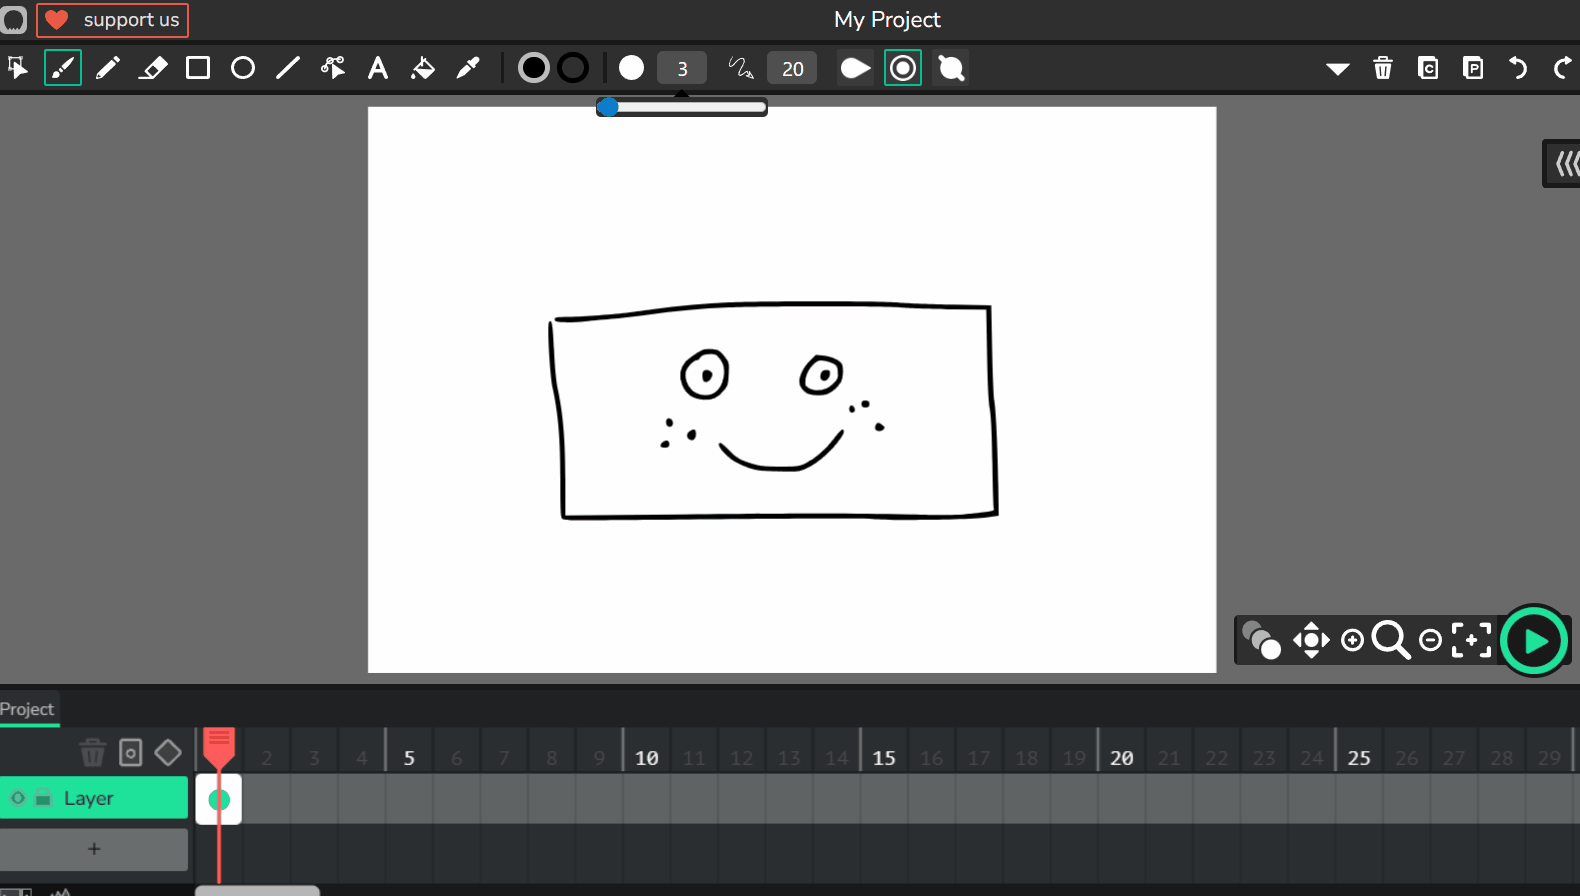
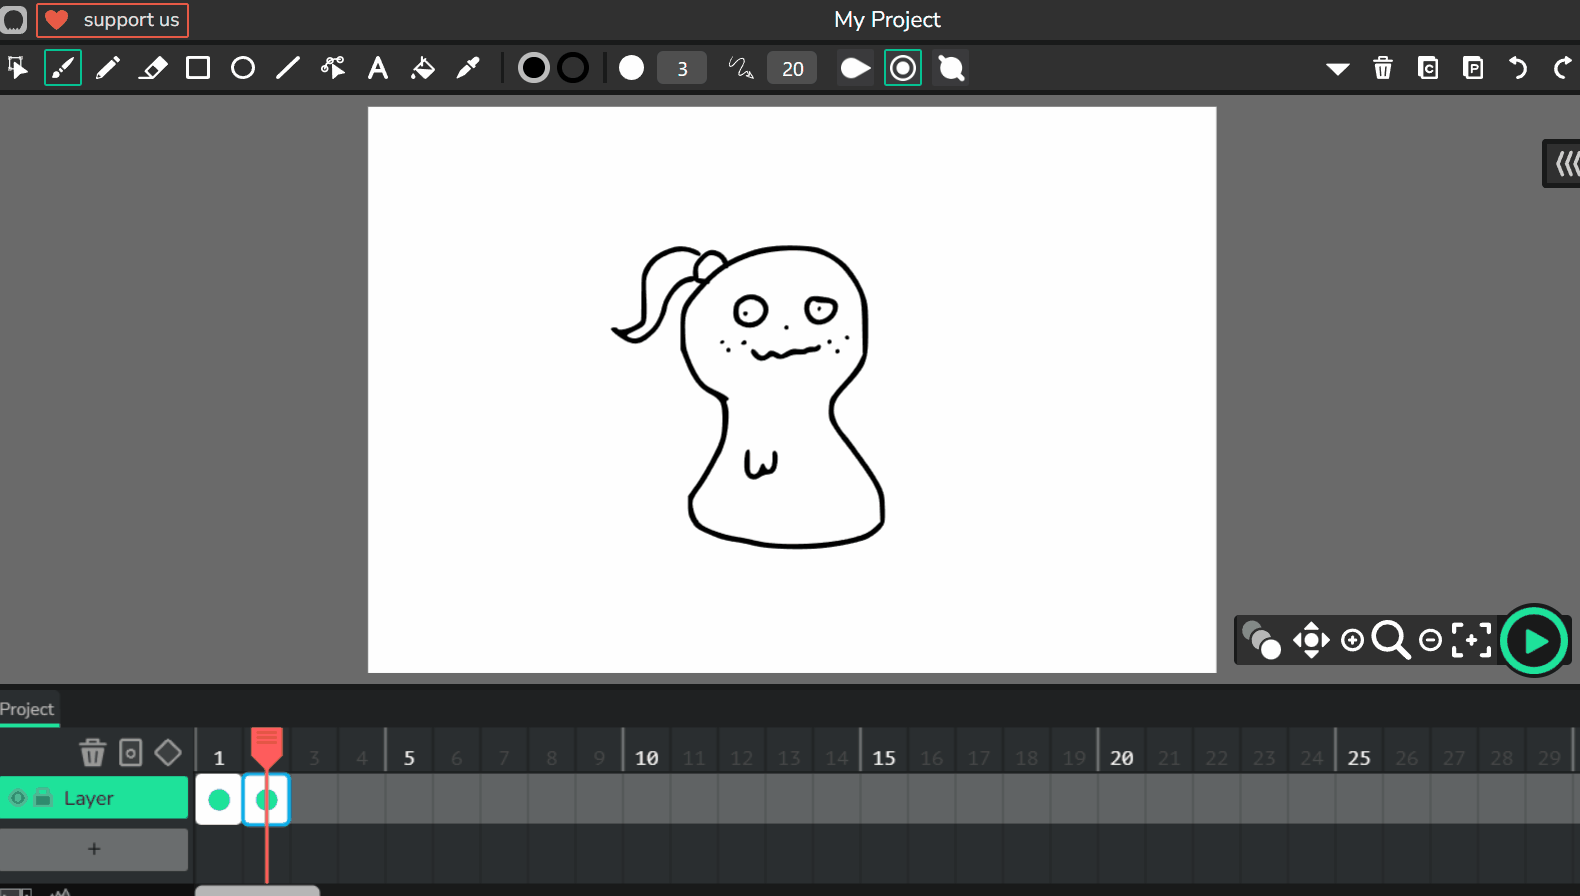
Morphing Shape to Character
In this lesson, you'll learn to animate a shape transforming into a character using Wick Editor. Follow steps to create in-between frames, apply squash and stretch, and add anticipation for a smooth, lively animation.
 In this lesson, you will animate a simple shape transforming into a basic character. You’ll use in-between frames, squash/stretch, and anticipation to create a smooth and fun transformation. This builds on what you've learned in previous lessons about movement and timing in Wick Editor. Think about how shapes can change like magic, turning from something simple into a fun character. Let's make your animation come alive!