Welcome to our exciting lesson! Today, we're diving into the fun world of Scratch Jr. with a mission: we're going to code a massive dance party for Scratch the Cat!
In this lesson, you'll learn the basics of coding by making your characters move, spin, and groove. You'll be the choreographer and the programmer! We'll explore:
Controlling Movements: Giving characters exact instructions on how to move.
Creating Sequences: Putting dance moves together in the right order.
Cause and Effect: Making things happen on the screen by sending commands (like when you press a button, Scratch starts dancing!).
Changing Backgrounds: Setting the perfect stage for our party.
Get ready to move and groove with Scratch Jr.! Let's start coding our routines and throw the best digital dance party ever!
Scratch Jr. is an engaging platform designed specifically for young learners to explore the basics of coding. It’s a hands-on tool that allows students to bring their creative ideas to life by designing their own stories, games, and animations.
In Scratch Jr., students learn to code using colorful blocks that snap together like puzzle pieces. This visual approach is intuitive and fun, making complex ideas accessible. Each block represents a different command, which allows students to control their characters’ movements, actions, and interactions on the screen.
By snapping these blocks together, students naturally grasp fundamental coding concepts without needing to type any code. They learn about sequencing (the order of commands), loops (repeating actions), and events (cause and effect).
We use Scratch Jr. because it is perfectly tailored for this age group. It encourages and develops essential skills in both coding and broader educational contexts:
Creative Thinking and Problem-Solving
Logical Reasoning and Planning
Understanding Cause and Effect
As students experiment with different blocks and sequences, they are setting a strong foundation for future learning. Scratch Jr. makes coding exciting, accessible, and an essential part of the curriculum.
To begin the coding session, guide your students to open a new project in Scratch Jr.
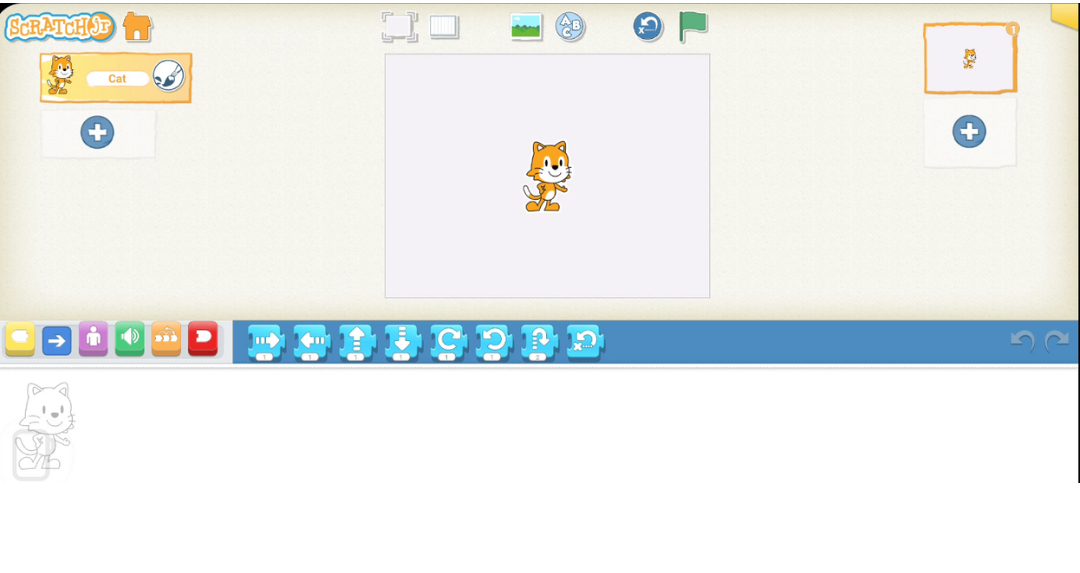
Ask them to look for the Home button (the little house icon) in the top left corner of the screen. Tap it to get to the main menu.
Once on the main menu, look for the large (+) symbol. Tell them to tap this to start a brand new, clean project.
Circulate around the room to make sure everyone is successful. This is an important step to ensure every student has a fresh slate for their code. They should see the default Scratch Cat character standing on a blank white stage, ready for the dance party!
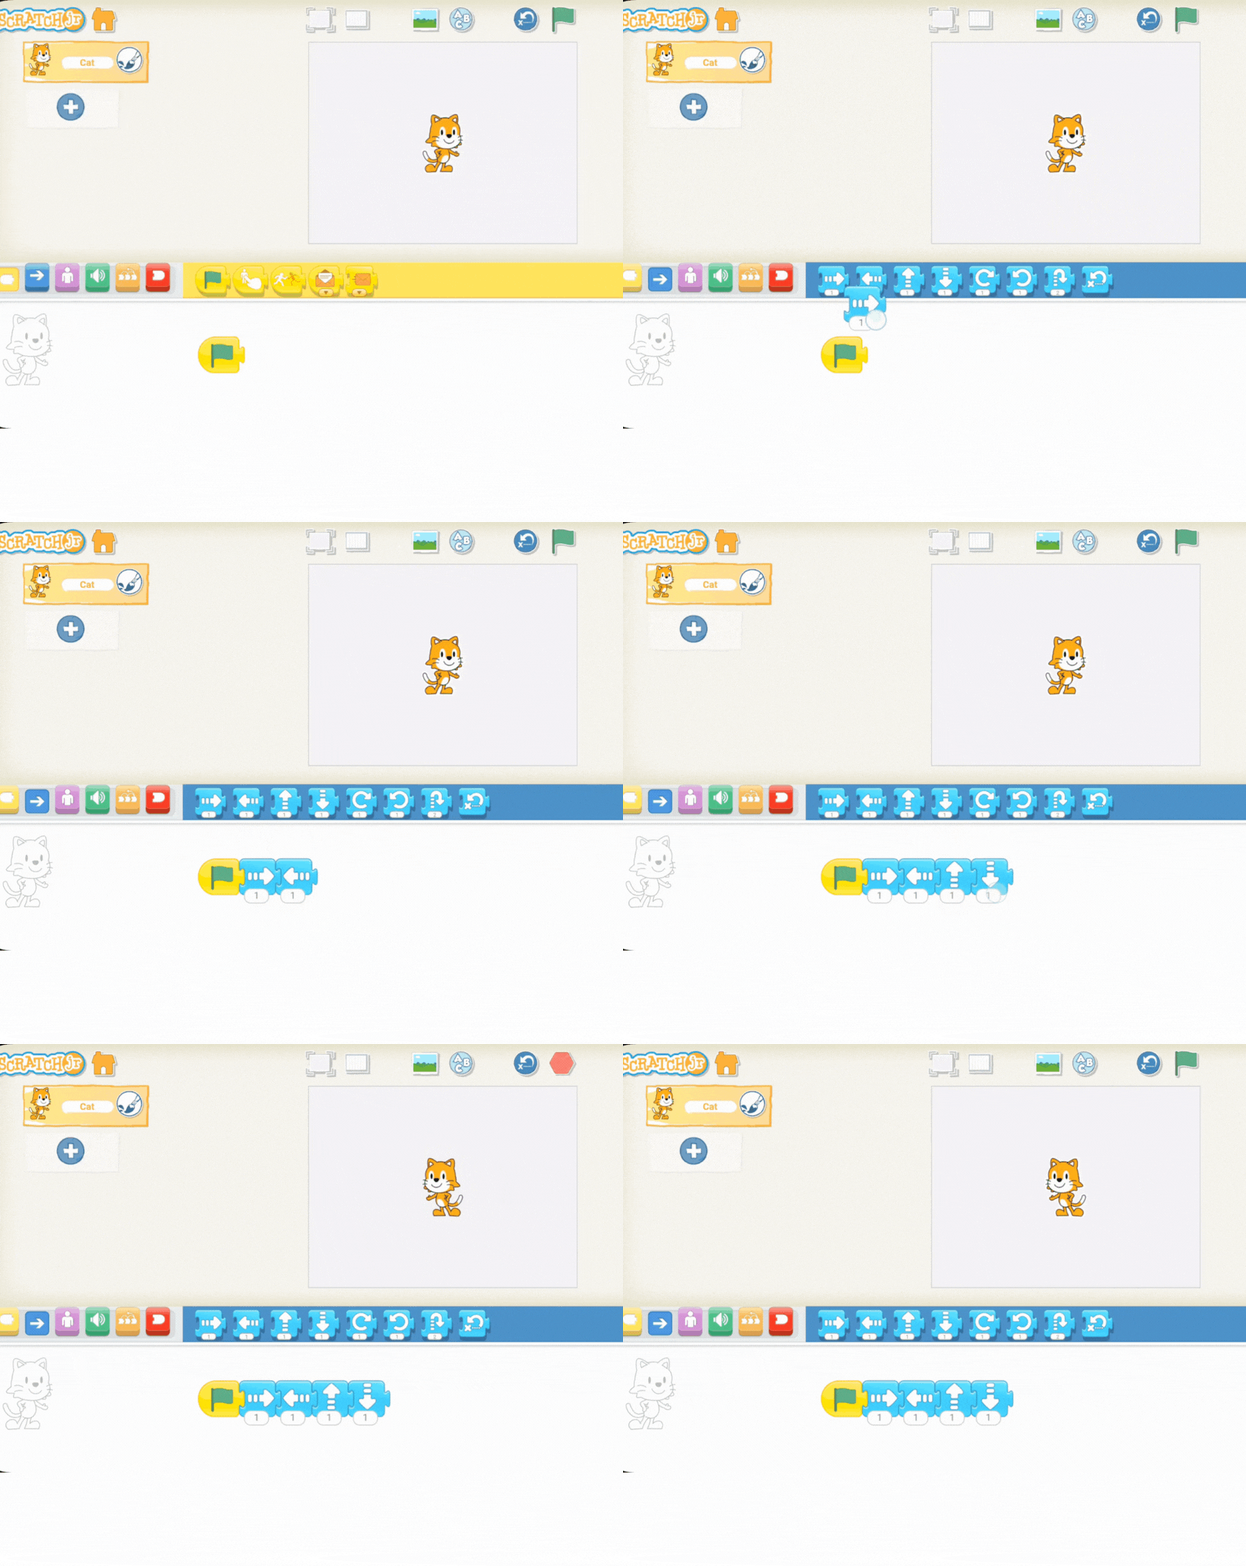
Now that you have your new project open, explain to your students that every sequence of commands in Scratch Jr. needs a starting point. That starting point is the green flag block , which is found in the Events category (the yellow blocks).
The green flag block is like pressing the "go" button; it tells the character exactly when to start following the instructions they've snapped together.
Once the students have connected a few instruction blocks to the green flag, they can test their code. Instruct them to click the green flag button located just above the stage on their screen.
This action will trigger the sequence, and they'll see their character move according to the commands they've programmed. This simple process is essential for learning the basics of sequencing and understanding that code only runs when you tell it to!
Now, it's time to introduce the basic movement blocks that will become the dance moves for Scratch the Cat!
Explain to your students that the blue blocks, found in the Motion category, are their choreographer's tools. Each block represents a different action Scratch can perform—moving forward, backward, turning, jumping, and more.
Start with the Flag: Remind the students that every dance sequence needs to start with the green flag block (the yellow start block). Drag and drop it into the coding area.
Add the Moves: Demonstrate how to drag and drop different movement blocks and snap them together after the flag. You might show an example like: Move Forward (2 steps), followed by Turn Left (45 degrees), and then a Hop or Jump block.
Combine and Create: Emphasise that they can combine these blocks in any order and change the numbers on the blocks to make the dance moves bigger or smaller. Encourage them to experiment and combine different blocks to create their own unique dance routine!


