Animation
Beginner
60 mins
Teacher/Student led
+175 XP
What you need:
Chromebook/Laptop/PC or iPad/Tablet

My Animated Scene

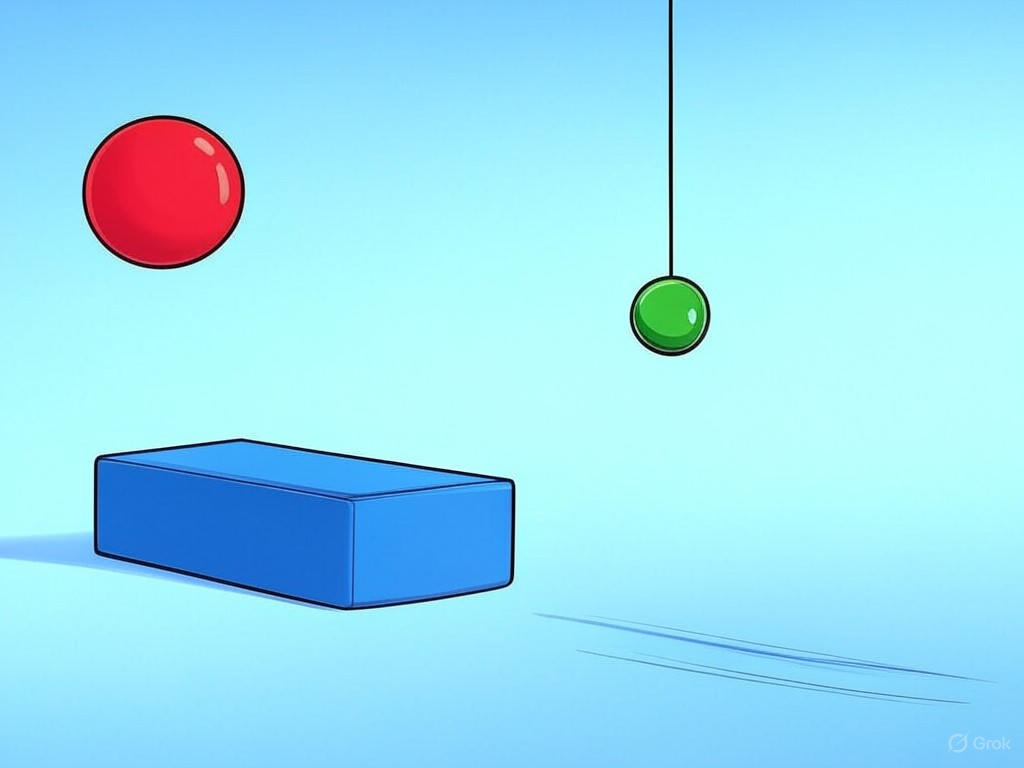
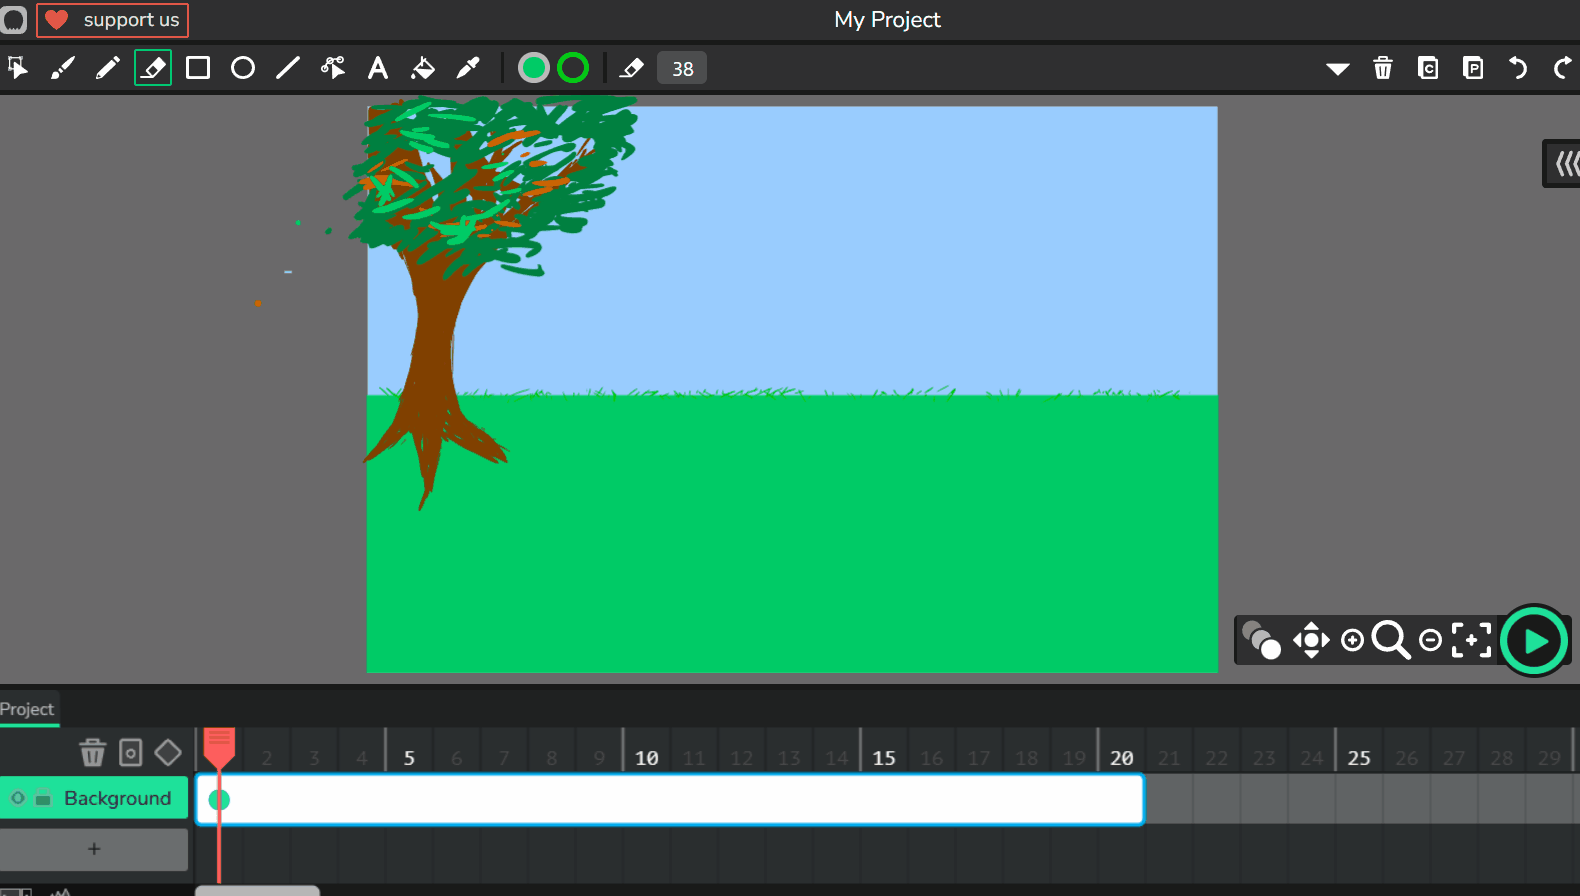
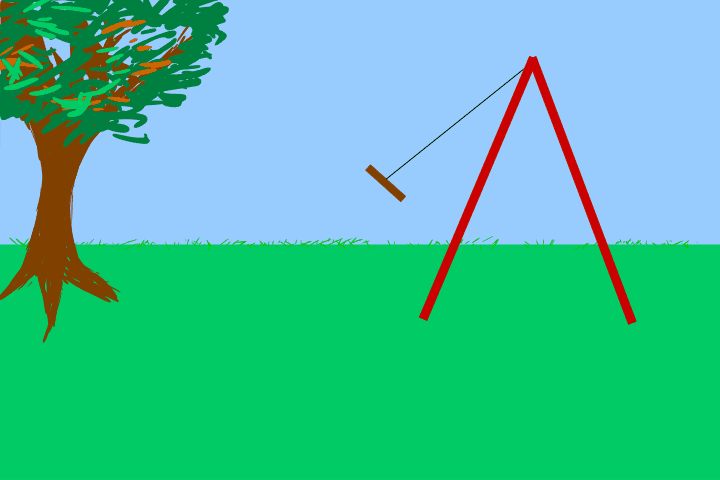
Get ready to create your own mini animation scene using Wick Editor! You'll combine at least three types of motion, such as bouncing or sliding, with a background. Build a 6-frame animation and let your creativity shine!
Learning Goals Learning Outcomes Teacher Notes

Teacher Class Feed

Load previous activity

    1 - Introduction

    This is the exciting final lesson in our Wick Editor unit, where you'll get to put all your new skills together to create your very own mini animation scene. Imagine bringing a little world to life on your screen – that's what you're about to do!

    Get ready to let your creativity shine! Think about what kind of scene you want to create – maybe a busy park with a bouncing ball, a floating balloon, and a waving flag, or perhaps an underwater adventure with sliding fish, swinging seaweed, and floating bubbles. The choice is yours! As you work through the steps, remember to take your time, preview your work often, and have fun experimenting. By the end, you'll have a fantastic animation to share and be proud of. Let's dive in and start creating!

    2 - Create a New Project

    Start by opening Wick Editor and creating a new project. Go to https://www.wickeditor.com/ and click on 'Editor' to launch it. Once open, start a new animation project. This gives you a blank canvas for your scene.

    Think about your scene idea now – like a park with a bouncing ball, floating balloon, and waving flag!

    3 - Design Your Background

    First, set the scene with a background. Use the Shape tools like Rectangle or Brush to draw elements.

    1. Draw a ground line or grass at the bottom.
    2. Add a sky with clouds or a sun
    3. Include details like a tree or flagpole to make it interesting.

    This background will make your motions stand out.


    Keep it simple so it doesn’t distract from the animations.

    A good background helps tell a story, like a windy day in a park.

    4 - Add Your First Motion

    Now, add your first object and animate it with one type of motion.

    Choose either bouncing or swinging.

    1. Draw a shape, such as a ball or pendulum.
    2. Use the timeline to add frames
    3. Animate it frame-by-frame, for example by making a ball bounce up and down.
    4. Aim for smooth movement over at least 2–3 frames.

    Remember techniques from Weighted Bounce or Pendulum Swing.

    Choose a motion that fits your scene – a ball bouncing on the ground!


    5 - Add Your Second Motion

    Add a second object with a different motion, like sliding or floating.

    Step-by-step:

    • Draw another shape, such as a shape sliding across or a balloon floating up.
    • Create new frames in the timeline.
    • Move it gradually, using onion skinning to guide smooth changes.
    • Make sure it interacts with your background or first object.

    Build on Sliding Shapes or Floating Balloons lessons.

    Variety makes your scene exciting – imagine a shape sliding past your bouncing ball!


    Unlock the Full Learning Experience

    Get ready to embark on an incredible learning journey! Get access to this lesson and hundreds more in our Digital Skills Curriculum.

    Copyright Notice
    This lesson is copyright of Coding Ireland. Unauthorised use, copying or distribution is not allowed.
    πŸͺ Our website uses cookies to make your browsing experience better. By using our website you agree to our use of cookies. Learn more