Nature Theme
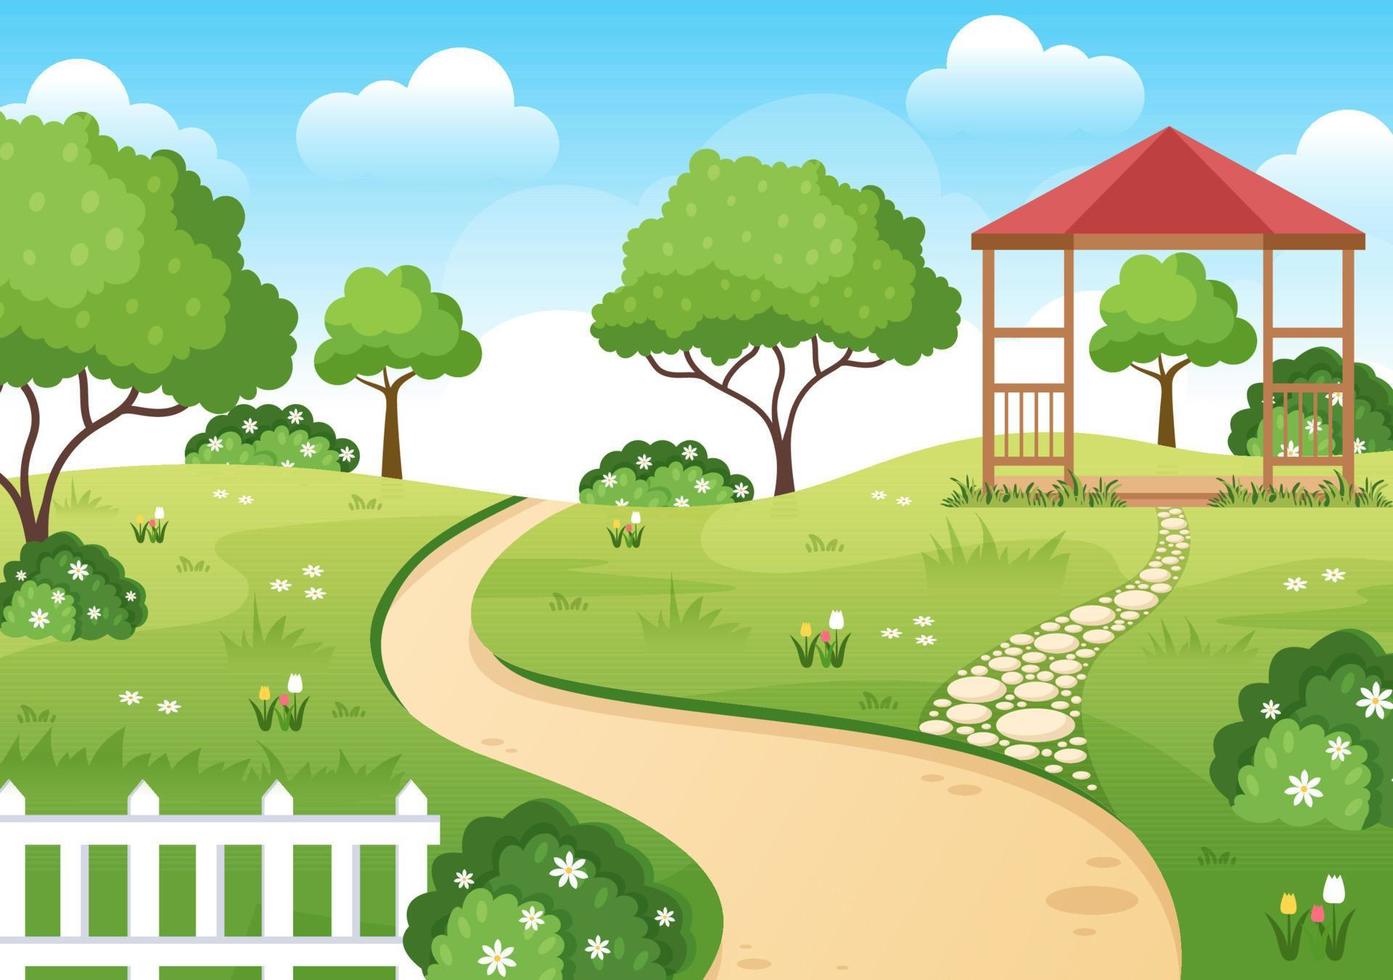
In this lesson, you will learn how to create an illustration with a nature theme using digital illustration techniques.
In this lesson, you will learn how to create an illustration with a nature theme using digital illustration techniques.
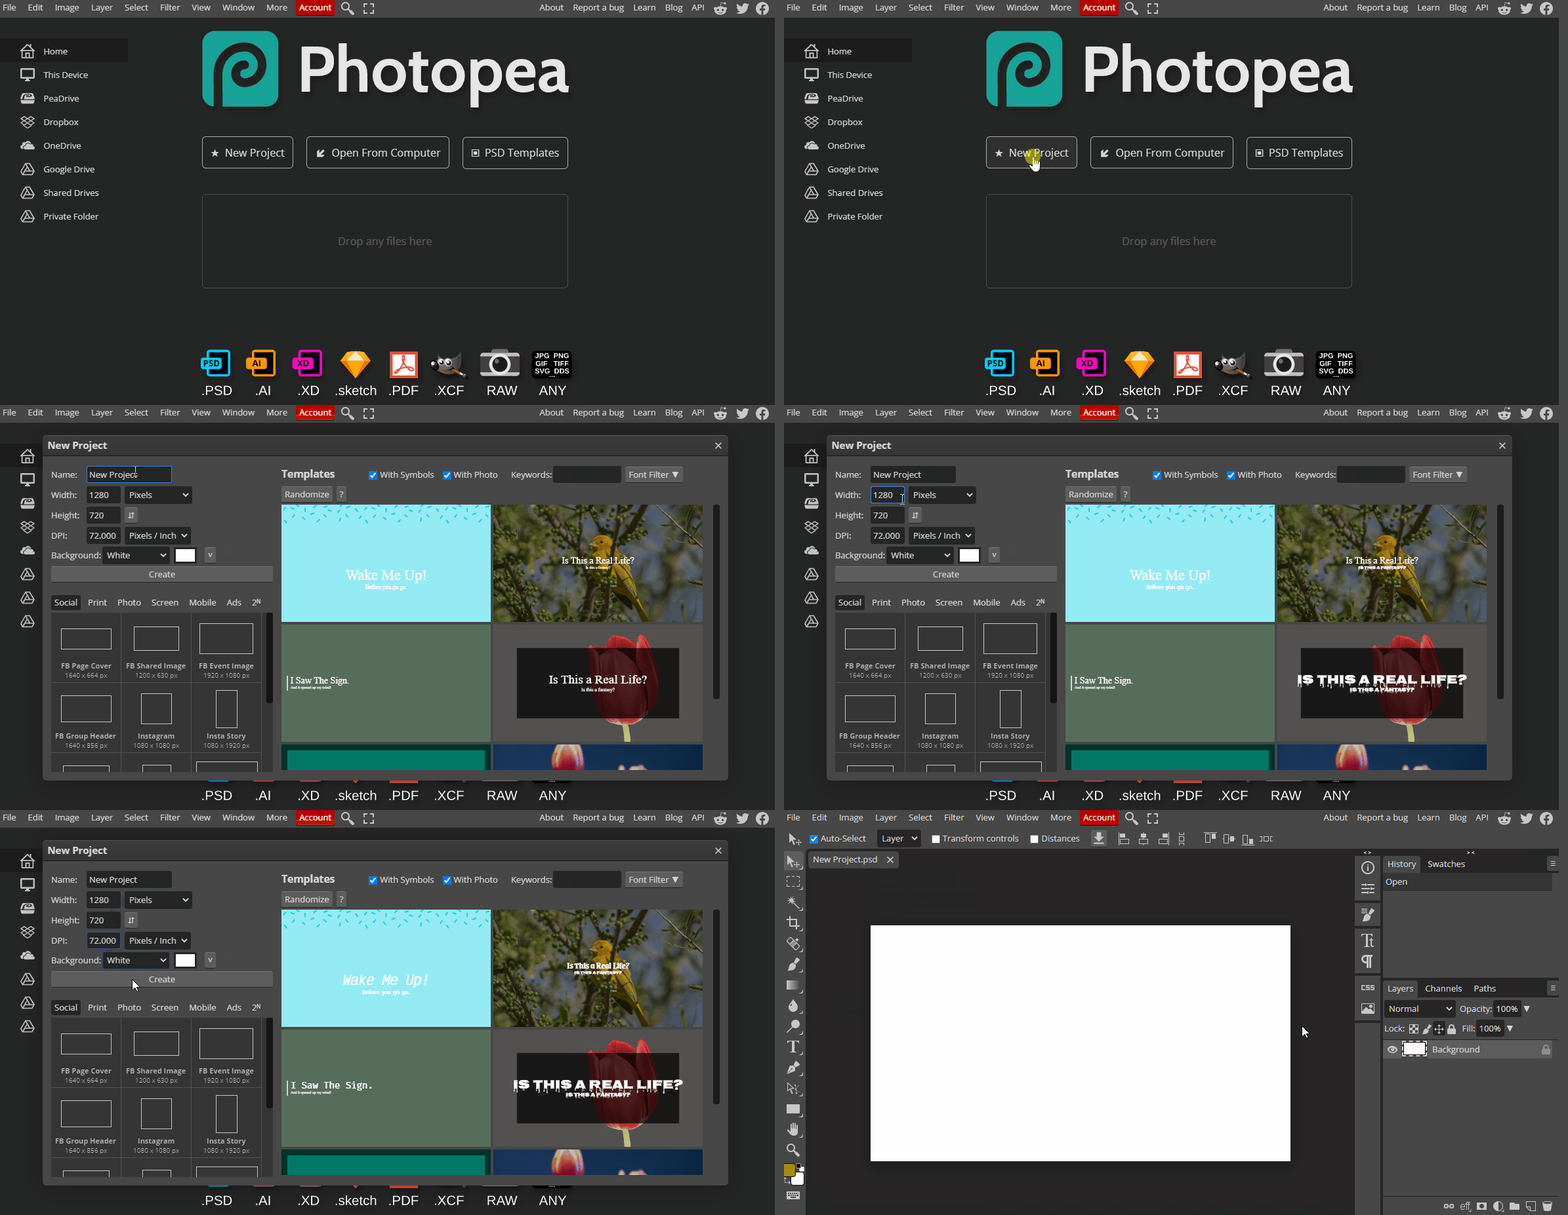
Let's take a look and try out some digital software called Photopea. Open the website photopea.com and create a new project.
To create a new project in Photopea, open the website photopea.com and:
When creating a digital illustration with a nature theme, the first step is to choose the specific nature theme you want to illustrate. Consider themes such as forests, beaches, mountains, or even a single flower or animal.
Think about what you want to convey through your illustration and choose a theme that will best represent that message. Once you have selected a theme, it's time to move on to the next step.
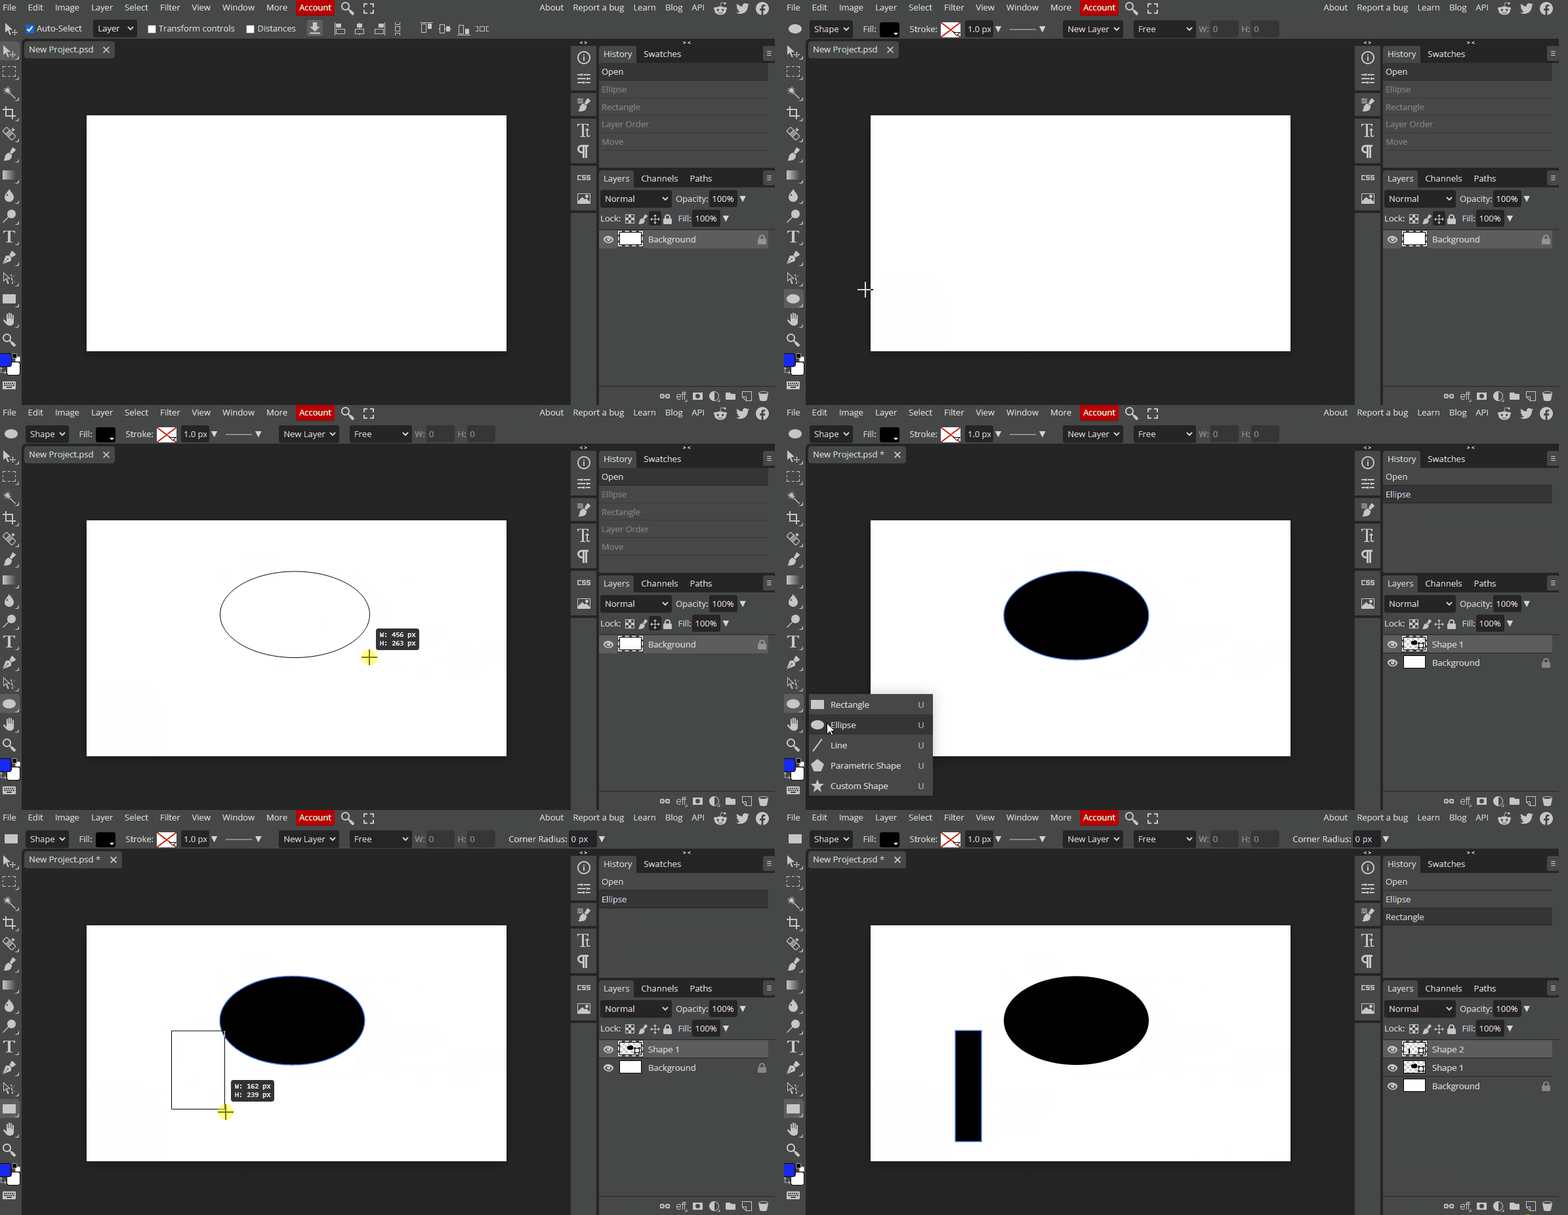
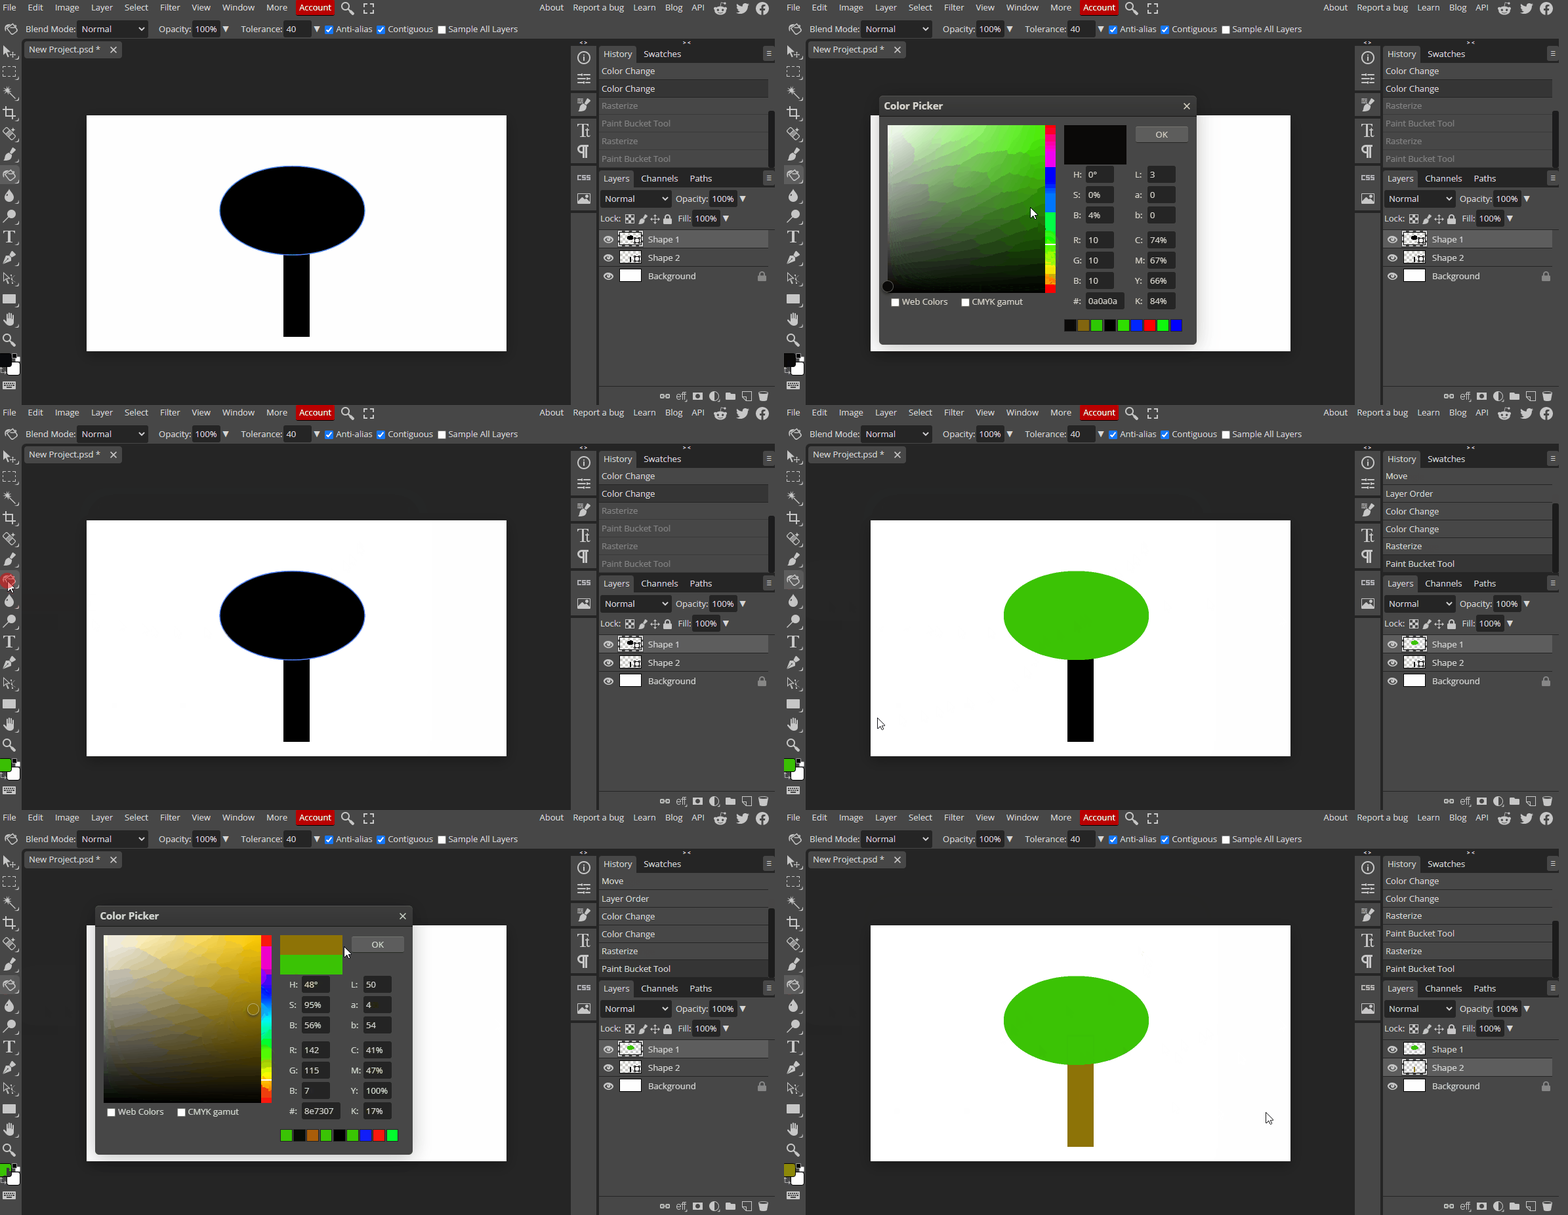
After selecting your nature theme, you will need to create the basic elements of your illustration using the shape tool. For example, if you have chosen a forest theme, you can use the shape tool to create trees, bushes, and foliage.
Similarly, if you have chosen a beach theme, you can use the shape tool to create waves, sand, and palm trees. Remember to keep the scale and proportion of each element in mind while creating them.
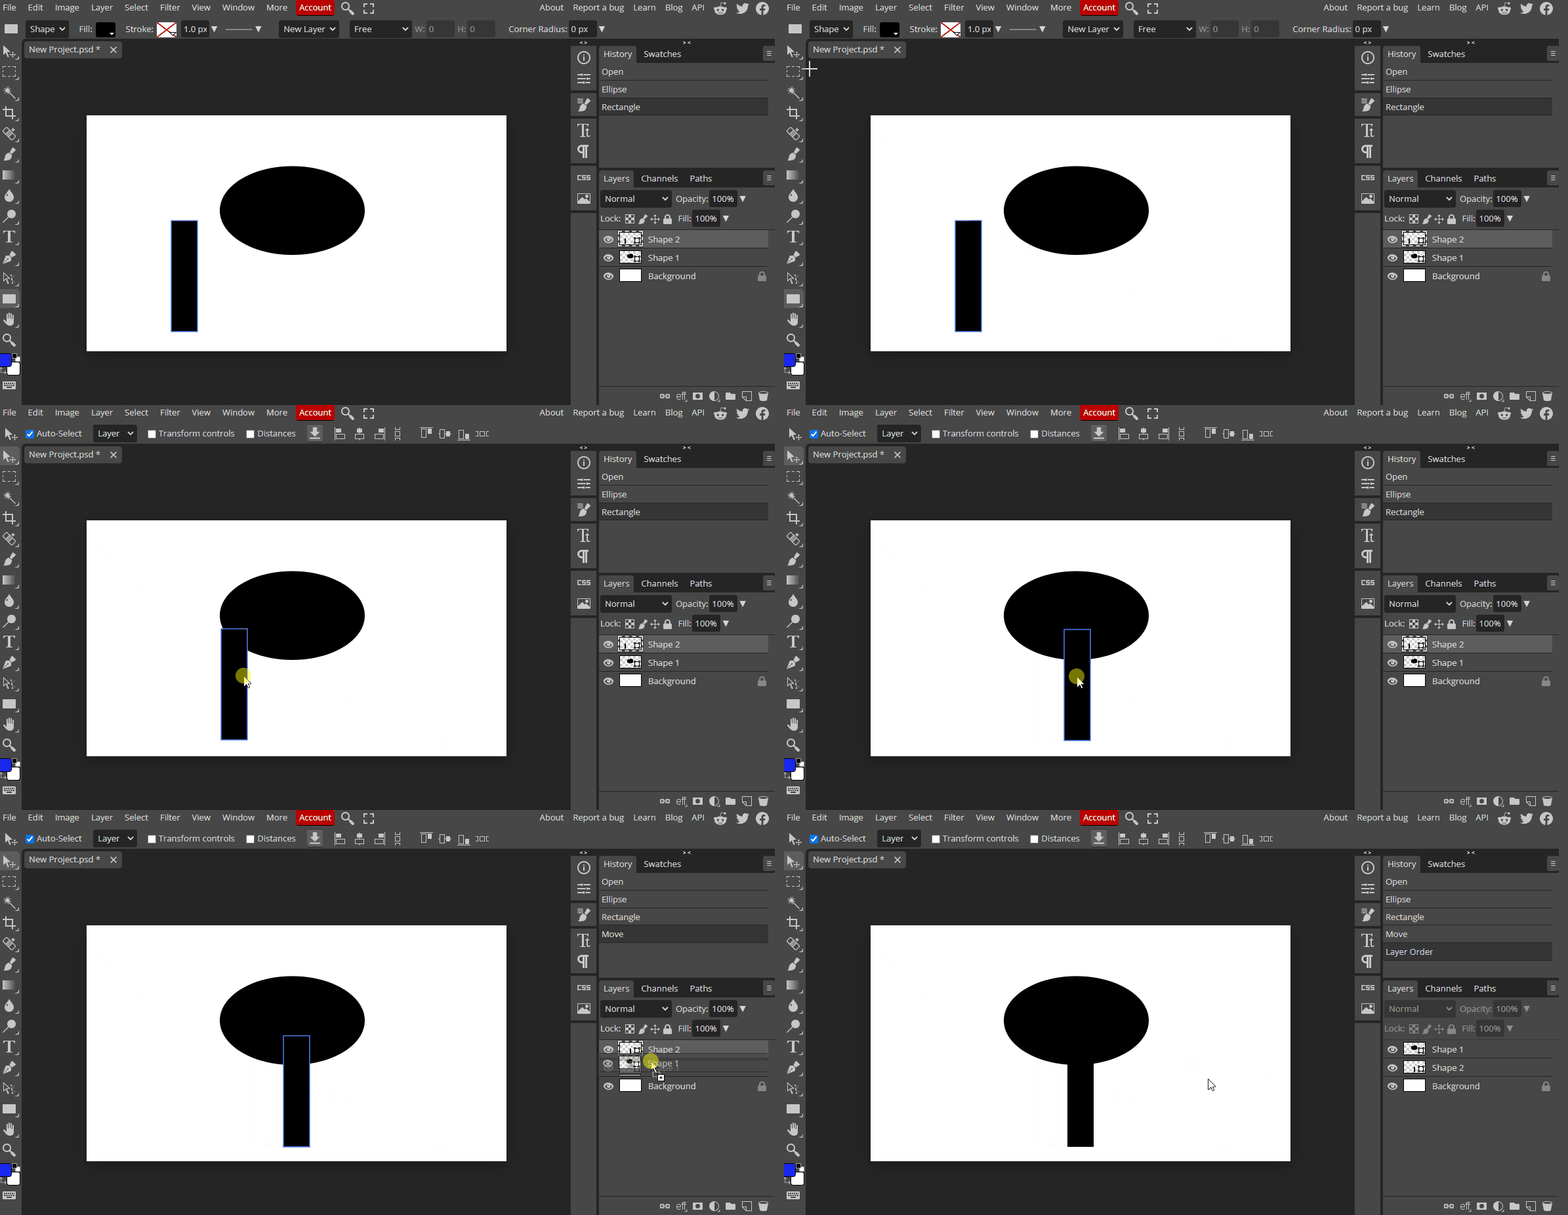
Once you have created the basic elements of your illustration, it's time to use layering techniques to organize them on different layers. This will help you to easily manage and edit your elements later on.
Make sure to group related elements together and place them on separate layers. For example, you can create a layer for trees, another for flowers, and yet another for rocks or water bodies.
Using layering techniques will also make it easier to add depth to your illustration by placing the elements in the foreground or background. In the next step, we'll explore how to add color to your elements.
Once you have organized your elements on separate layers, it's time to use the color picker to choose colors for each element. For example, you can choose green for trees, blue for water, and yellow for flowers.
Make sure to choose colors that complement each other and also fit the overall theme of your illustration. You can also adjust the brightness and saturation of each color to create the desired effect.
