Create a new project in the MakeCode editor for micro:bit by visiting https://makecode.microbit.org/.
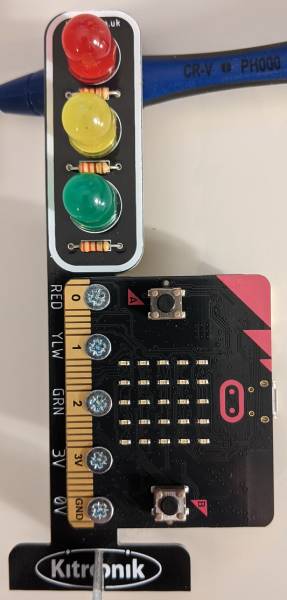
In this lesson, you will be using the STOP:bit traffic lights. Make sure to attach the STOP:bit traffic lights to your micro:bit before starting the project.
Go to the Makecode.com Microbit website using the link below and click on the 'New Project' button underneath the 'My Projects' heading.
https://makecode.microbit.org/
Install the micro:bit app on your iPad or tablet.
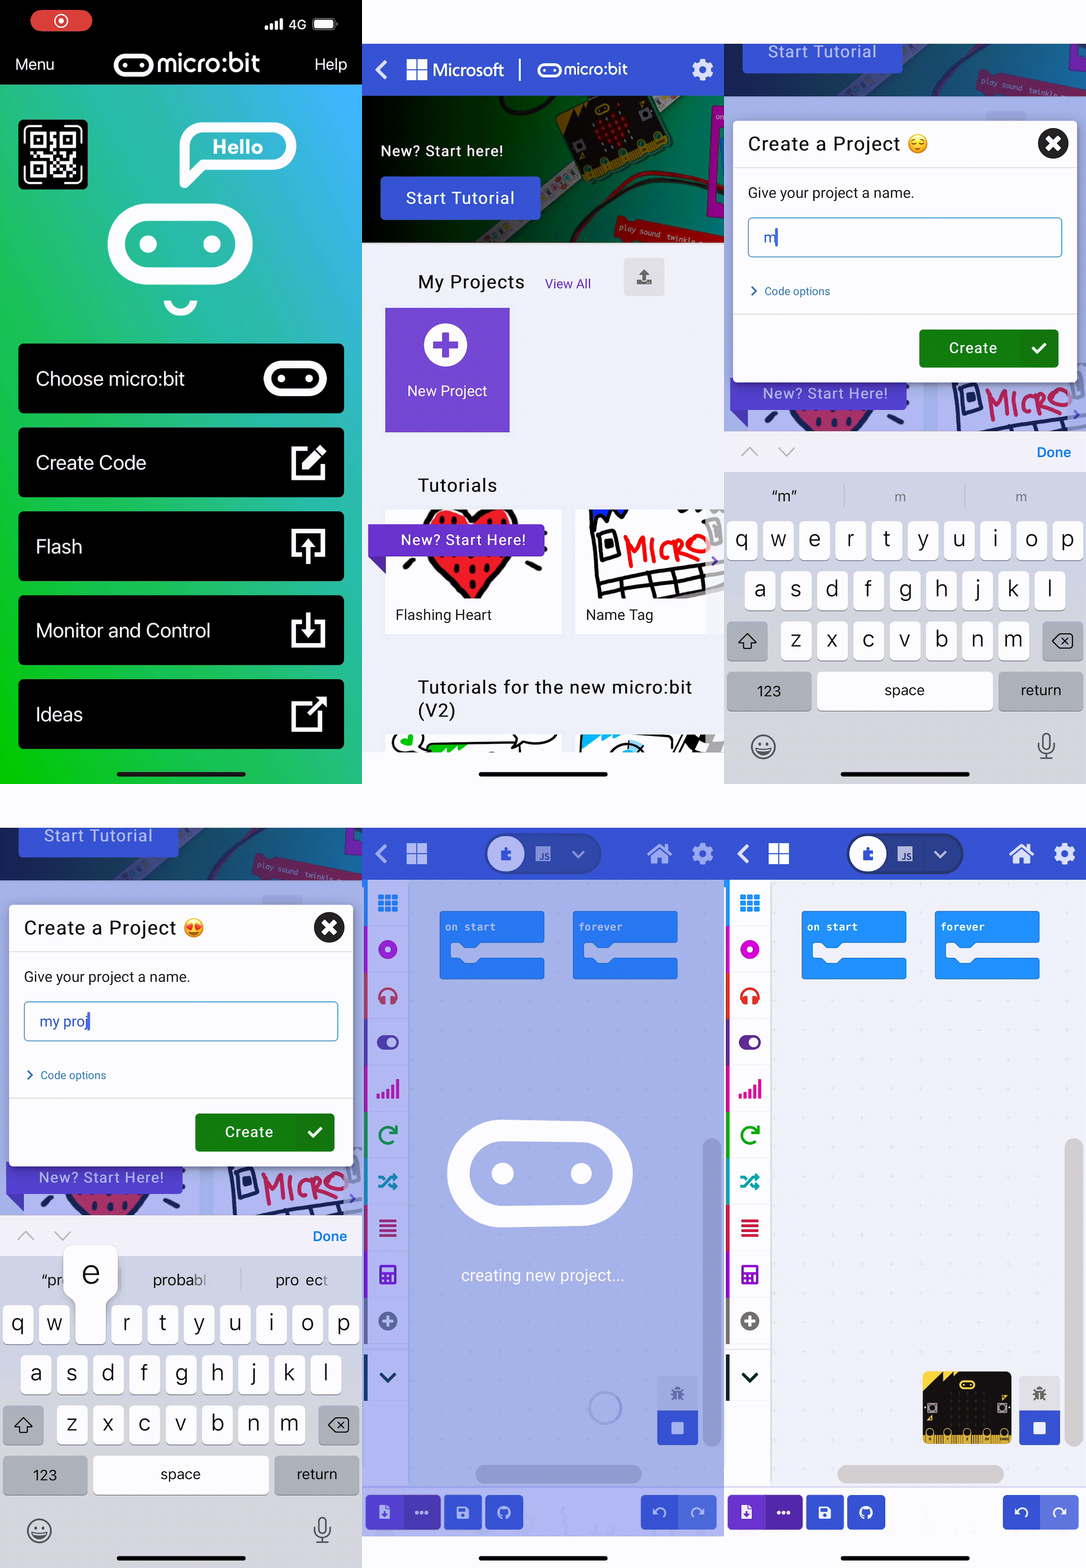
Open the app, tap 'Create code' and then create a new project.
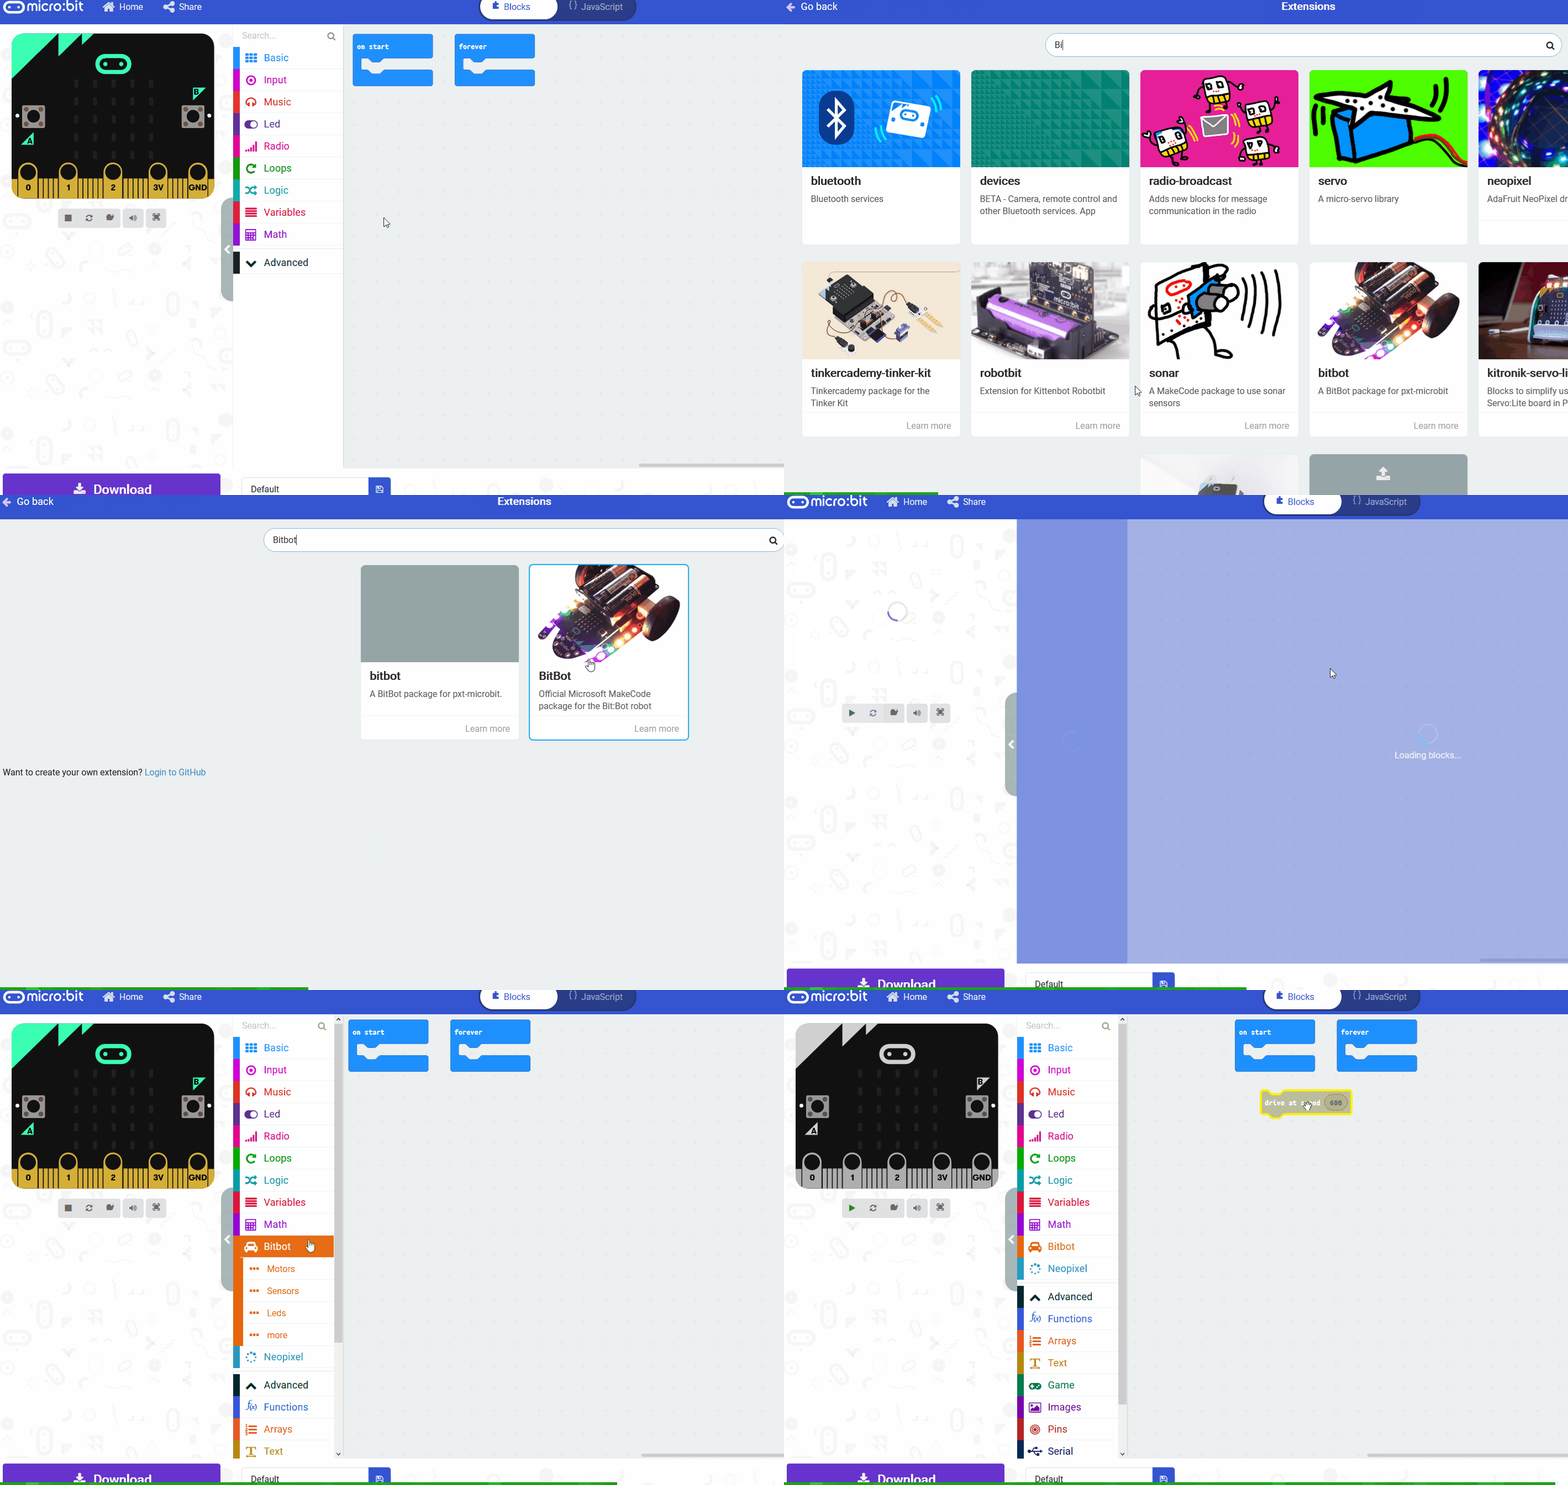
There are custom code blocks that we use to program our traffic lights kit. To add them to our toolbox we need to add the "stopbit" extension.
Search for the "stopbit" extension and then click on the traffic lights kit picture.
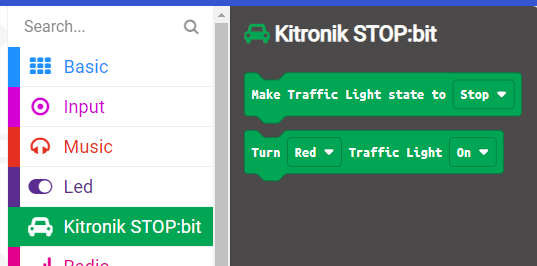
This will add the "Kitronik STOP:bit" category of code blocks to your toolbox.
To add an extension follow these steps:
We will need a variable in this project called 'seconds'. This will store the amount of seconds until the light turns green.
Create a variable called 'seconds'.
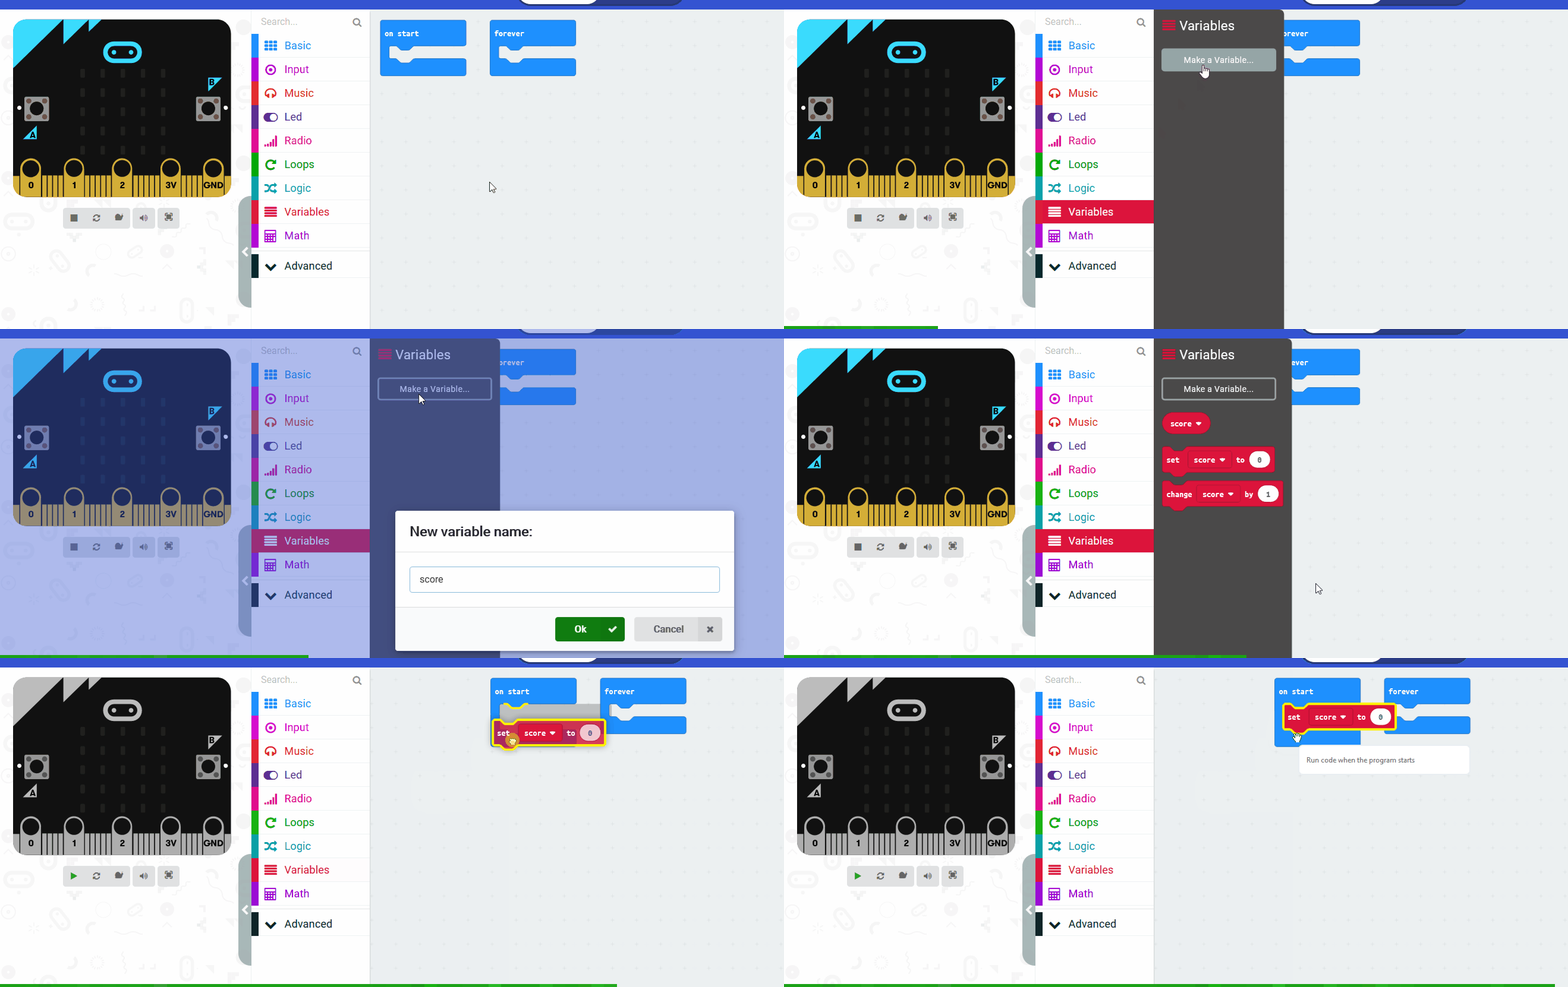
In the Variables toolbox, create a new variable by clicking the 'Make a Variable' button.
Once you click this button a box will appear asking what you want to call your variable. Give it a name that reminds you what you will be using it for. For example, if you wanted to keep track of your score in a game, you would create a variable called 'score'.
Now, let's set up the traffic lights. We want to show the red light at the start and a X on the microbit to indicate it is not safe to cross the road. Add the following code:
Next, you'll detect when the button A on the micro:bit is pressed to simulate a pedestrian waiting to cross. Add the following code:
This code does the following:
