Animation
Beginner
60 mins
Teacher/Student led
+50 XP
What you need:
Chromebook/Laptop/PC or iPad/Tablet

Pendulum Swing

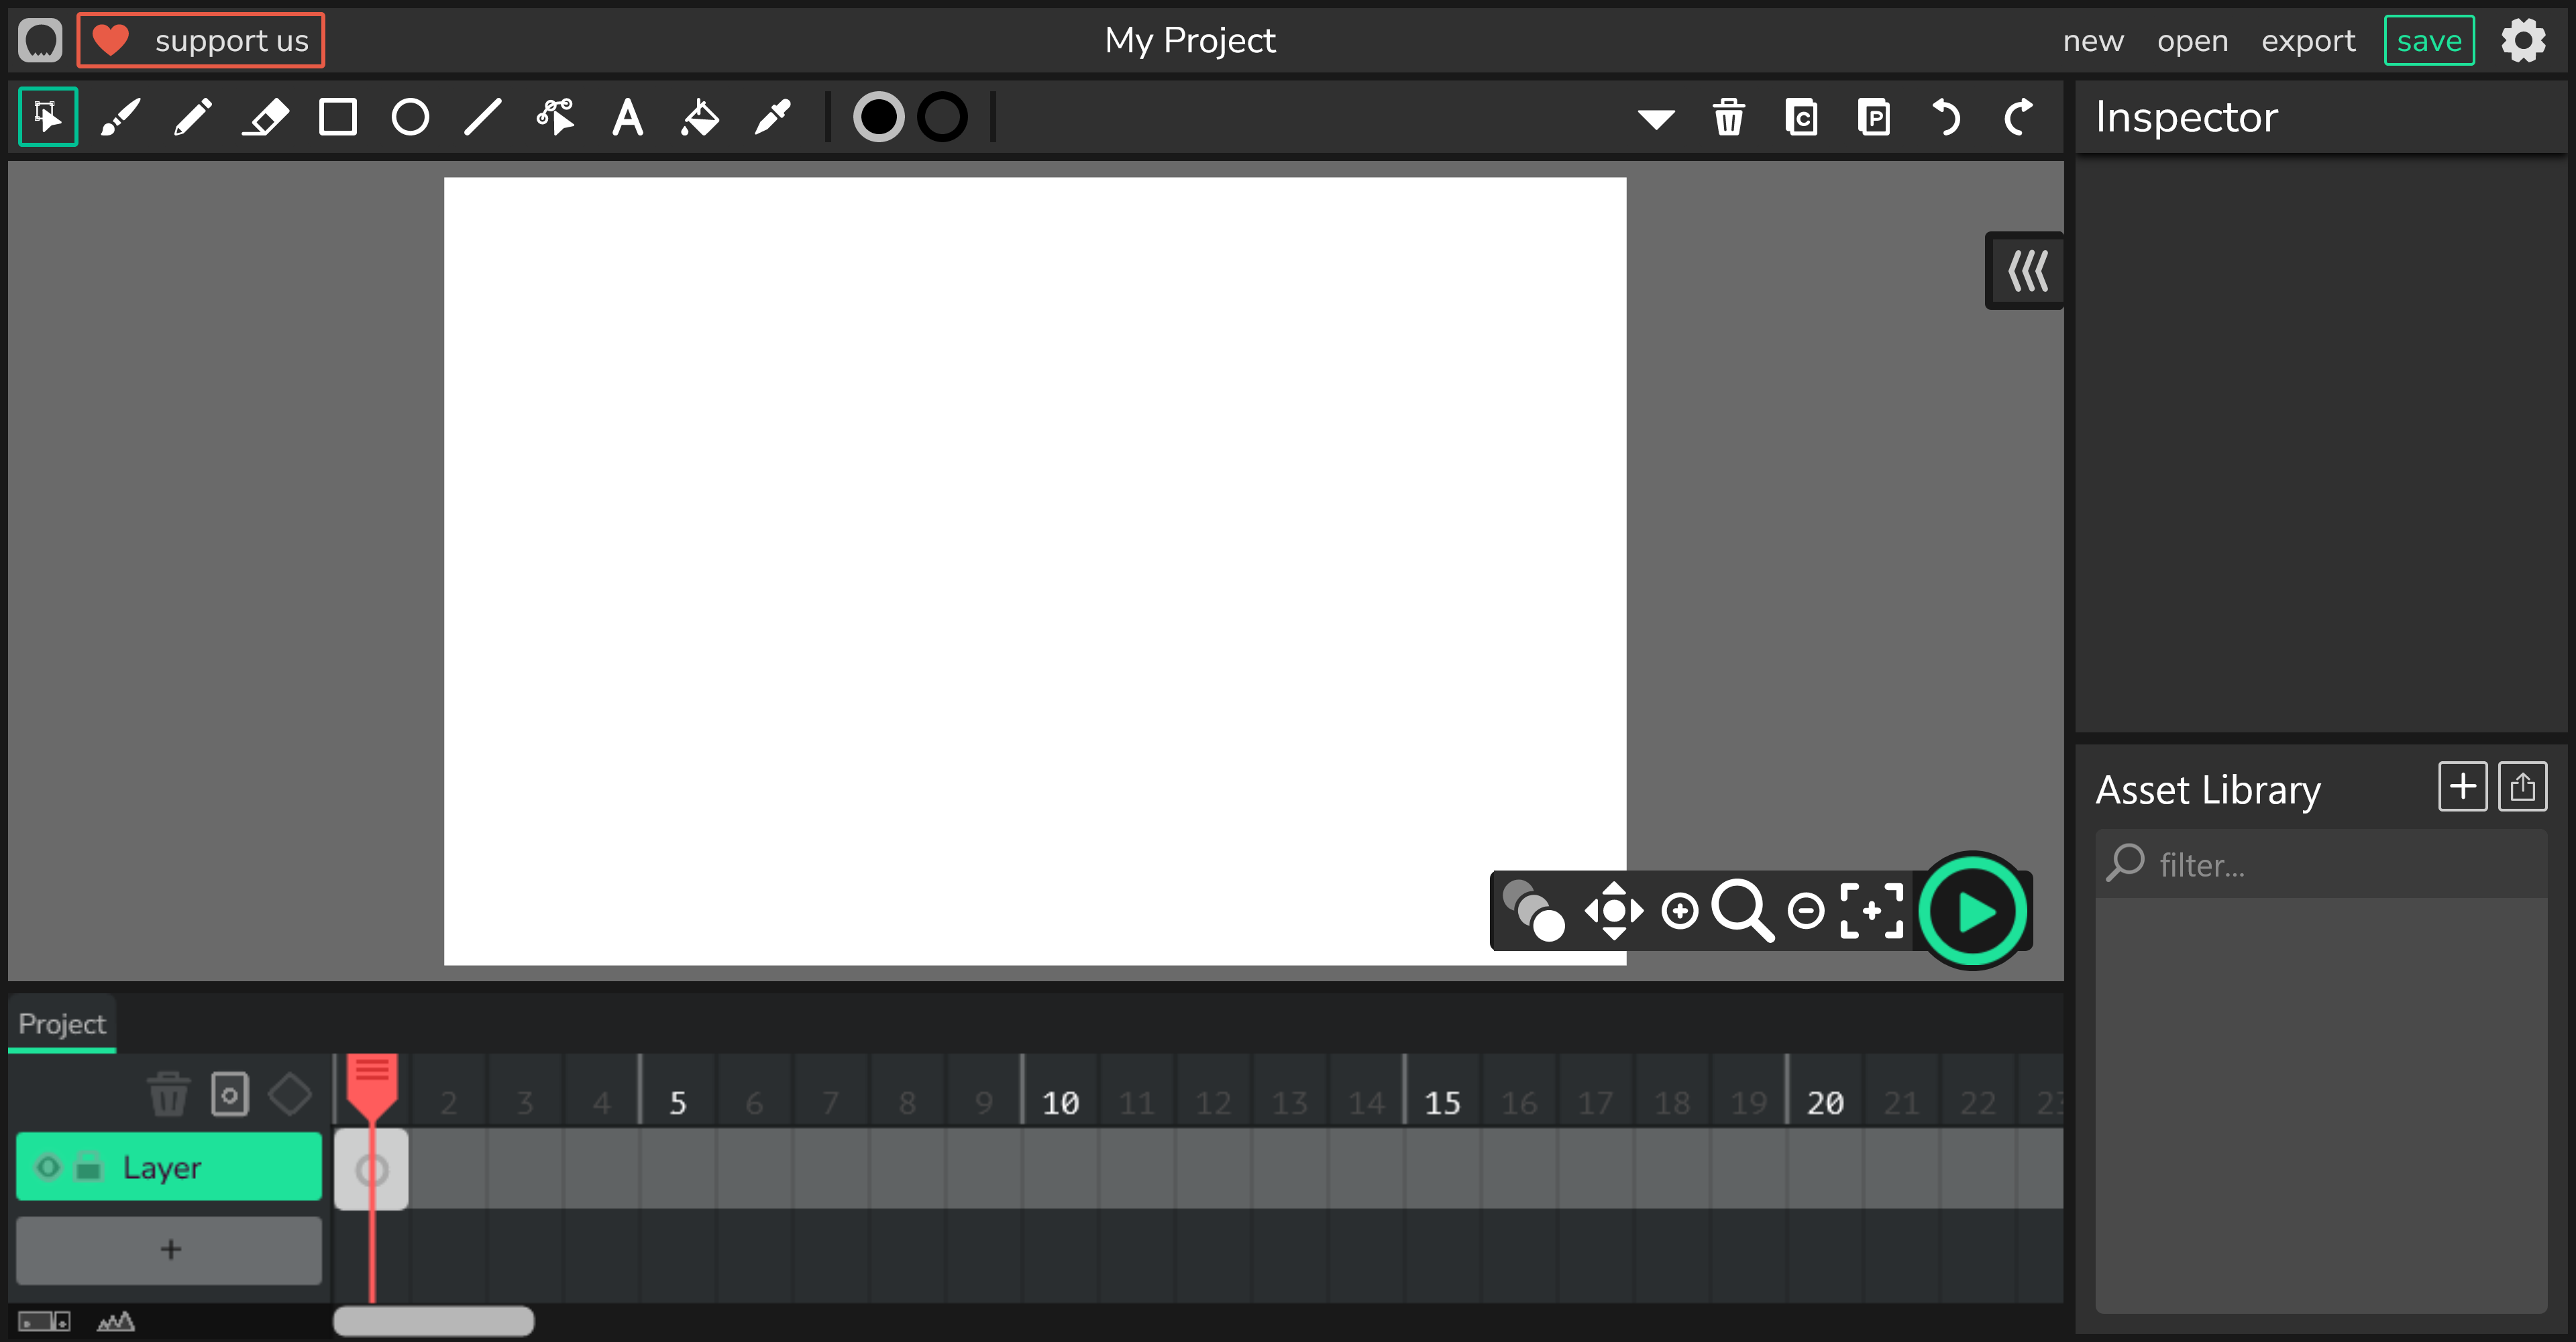
In this lesson, you'll create a pendulum animation using Wick Editor. Follow step-by-step instructions to draw and animate a swinging pendulum, learning to use frames, onion skinning, and timing for a smooth, realistic motion.
Learning Goals Learning Outcomes Teacher Notes

Teacher Class Feed

Load previous activity

    1 - Introduction

    In this lesson, you will create a simple pendulum animation using Wick Editor. You will build on your new animation skills by exploring how to create smooth, swinging motion using arcs and timing. You’ll draw a hanging pendulum and animate it swinging back and forth, just like in a real clock!

    Think about how a pendulum moves in a grandfather clock, it swings smoothly from side to side in a curved path, slowing at the ends and speeding through the middle. You'll learn to use frames, onion skinning, and previews to make your animation feel natural and rhythmic. Let's get started and bring that pendulum to life!

    2 - Create a New Project

    To begin, open Wick Editor in your web browser. If you haven't already, visit the Wick Editor website at https://www.wickeditor.com/ and click on 'Launch Web Editor' to launch it.

    Once inside, create a new animation project. This will give you a fresh canvas to work on your pendulum swing animation. Remember, you can adjust the project settings like frame rate if needed, but for now, the defaults are fine.

    Starting a new project keeps your work organised and separate from previous lessons.

    3 - Drawing Your First Frame

    Let's start by drawing the pendulum for your animation. This will be the starting position where the pendulum is hanging straight down.

    1. Make sure you're on the first frame in the timeline.
    2. Select the Line tool from the toolbar. In the inspector panel, you can change the colour and width of your line to however you would like it.
    3. Draw a straight vertical line from the top centre of the canvas down to about three-quarters of the way.
    4. Switch to the Ellipse tool. Set the fill colour to a colour of your choosing.
    5. Draw a circle at the bottom of the line. Hold Shift for a perfect circle. Use the Select tool to move your circle to where you want it, if needed.
    This first frame sets the starting position for your pendulum.

    4 - Using Onion Skinning

    To make your animation smooth, turn on onion skinning.

    1. Find the onion skinning icon in the canvas tools at the bottom right – it looks like layered frames.
    2. Click it to activate. You’ll see faint outlines of previous and next frames, helping you position the pendulum accurately.

    Use this as a guide to keep the swinging smooth and consistent.

    Onion skinning is like a helpful ghost of your past drawings, ensuring your animation flows naturally.

    5 - Using Layers to Add a Path

    Before animating the swing, create a guide for the pendulum’s arc.

    1. In the layers panel, click β€˜+’ to add a new layer and name it β€˜Guide’.
    2. Select this layer. Set the stroke colour to light grey in the inspector.
    3. Use the Ellipse tool to draw a large circle, positioning it so the bottom forms the curved arc path for your pendulum bob.
    4. Hover over the first frame and drag it across a few frames to keep the guide in the same location throughout the animation.
    5. Finally, click the lock icon on your layer to lock the guide in place.
    A guide layer helps make your swinging motion realistic.
    Drag the side of the frame to view the curve at all times.

    Unlock the Full Learning Experience

    Get ready to embark on an incredible learning journey! Get access to this lesson and hundreds more in our Digital Skills Curriculum.

    Copyright Notice
    This lesson is copyright of Coding Ireland. Unauthorised use, copying or distribution is not allowed.
    πŸͺ Our website uses cookies to make your browsing experience better. By using our website you agree to our use of cookies. Learn more