Computer Science
Intermediate
240 mins
Teacher/Student led
+370 XP
What you need:
Chromebook/Laptop/PC

Project Development

Start your coding journey by setting up your workspace and choosing your tools. Begin coding the core features of your program, testing and refining as you go. Add enhancements, document your progress, and finalise your project for presentation.
Learning Goals Learning Outcomes Teacher Notes

Live Class Feed

This is a live feed of the latest activity by your students on this lesson. It will update in real-time as they work on the lesson.
Load previous activity

    1 - Introduction

    Welcome to the coding phase! You'll start creating your program based on your plan.

    You might use tools like Scratch, MakeCode Arcade or Microbits, but feel free to choose what works best for you. You'll set up your workspace, begin coding the main features, test and fix errors, and perhaps add extra features.

    Follow your plan, but don't worry if you need to adaptโ€”problem-solving is part of coding. By the end, you'll have a working program to share!

    Remember, you'll be working on your project over several sessions, so make sure you know how to save and re-open your work. 

    2 - Setting Up Your Environment

    Open your chosen project editor, whether it's Scratch, MakeCode Arcade or the Microbit editor. Create a new project and give it a name that reflects what your program will do.

    If you're using a Microbit, connect it to your computer now. Set up any equipment you'll need, like sensors or LEDs for the Microbit, and make sure everything is working correctly.

    Also, test saving your project to ensure you know where it's saved and how to re-open it later to continue working on it.


    3 - Coding the Core Functionality

    Now it's time to start coding the main parts of your program based on your storyboard. Let's break this down into manageable steps:

    Step 1: Set Up the Basics
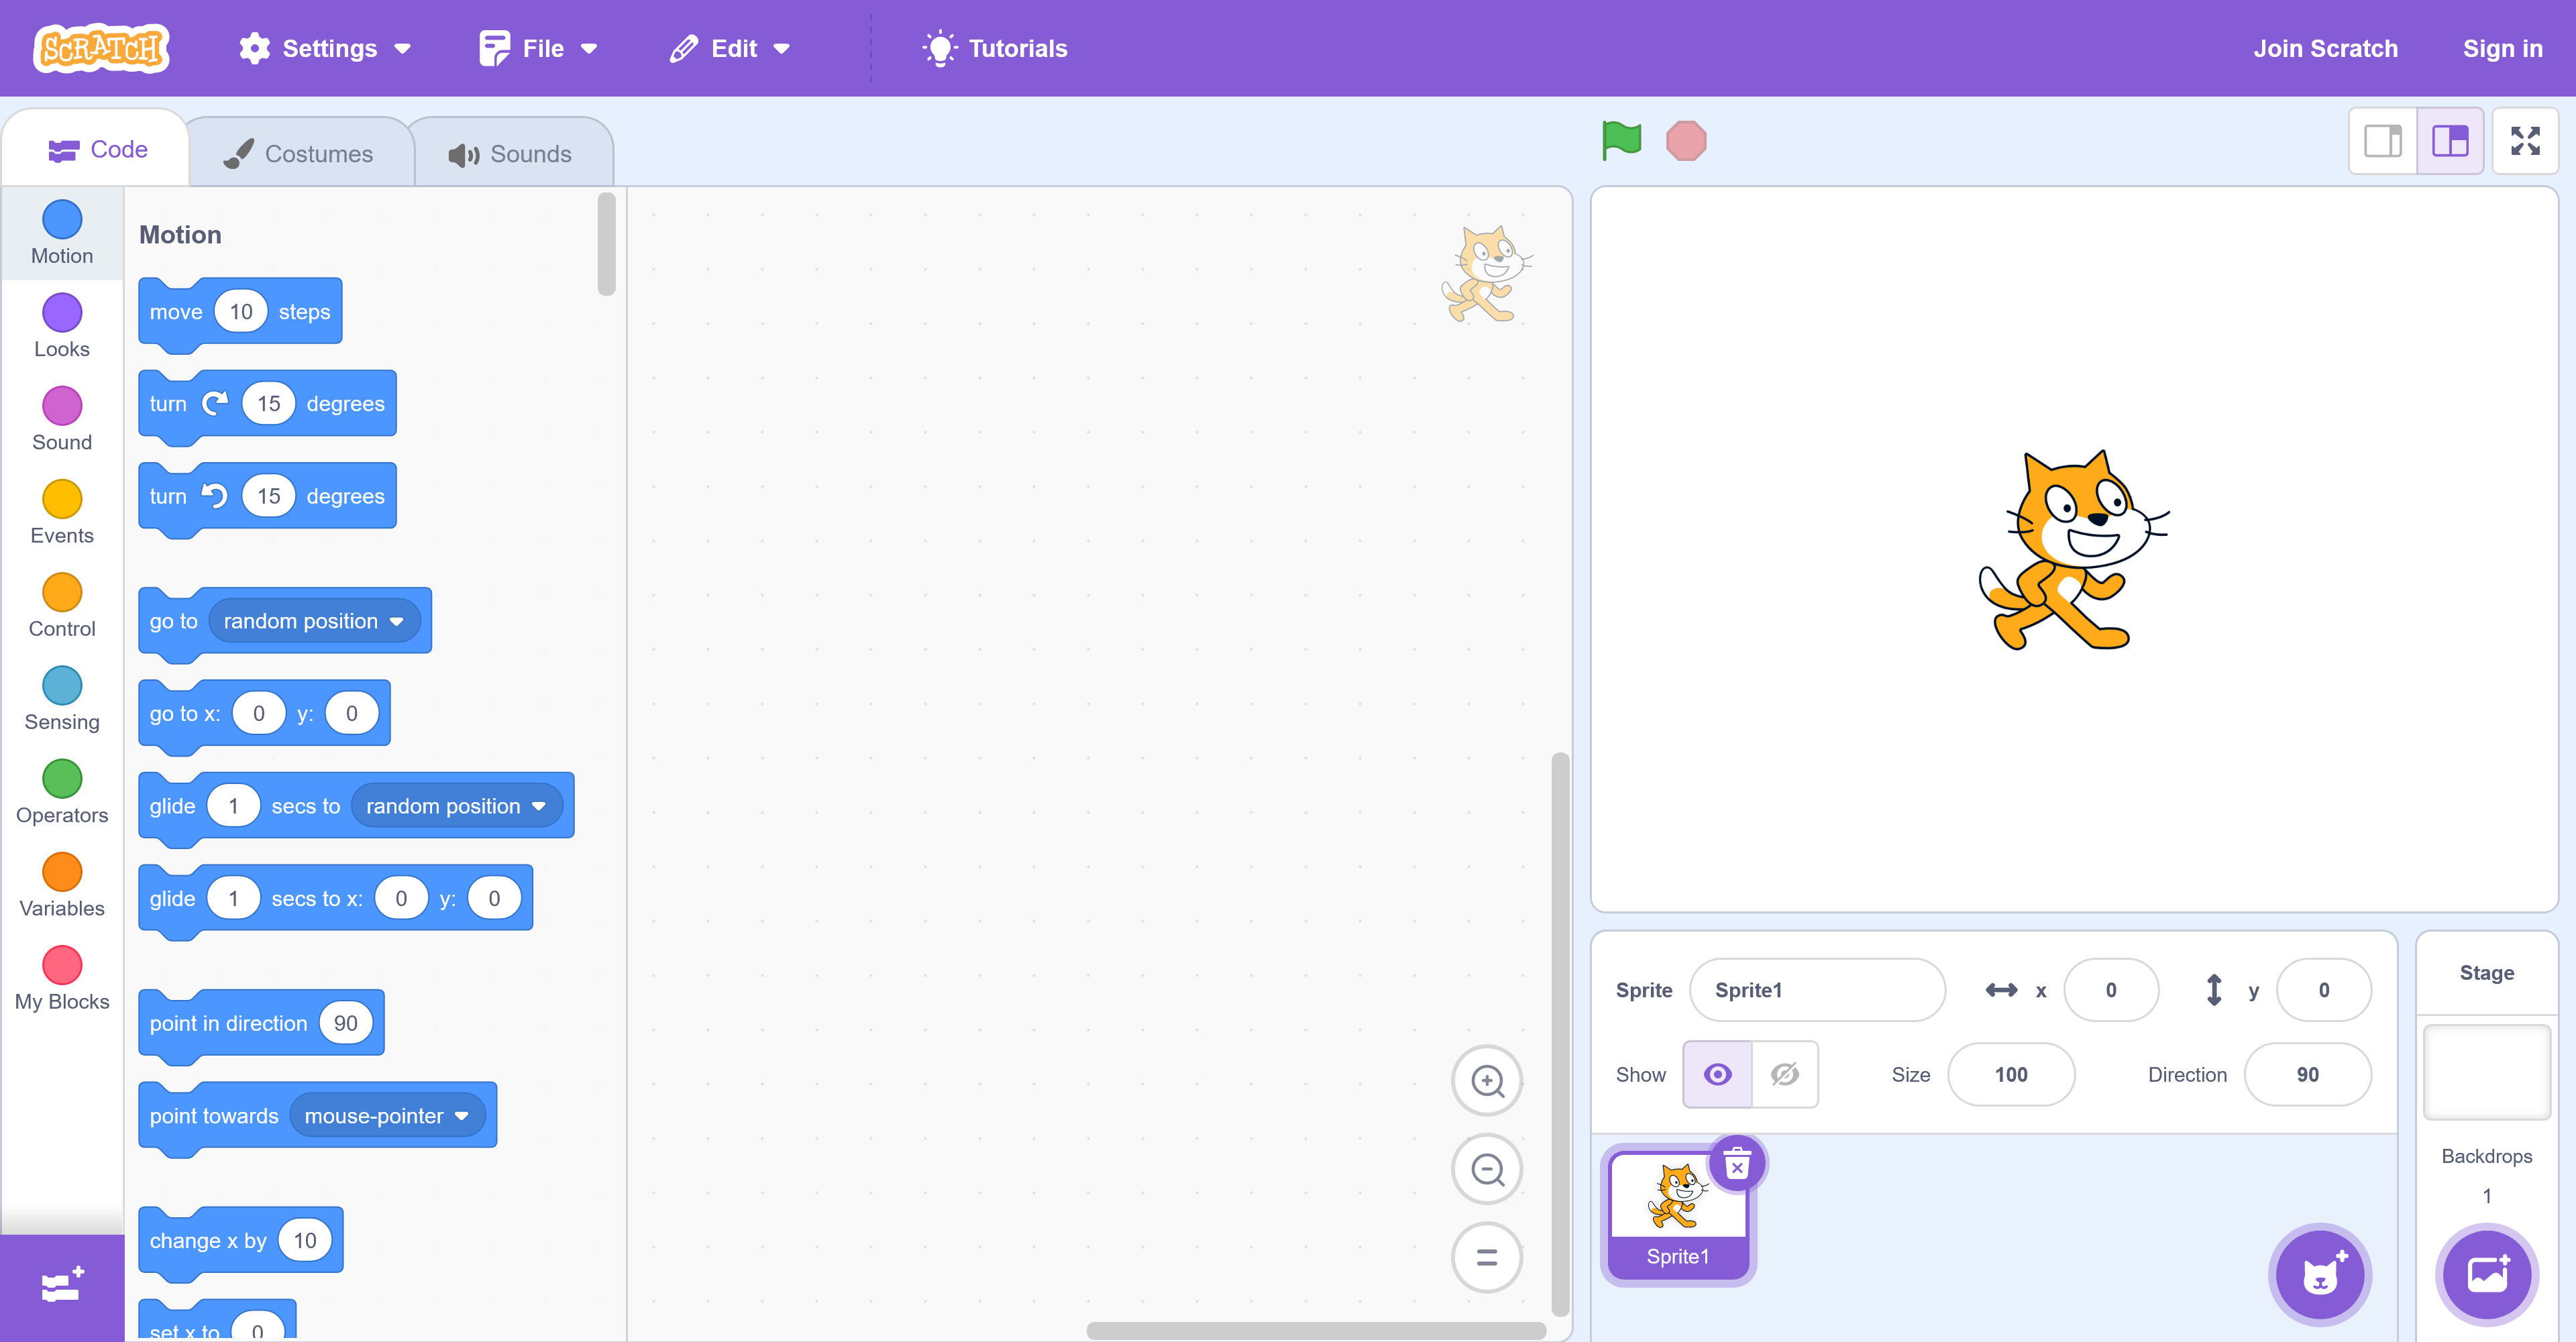
    Begin by setting up the basic structure of your program. If you're using Scratch, create your sprites or backgrounds. For Microbit, initialise any variables or setup you need.

    Step 2: Implement Core Features
    Start with the most essential feature of your program. For example, if you're making a game, begin with the character's movement.

    Step 3: Build Gradually
    Don't try to do everything at once. Add one feature at a time. For instance, after movement, you might add a way for the character to jump or interact with objects. Test each addition before moving on.

    Step 4: Simplify if Needed
    If you get stuck, try a simpler version first. For example, if you're having trouble with collision detection, start by just moving a sprite around the screen before adding the collision.

    Step 5: Review and Refine
    After adding each feature, review your code. Make sure it follows your plan and works as expected. If something isn't working, go back and adjust your code step by step.

    Take Notes
    As you progress, take notes on what you're doing. Write down the features you add, any challenges you face, and how you solve them. These notes will be very helpful when you present your project later.

    Remember, coding is a process of trial and error. Take your time and enjoy building your program!

    4 - Testing and Debugging

    Testing and debugging are crucial parts of programming. Here's how you can do it effectively:

    Step 1: Run Your Program
    Click 'Run' in Scratch or upload your code to your Microbit after adding a few blocks or making changes. Watch how your program behaves.

    Step 2: Observe and Identify Issues
    Does your program do what you expect? If not, try to spot where it's going wrong. Look for things like:

    • Blocks in the wrong order in Scratch.
    • Variables not set correctly.
    • For Microbits, check if all connections are correct.

    Step 3: Fix Errors One by One
    When you find a problem, don't panic. It's normal to have errors! Fix them one at a time. For example, if a sprite isn't moving, check the movement code block by block.

    Step 4: Document Your Fixes
    Write down any significant fixes in a notebook or a file. This will be helpful for your presentation later. Note what the problem was (e.g., 'sprite wouldn't move') and how you solved it (e.g., 'adjusted the loop').

    Step 5: Repeat the Process
    Keep testing and fixing until your program works as you planned. Remember, this is a normal part of coding, so take your time and enjoy the process of improving your program!


    5 - Adding Enhancements and Documenting Progress

    Now that you've got the basics of your program working, it's time to make it even better! Here are some ideas for enhancements you can add:

    • Sound Effects: If you're using Scratch or MakeCode Arcade, you can add sounds to make your game or program more exciting. For example, add a sound when a character jumps or when something happens in your program.
    • Score Counter: If you're making a game, adding a score counter can make it more fun. In Scratch, you can use a variable to keep track of the score and display it on the screen.
    • Additional Animations: Make your program more visually appealing by adding animations. For instance, if you're using a Microbit, you could make the LEDs display different patterns or animations.

    As you add these enhancements, keep a detailed log of your progress. Write down each new feature you implement, any challenges you face, and how you solve them. For example, if you add a sound effect and it doesn't play, note down the problem (e.g., 'sound effect not playing') and the solution (e.g., 'checked the sound file and adjusted the code'). This documentation will be very helpful when you present your project in the next lesson.

    Remember to save your project regularly so you don't lose any of your hard work!


    Unlock the Full Learning Experience

    Get ready to embark on an incredible learning journey! Get access to this lesson and hundreds more in our Digital Skills Curriculum.

    Copyright Notice
    This lesson is copyright of Coding Ireland. Unauthorised use, copying or distribution is not allowed.
    ๐Ÿช Our website uses cookies to make your browsing experience better. By using our website you agree to our use of cookies. Learn more