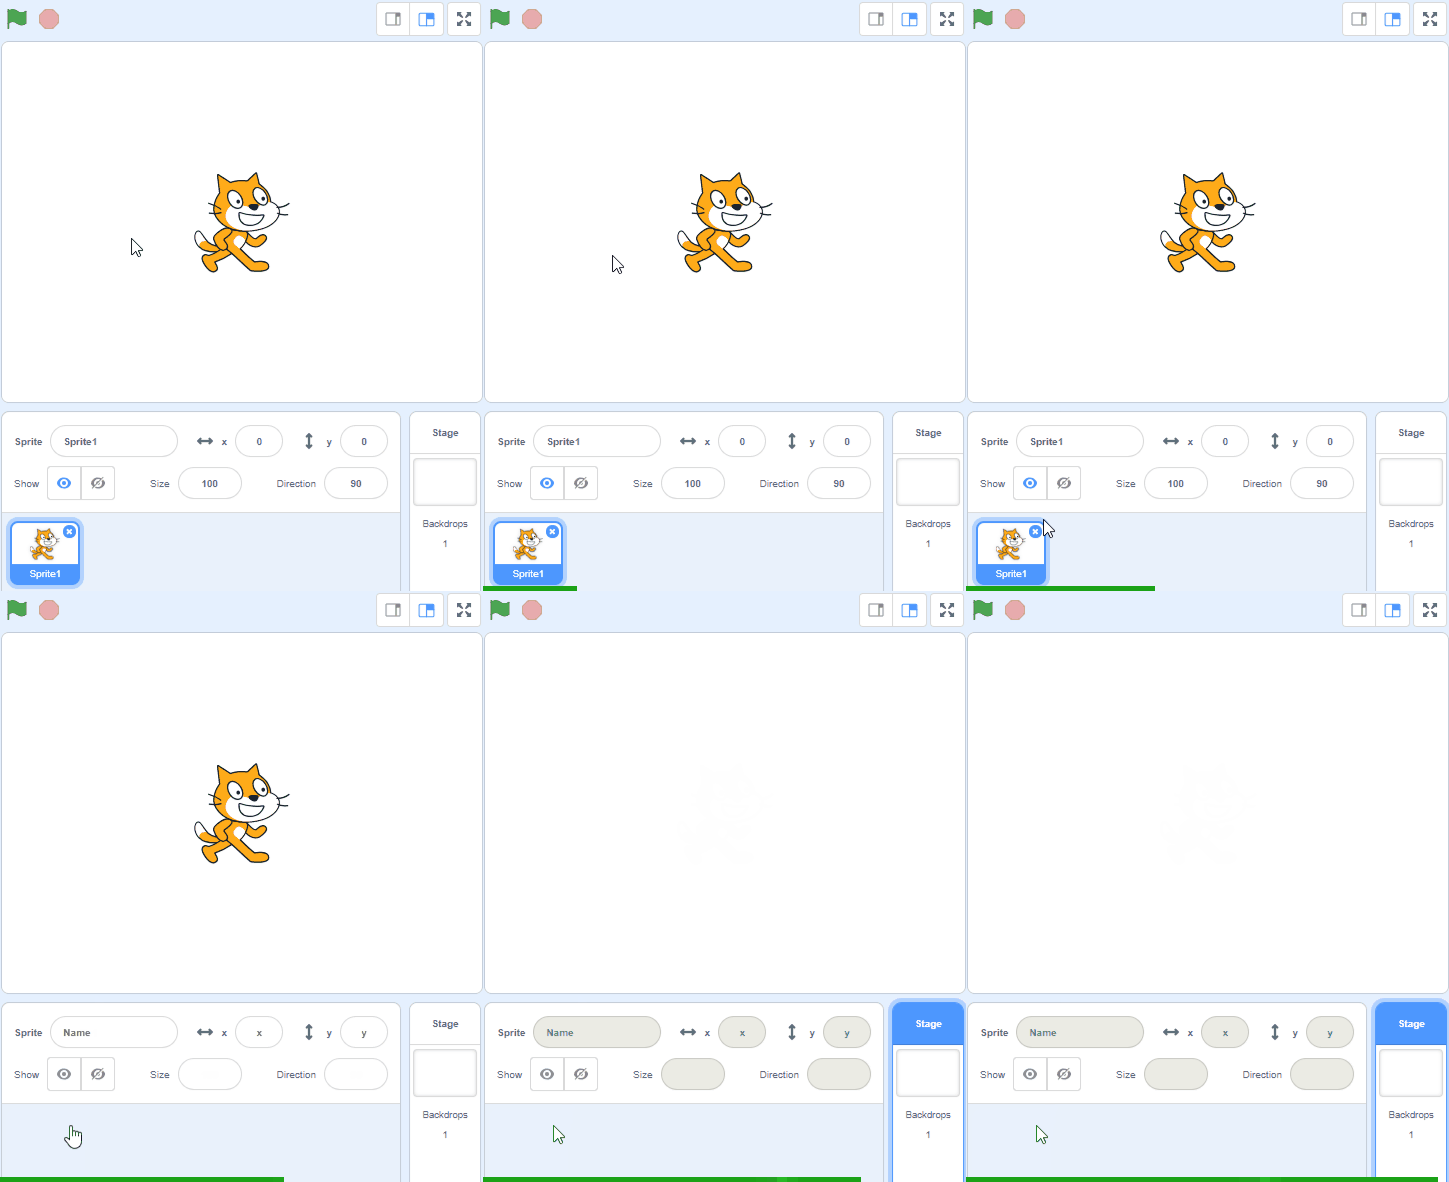
Create a new Scratch project and delete the cat sprite.
Go to the Scratch website using the link below and click on the 'Create' link in the blue bar at the top.
By default, each new project starts with the cat sprite already added. To delete the cat click on the x in the blue circle beside the cat in the sprite list.
New Scratch projects have the cat sprite automatically added to them so this step of deleting the cat (if it's not needed) will be frequently performed.
Included with this step is a red car picture that we're going to upload into our Scratch project. First download the picture file onto your computer and then upload it into your project.
To download a picture to your computer, right click on the picture and then click on 'Save image as...'
You can upload images and sprite files into your project. To upload a sprite follow these steps:
The new sprite will upload into your project and appear in the stage area.
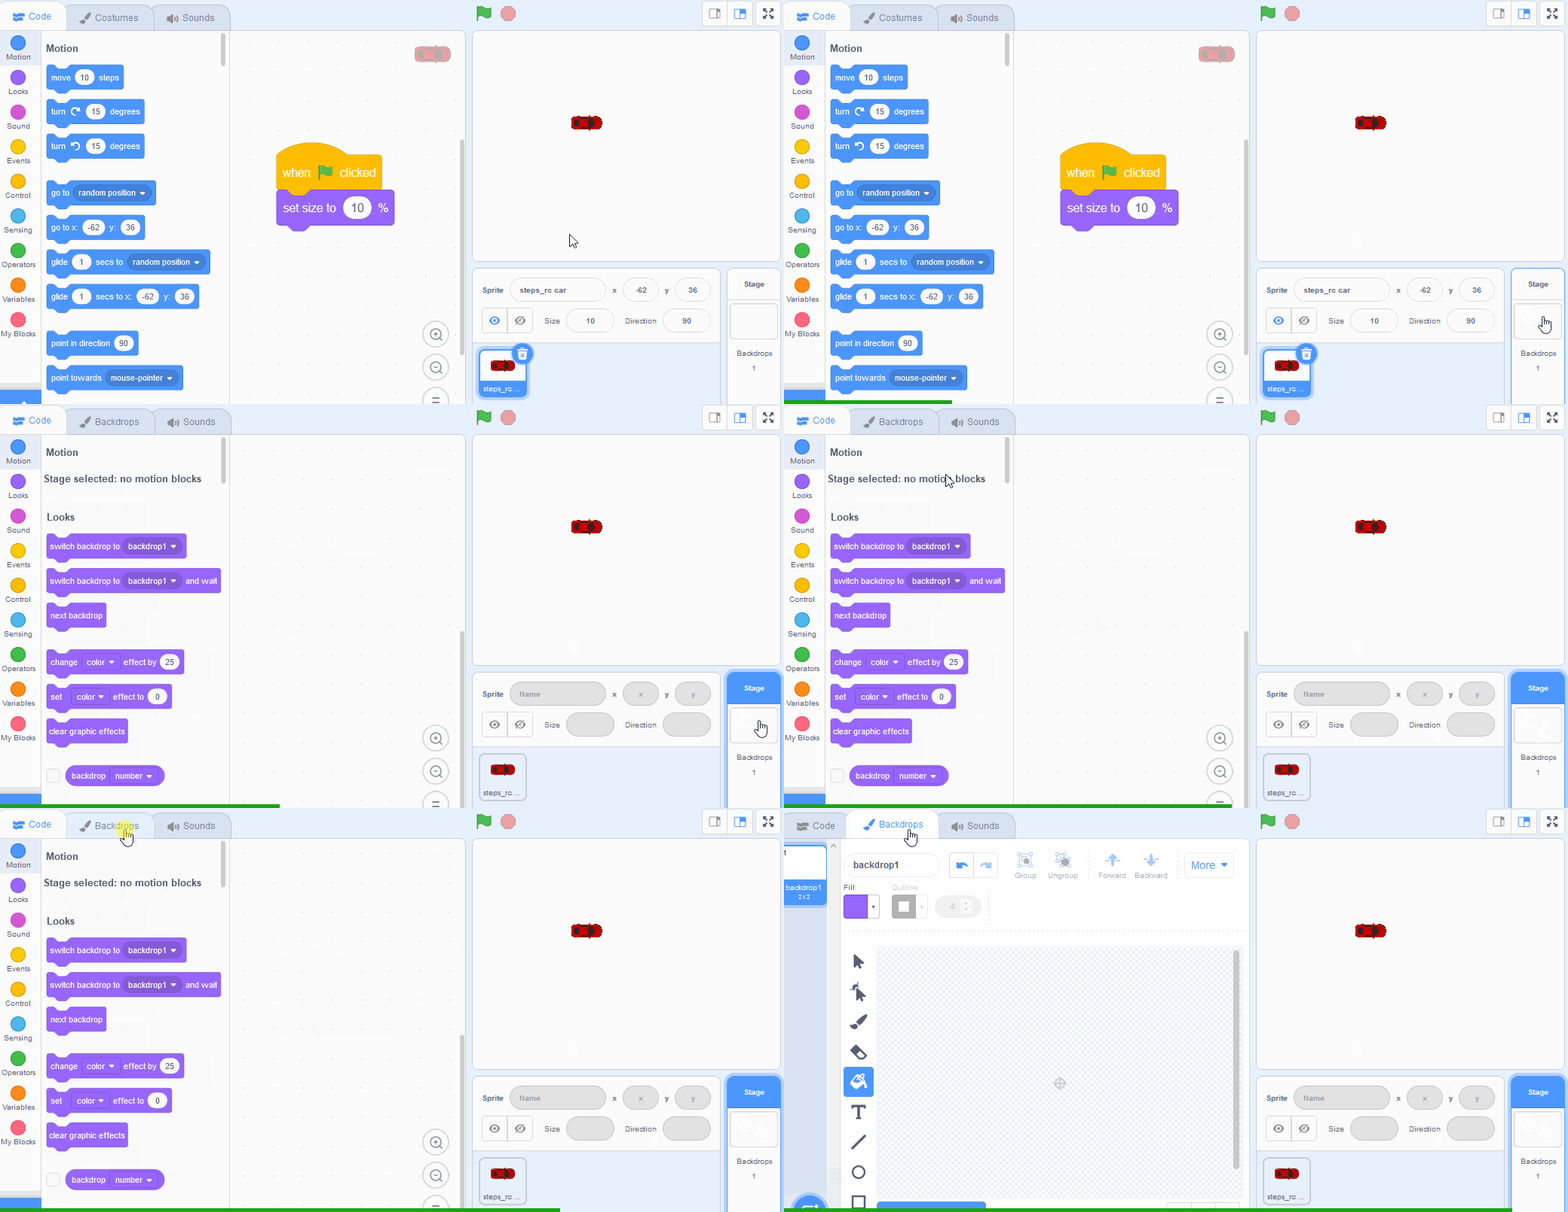
As the car sprite is very large, we'll need to shrink it so that it has room to move around. We're going to shrink it to 10% of it's original size. Add the following code to the car sprite.
when green flag clicked
set size to (10) %
Click on the green flag and the car will shrink to a smaller size.
We're going to use the backdrop editor to draw a racing track. To open the backdrop editor do the following:
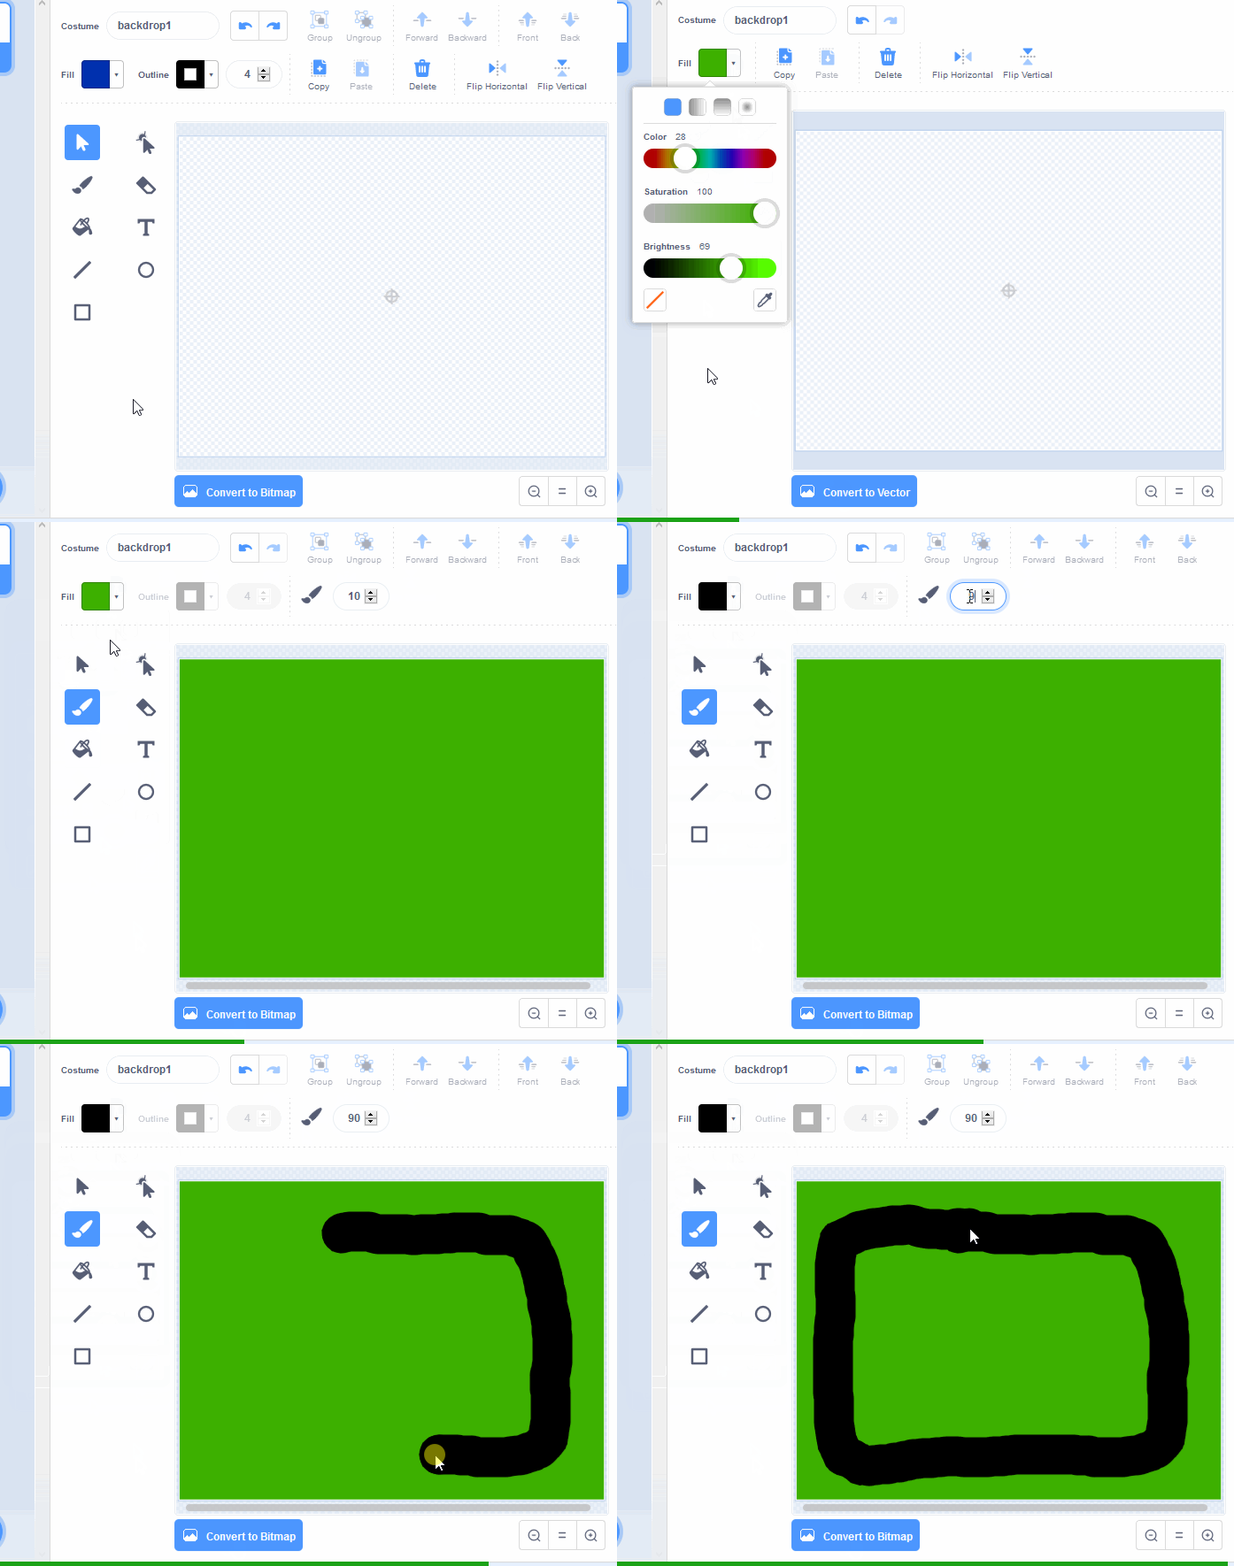
Next we're going to draw a race track. First we will colour the background green and then we will draw a black track. Follow these steps:
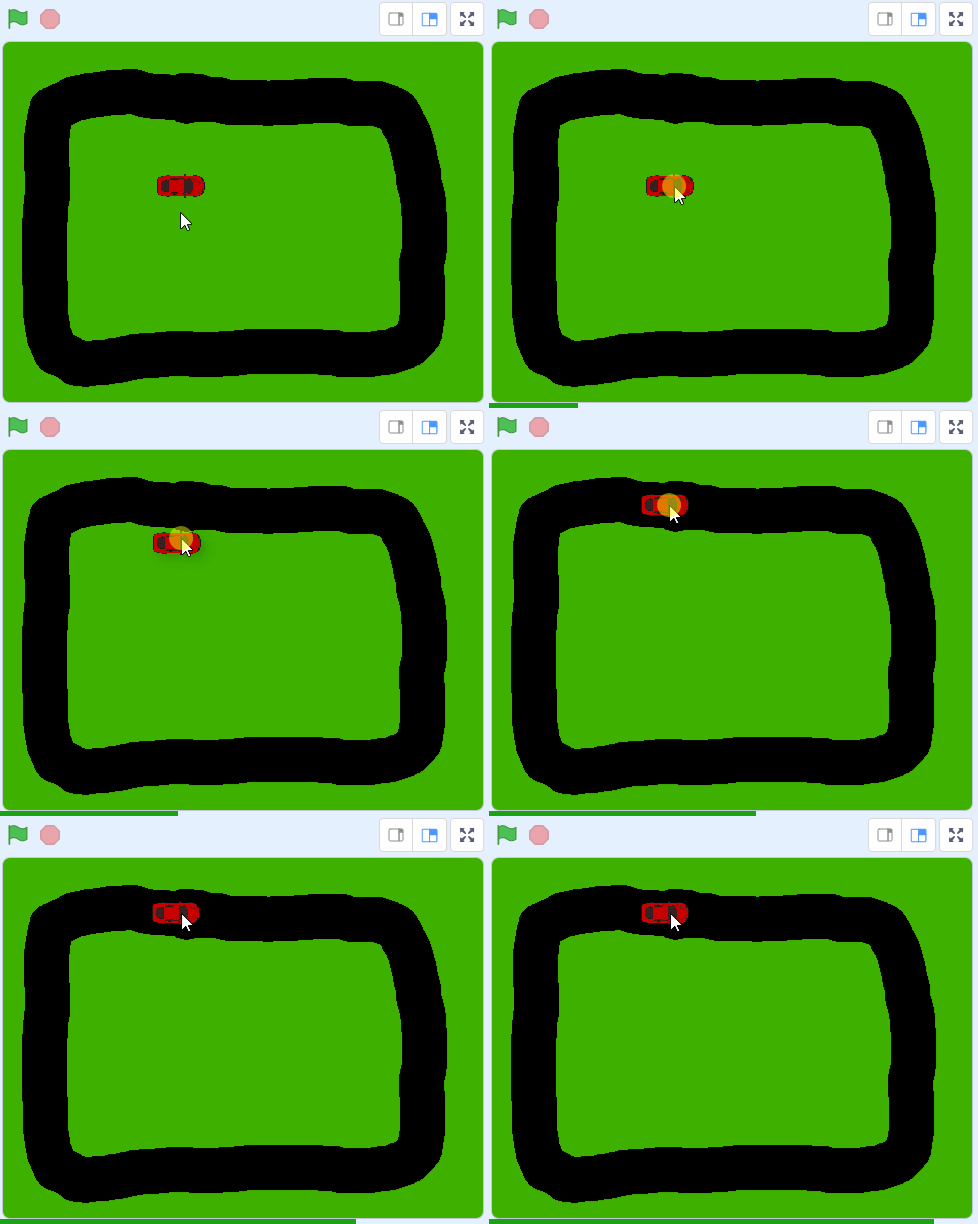
Drag your car in the stage area and place it on your track.
We want the car to always start in this position when we click the green flag so add the following code to the car sprite underneath the set size to 10 % block.
when green flag clicked
set size to (10) % // add new blocks under here
go to x:(0) y:(0)// these will be prefilled with the current location of the car
point in direction (90)// point to the right
Note: When you use a go to x: 0 y: 0 block the x and y values will be prefilled with the current position of your car. This is why you should position your car on the track first and then drag in this block.
When you use a go to x: 0 y: 0 block the x and y values will be prefilled with the current position of your car. This is why students should position their car on the track first and then drag in this block.


