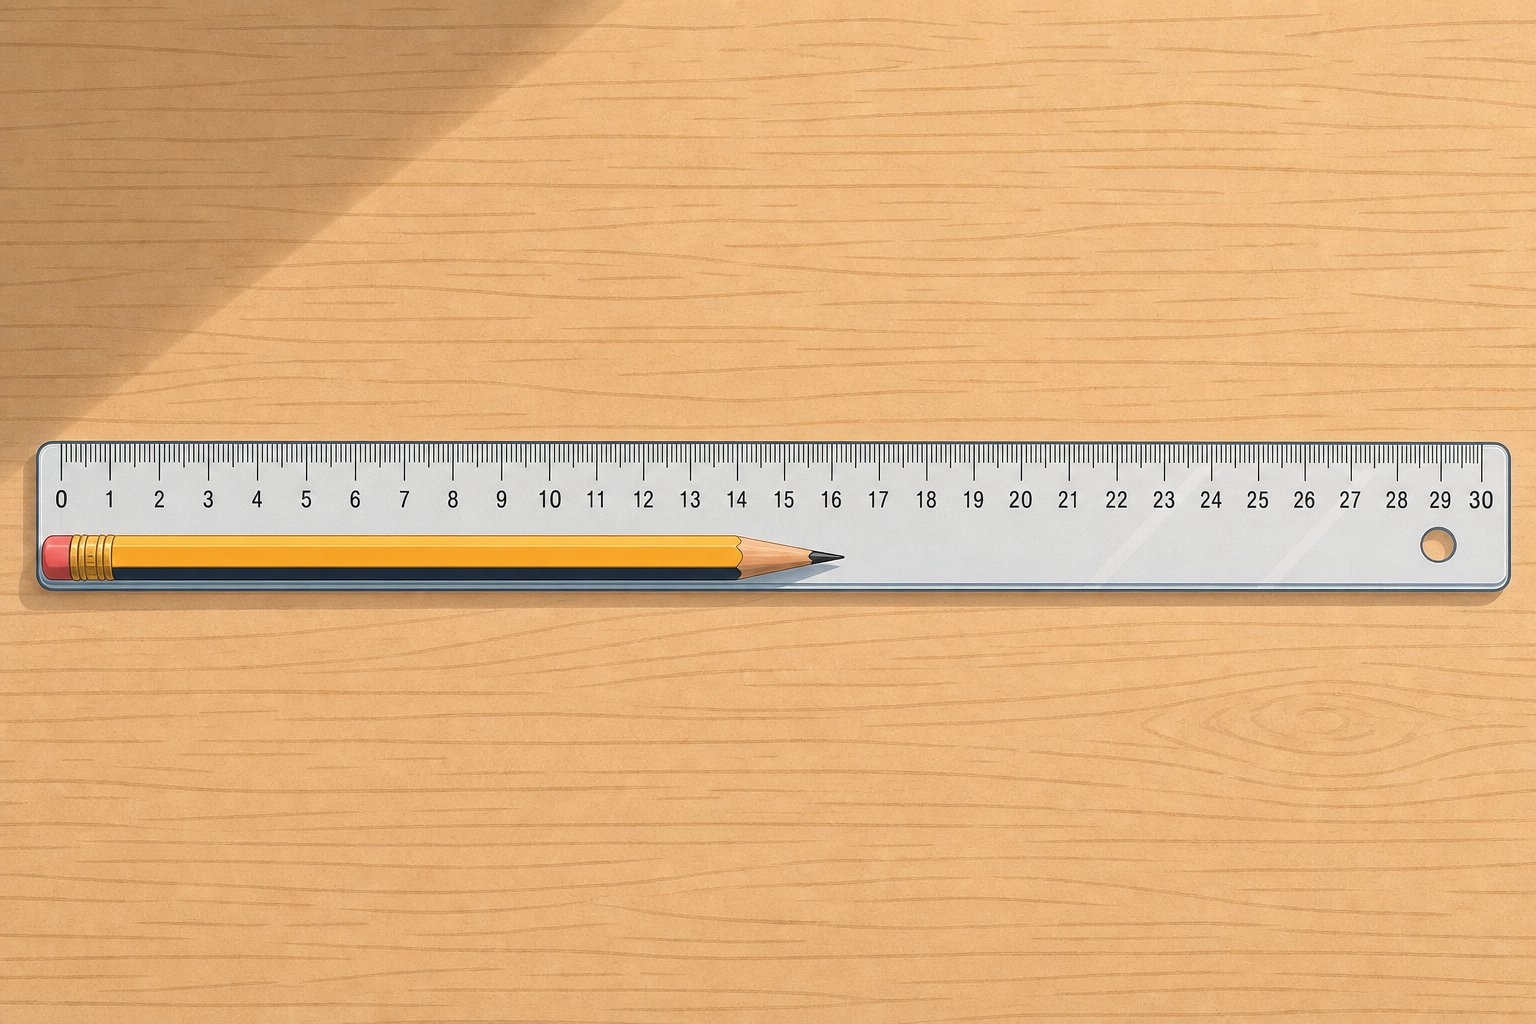
Look at this ruler. A pencil is lying on it, and the tip is sitting somewhere between the 16 cm mark and the 17 cm mark.
How long is the pencil, to the nearest millimetre?
Display the ruler image as pupils settle. Take three hands-up answers, not open call-outs. Don't reveal the exact reading yet — note any guesses on the IWB and say 'we'll come back to this at the end and see how close you were.'
Watch as we hold a large demonstration ruler up at the front, lay a pencil along it, and read where the tip lands. The pencil reaches exactly 12.4 cm — that is twelve whole centimetres plus four more millimetres.
Now the trick. To write the same length in millimetres, slide the decimal point one place to the right: 12.4 → 124 mm. Same length, two ways.
Two more examples to lock it in. We lay an exercise book against the demonstration ruler — it reads 24.7 cm. Slide the decimal: 247 mm. Then a pencil case: 19.5 cm. What is that in millimetres? 195 mm — same length, two ways.
Stand at the front with the large demonstration ruler in your hand. Lay each real object against it one at a time so every pupil can see the end-point land on a mark.
Walk the first example slowly and visibly. For the pencil at 12.4 cm, run your finger from 0 up to 12, then count on one, two, three, four millimetres to land at 12.4. Say it both ways: 'twelve point four centimetres OR one hundred and twenty-four millimetres — same length, two ways.' Underline that the digits stay in the same order; only the decimal point slides.
Hold the demonstration ruler up at eye level and lean to one side on purpose. Pupils watch the tip seem to shift by a millimetre. Then come back square-on. That is parallax made visible — the eye must be square over the mark to read true.
On the exercise book (24.7 → 247 mm) just point at the slide. On the pencil case (19.5 cm), pause and ask the class: 'how would I write this in millimetres?' before revealing 195 mm.
Now you try. Take out your own ruler and measure three things at your desk to the nearest millimetre: your own pencil, your own eraser, and your maths copy. Read each measurement aloud as you take it. When you and the person beside you have measured the same item, compare your answers and sort out any disagreement.
Three readings each — pencil, eraser, maths copy. Read aloud, compare with your partner, no writing yet (that comes next).
This step is pure desk measuring with pupils' own rulers — no IWB widget needed. Pupils each measure three real items at their seats: their own pencil, their own eraser, and their maths copy.
Circulate the room. Catch two slips on the spot:
Revoice every reading you hear in both units: 'so 15.3 centimetres is the same as 153 millimetres — the digits don't change, the point moves'.
When you hear a pair disagree by a millimetre, stop the room briefly and ask both pupils to read theirs aloud. Reconciling a disagreement is the moment the precision rule lands. Pupils do not need to write yet — the writing happens in the next step.
In your maths copy, sketch one of the readings you just took at your desk. Underneath the sketch, write the length two ways:
Circle the millimetre digit on each one.
Walk the row glancing at the two forms — this is whole-class copybook practice, not marking. Look for two things: the decimal point is in the right place in the cm form, and the mm form has no decimal point at all. If you spot a pupil who has written 12.4 mm instead of 124 mm, tap the page beside it as a quiet prompt to think again.
Today's bank: six real classroom objects to measure to the nearest millimetre. A crayon, an eraser, a glue stick, a highlighter, a marker, and a colour pencil will circulate around the room. Measure each one with your own ruler and record the length on your sheet in centimetres (with a decimal) and in millimetres. Pass each object on once you've measured and recorded it.
Remember the parallax check: eye square over the mark, not slanted.
This round is the practice bank — pupils measure with their own rulers and the class confirms each reading at the end. Keep the pass-on rhythm brisk so no one is waiting.
Watch for: pupils approximating without lining the end up exactly with a mark — that is the same parallax mistake we warned about in Watch and Notice. 'Eye square over the mark' is the cue.
You're previewing this lesson. Get full access to this lesson and hundreds more — each one ready to teach, with interactive activities, printable resources and pupil progress tracking built in.