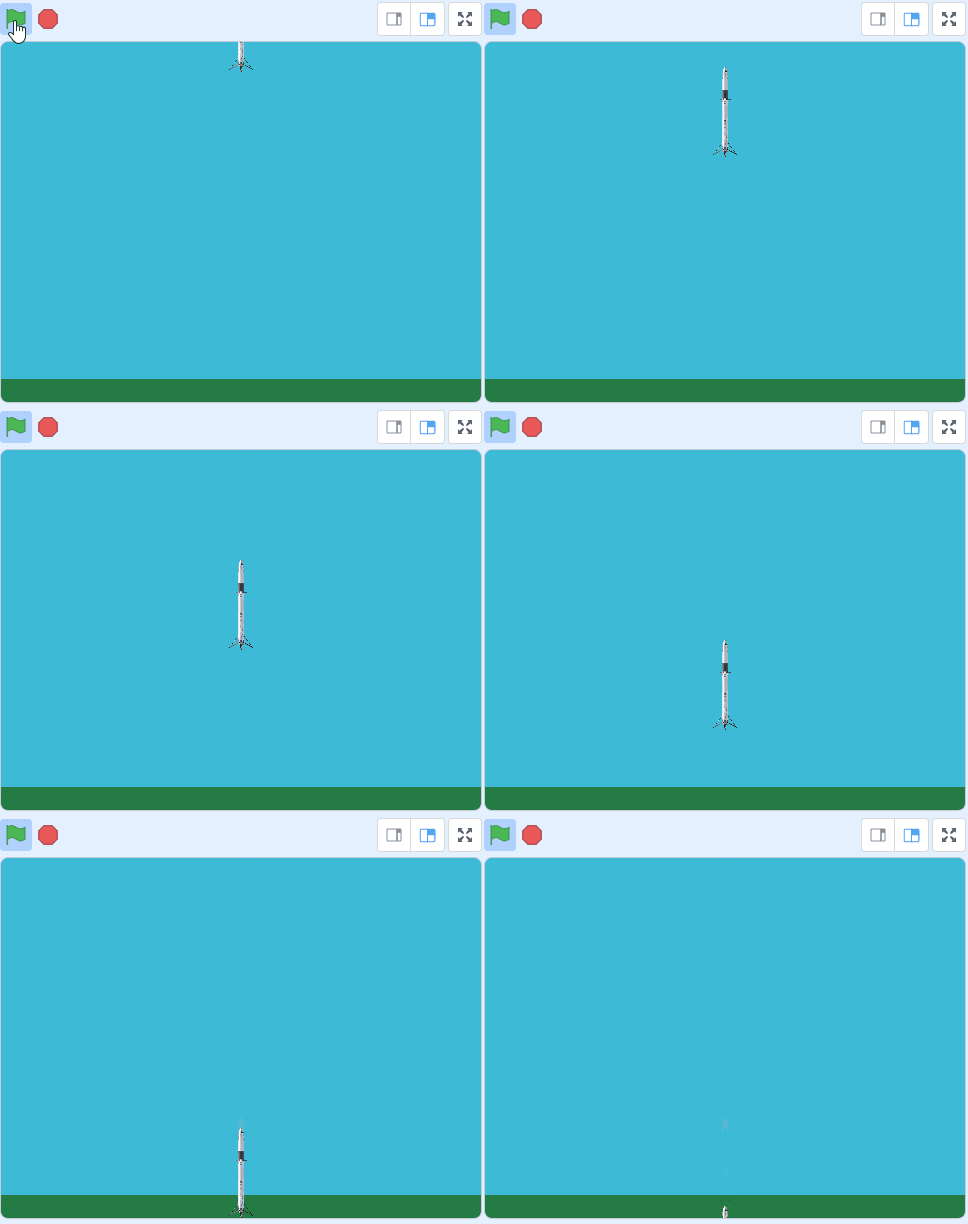
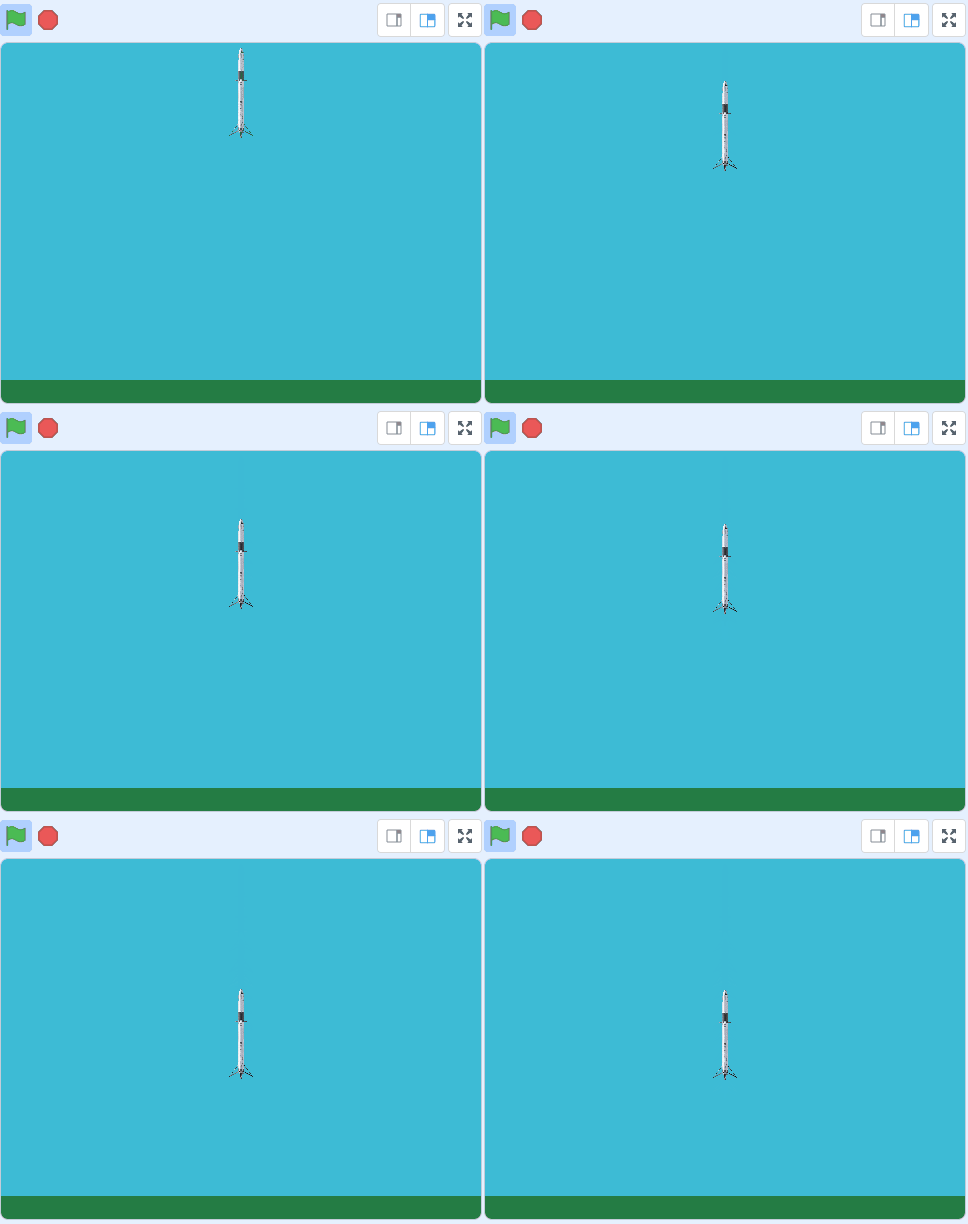
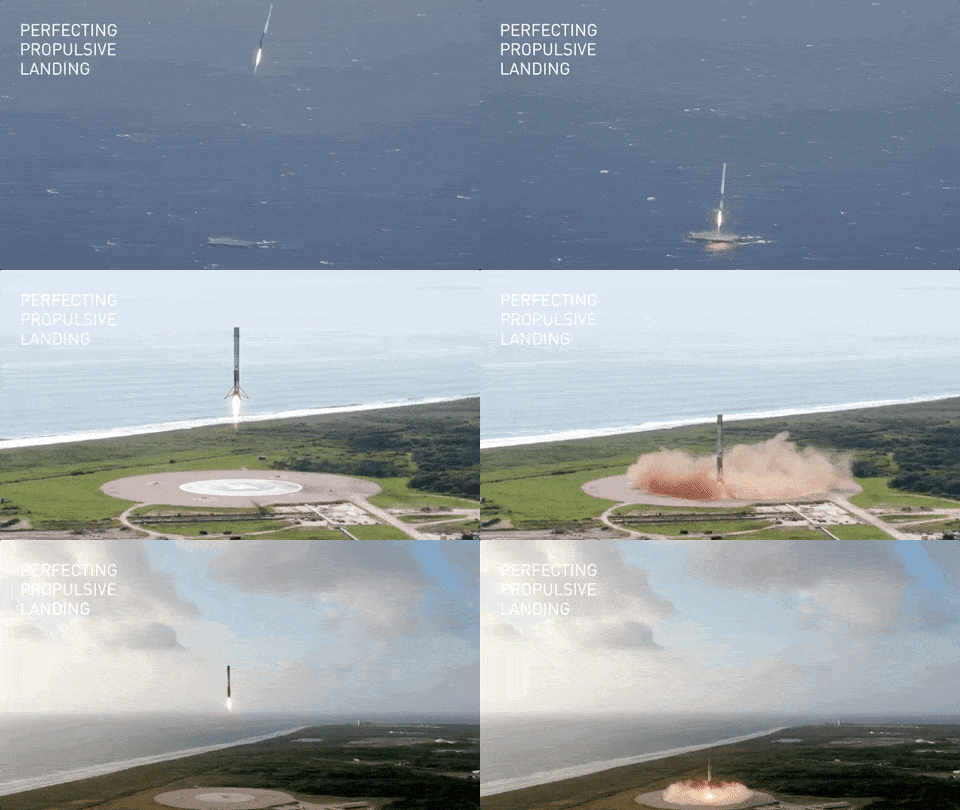
Unlike most rockets that get launched into space, which can never be used again can never be used, the Falcon 9 is capable of re-entering the atmosphere and landing vertically. This feat was achieved for the first time on flight 20 in December 2015.
As the flight number 20 suggests, there were many tests and attempts before flight number 20 that weren't successful! Don't worry though all these rockets are unmanned and are either piloted by computers and remotely from the mission control center.
If you are interested in learning more about SpaceX and their rockets, take a look at the videos below:
SpaceX launches explained
Credit Supercluster Science YouTube Channel.
Landing on land
Credit SciNews YouTube Channel.
Credit Bloomberg Quicktake YouTube Channel.
We're going to create a game where we need to pilot a rocket landing!
Open this starter project in Scratch, it has a background, a Falcon 9 rocket sprite and a ship sprite already added.
https://scratch.mit.edu/projects/786678852/editor
Go to the Scratch website using the link below and click on the 'Create' link in the blue bar at the top.
By default, each new project starts with the cat sprite already added. To delete the cat click on the x in the blue circle beside the cat in the sprite list.
When a rocket enters back into Earth's atmosphere, gravity will start to pull it downwards. We can simulate this in code by changing the Y position of the sprite.
Add the following code to the rocket sprite to make it:
when green flag clicked
go to x (0) y (200)
point in direction (0)
forever
change y by (-5)
end
Now let's program the up arrow to make the rocket fires it's booster so we can slow it down.
Add the following code to the rocket sprite.
when green flag clicked
forever
if < key (up arrow v) pressed? > then
move (8) steps
end
If you're using a tablet or iPad without a physical keyboard, you won't be able to use keyboard keys like the arrow keys in your project. Instead, we'll add simple on-screen buttons (using sprites) that you can tap to do the same things. This keeps your project working great! Just follow these steps wherever the lesson talks about pressing a key.
First, add a new sprite for your button:
Now, program your button sprite to make things happen when you tap it. Here's how it works for different situations:
Example 1: If the lesson uses a key to trigger an action on a specific sprite (like making something move, turn, or jump)
Instead of code like this on your target sprite:
when [left arrow v] key pressed
change x by (-10)  // or any action
Or this:
if < key [left arrow v] pressed? > then
change x by (-10)  // or any action
end
Add this code to your new button sprite:
when this sprite clicked
broadcast [do action v]
Then, on your target sprite, add this to receive the message:
when I receive [do action v]
change x by (-10)  // or any action
Tap the button on the screen, and the action will happen, just like pressing the key! Use a unique broadcast name for each different action or key.
Example 2: If the lesson uses a key to change a variable (like adding to a score or setting a value)
Instead of code like this:
when [space v] key pressed
change [score v] by (1)
Or this:
if < key [space v] pressed? > then
change [score v] by (1)
end
Add a new button sprite. Then, put this code on the button sprite:
when this sprite clicked
change [score v] by (1)
(If the variable is "for this sprite only," make sure it's set to "for all sprites" so the button can change it.)
Tap the button, and the variable changes, no message needed since it's something shared!
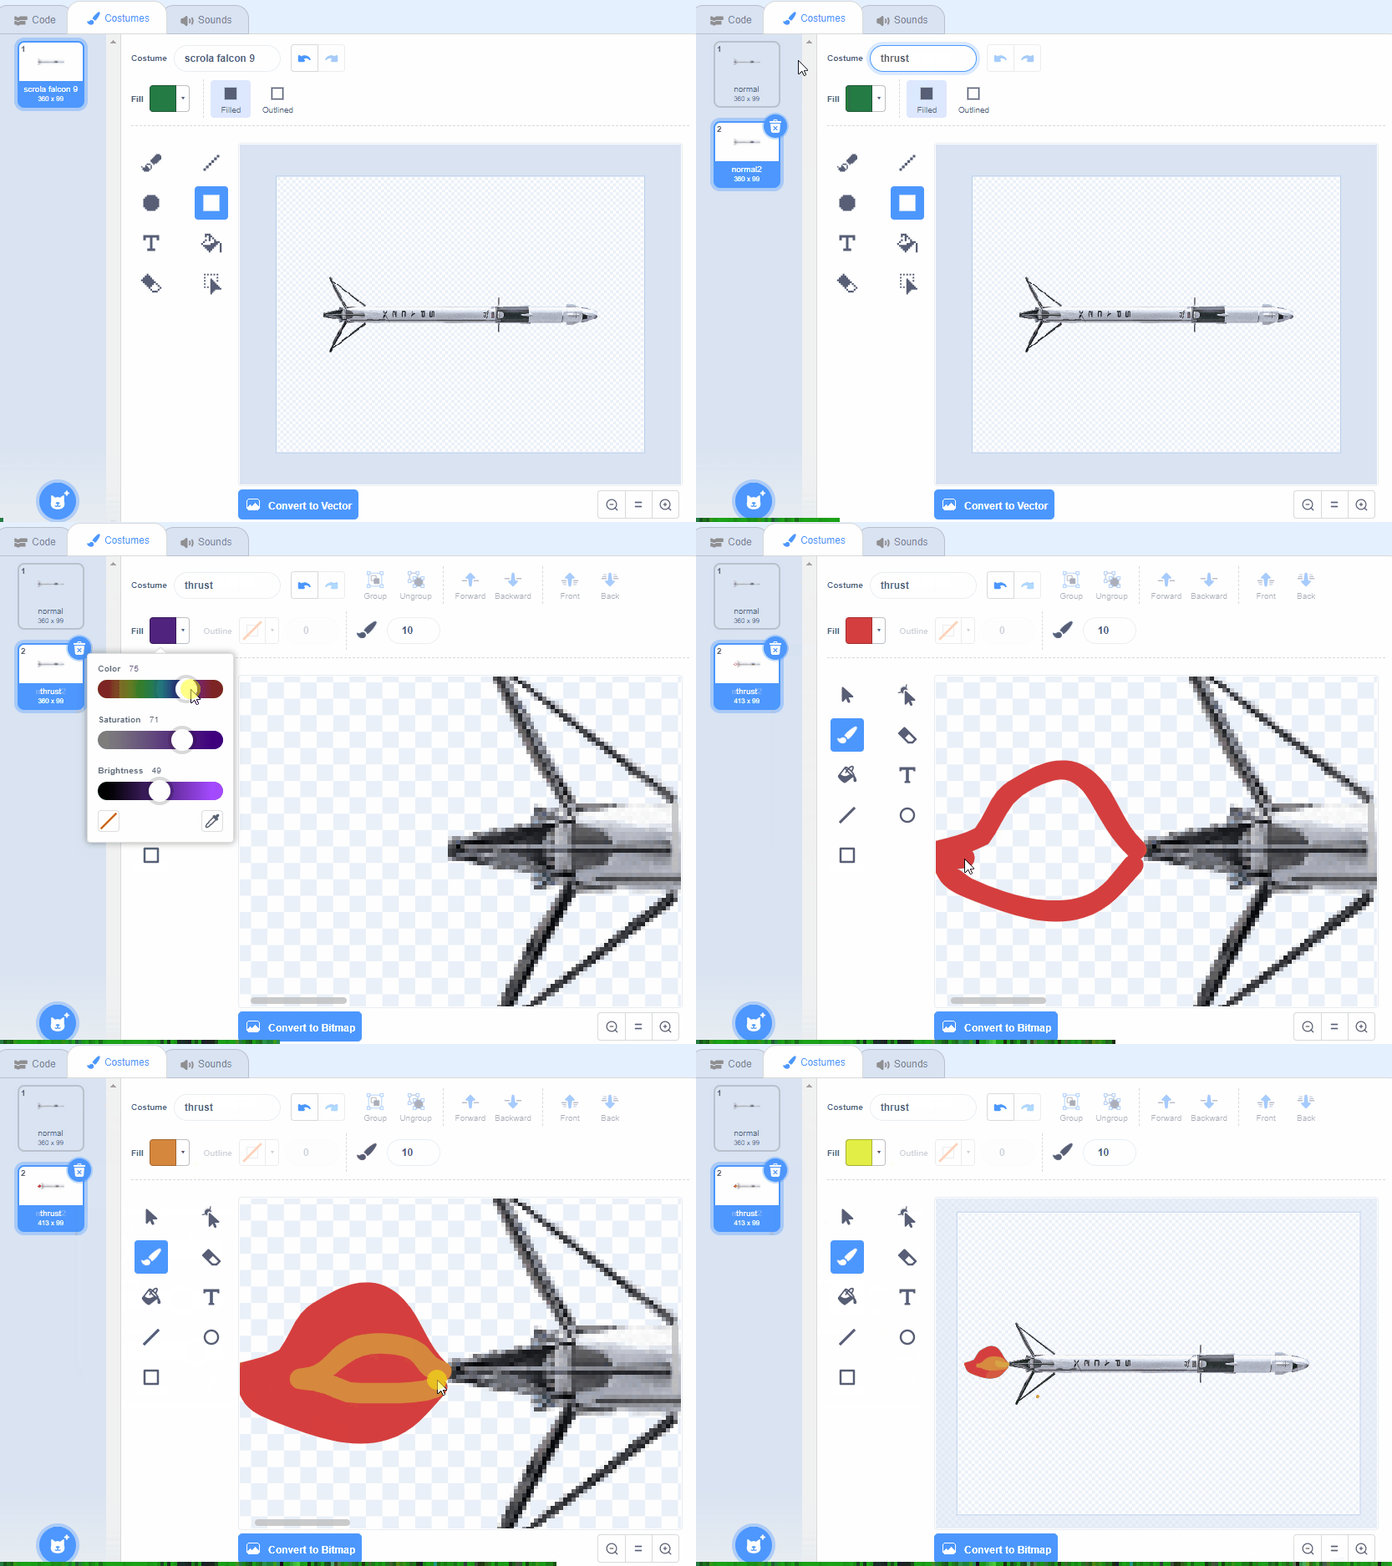
To make it more realistic when we fire the rocket's booster, we will create a new costume for the rocket sprite with fire thrusting out of the bottom.
To start off the game the rocket sprite should be showing the 'normal' costume so add switch costume to (normal) blocks underneath the when clicked block and also underneath the change y by -5 block.
when green flag clicked
switch costume to (normal v)// add this block
go to x (0) y (200)
point in direction (0)
forever
change y by (-5)
switch costume to (normal v)// add this block
end
.gif)
