In this lesson, you will create a fun Space game using Scratch and Google Teachable Machine.
You will learn how to use your Teachable Machine Pose model with tilt poses to control a spaceship.
If you don't have a Teachable Machine Image model, don't worry! You can use the provided model.
Go to https://stretch3.github.io/ and start a new Scratch project and delete the Cat sprite.
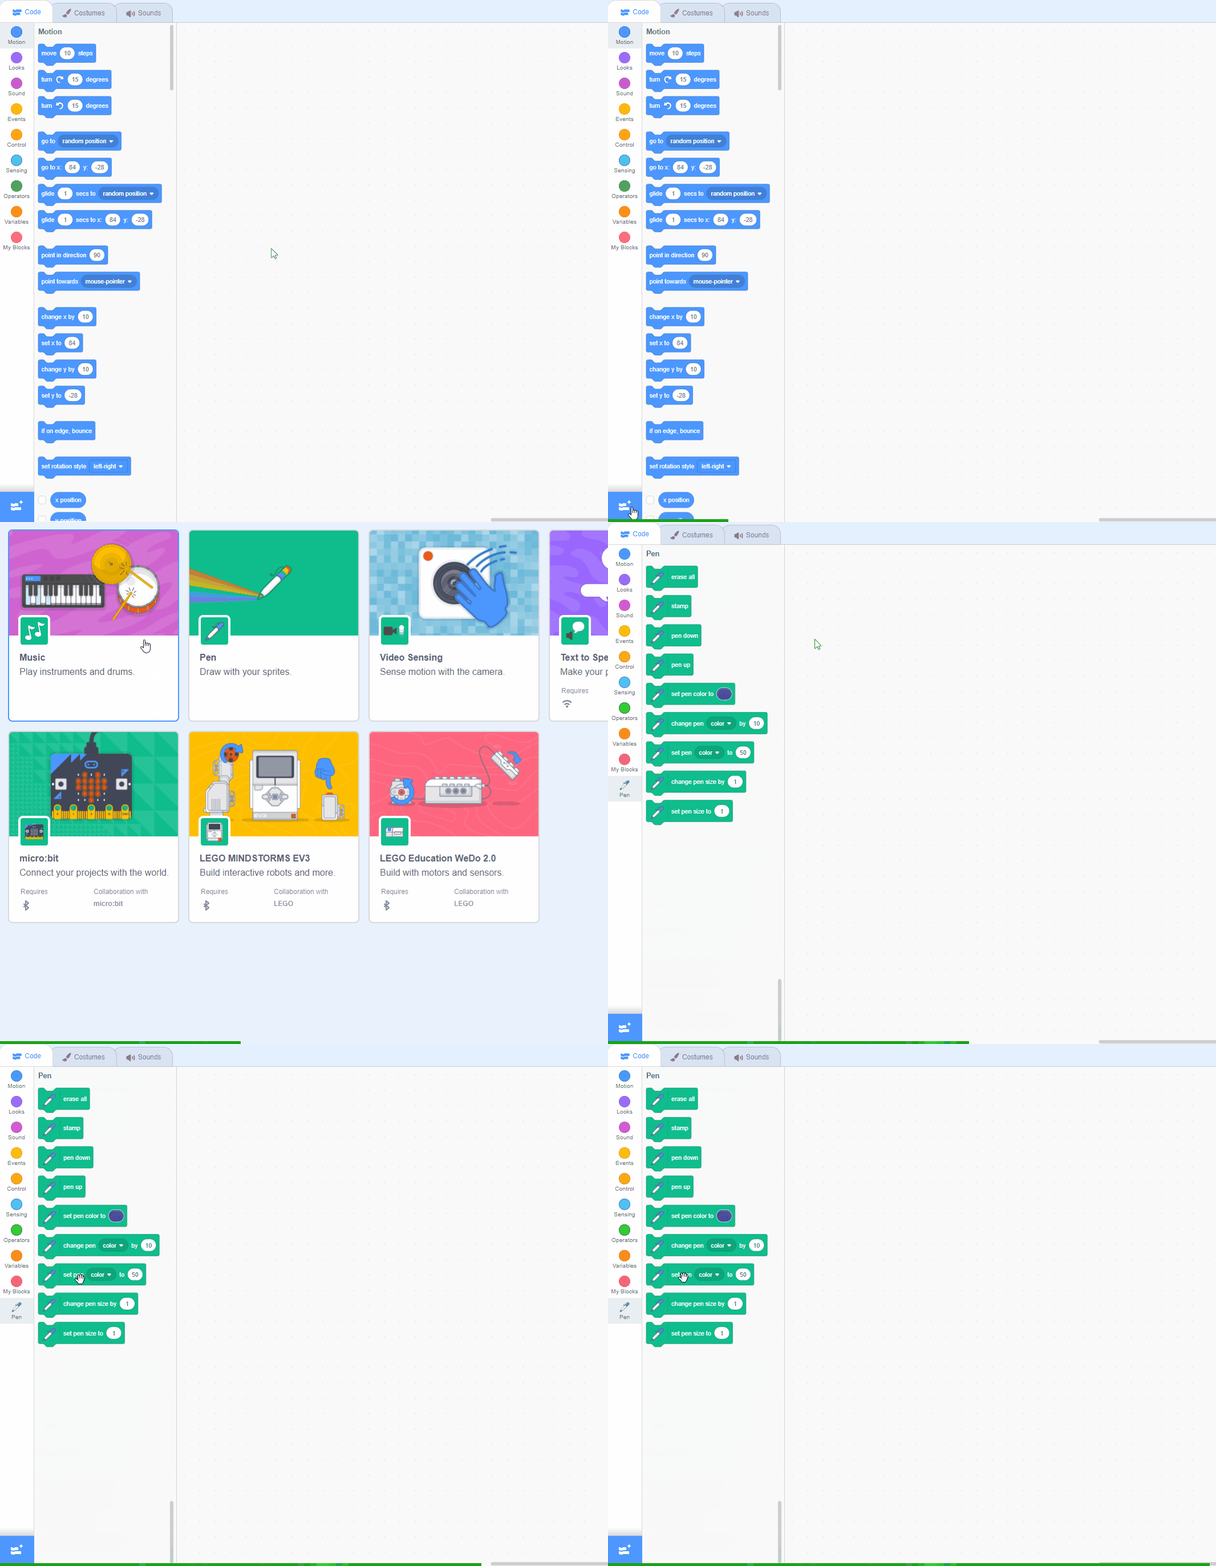
Then, add the TMPose2Scratch extension by clicking on the Extensions button at the bottom left corner of the screen and selecting TMPose2Scratch. This extension allows you to use Google Teachable Machine pose models in your Scratch projects.
When you add this extension, it will automatically try and use your computer's camera. If necessary, click on 'Allow' to give it permission to use your camera. You should see what the camera is showing in the stage area.
Scratch Extensions are additional sets of blocks that expand the capabilities of your Scratch projects. They allow you to:
When you add an extension to your project:
Add the Rocketship sprite to the project and then add the following code to it, to shrink it's size and position a the bottom center of the stage area.
To add a sprite from the sprite library follow these steps:
You can use search box or the filter links (Animals, People, Fantasy etc) to locate your sprite.
Now, let's set up the pose model that our project will use. Add the following new code to your sprite:
Put the link of your pose model into the pose classification model URL block.
Click on the 'pose label' block in the TMPose2Scratch extension category to turn it on. This will show you the current pose label being applied to what's being recorded on your webcam.


