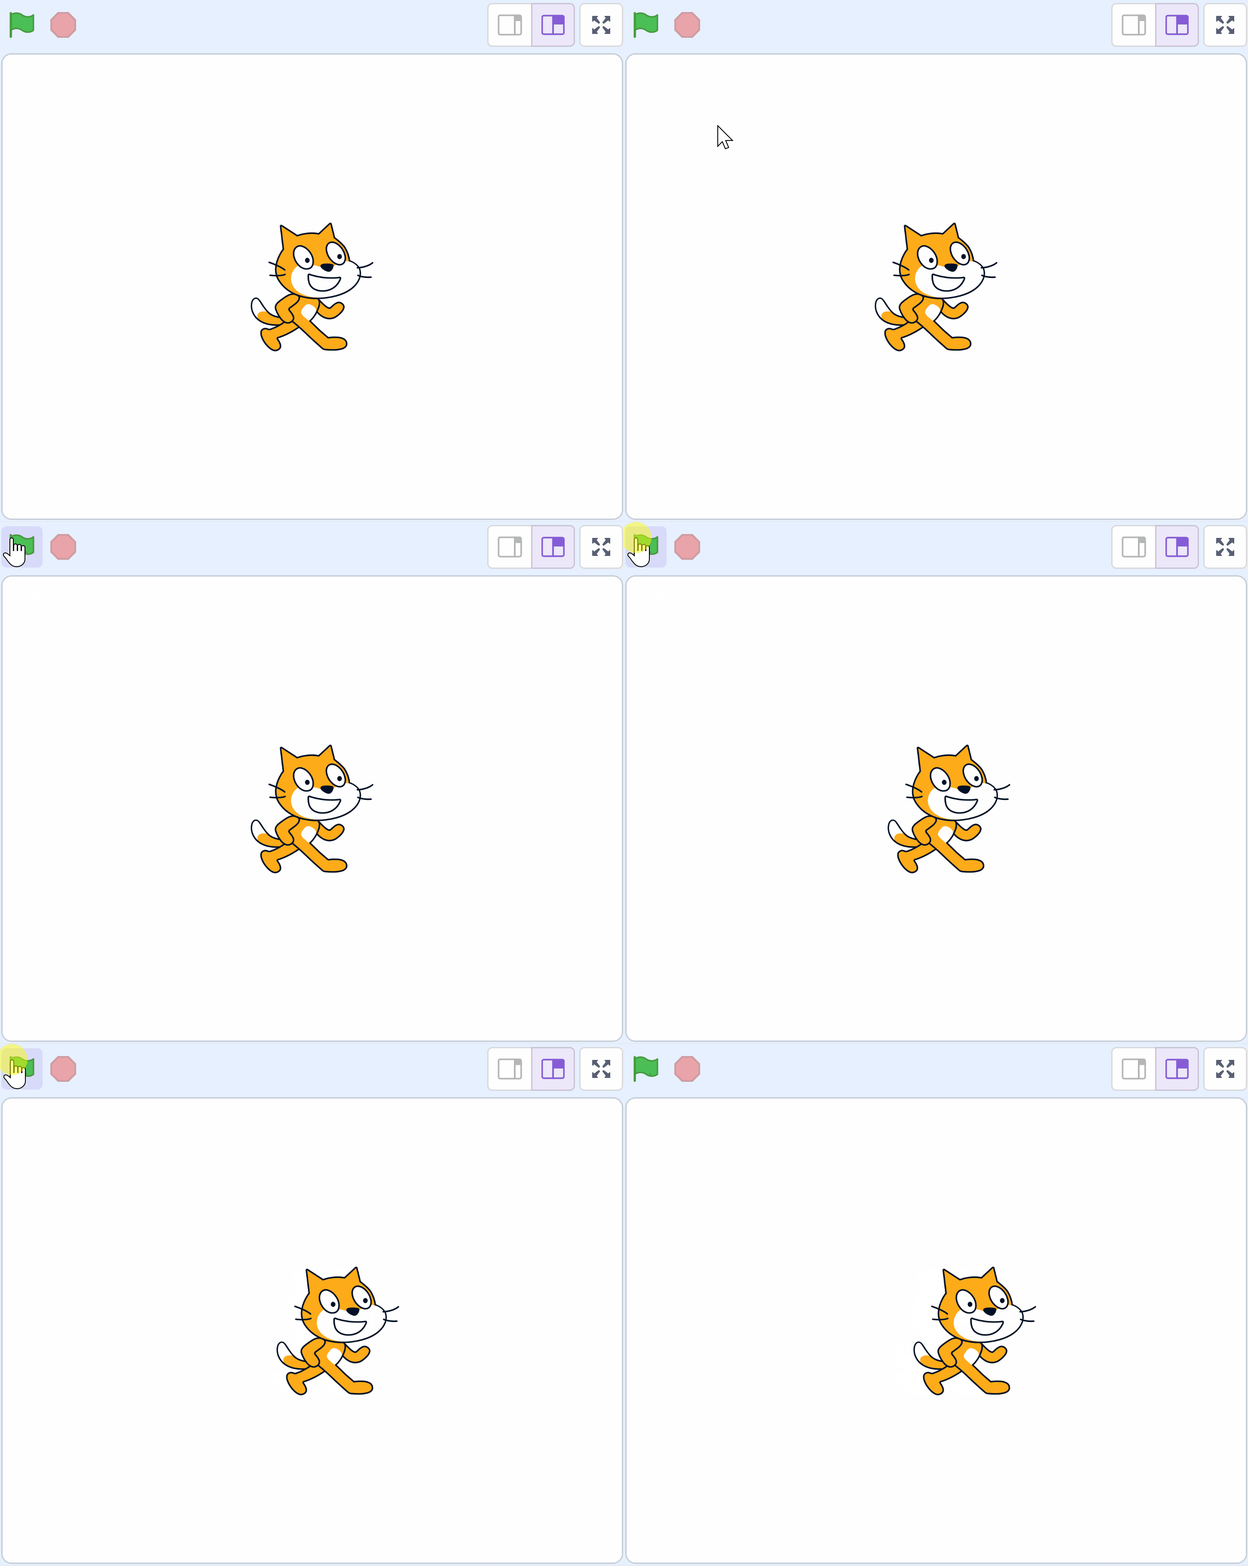
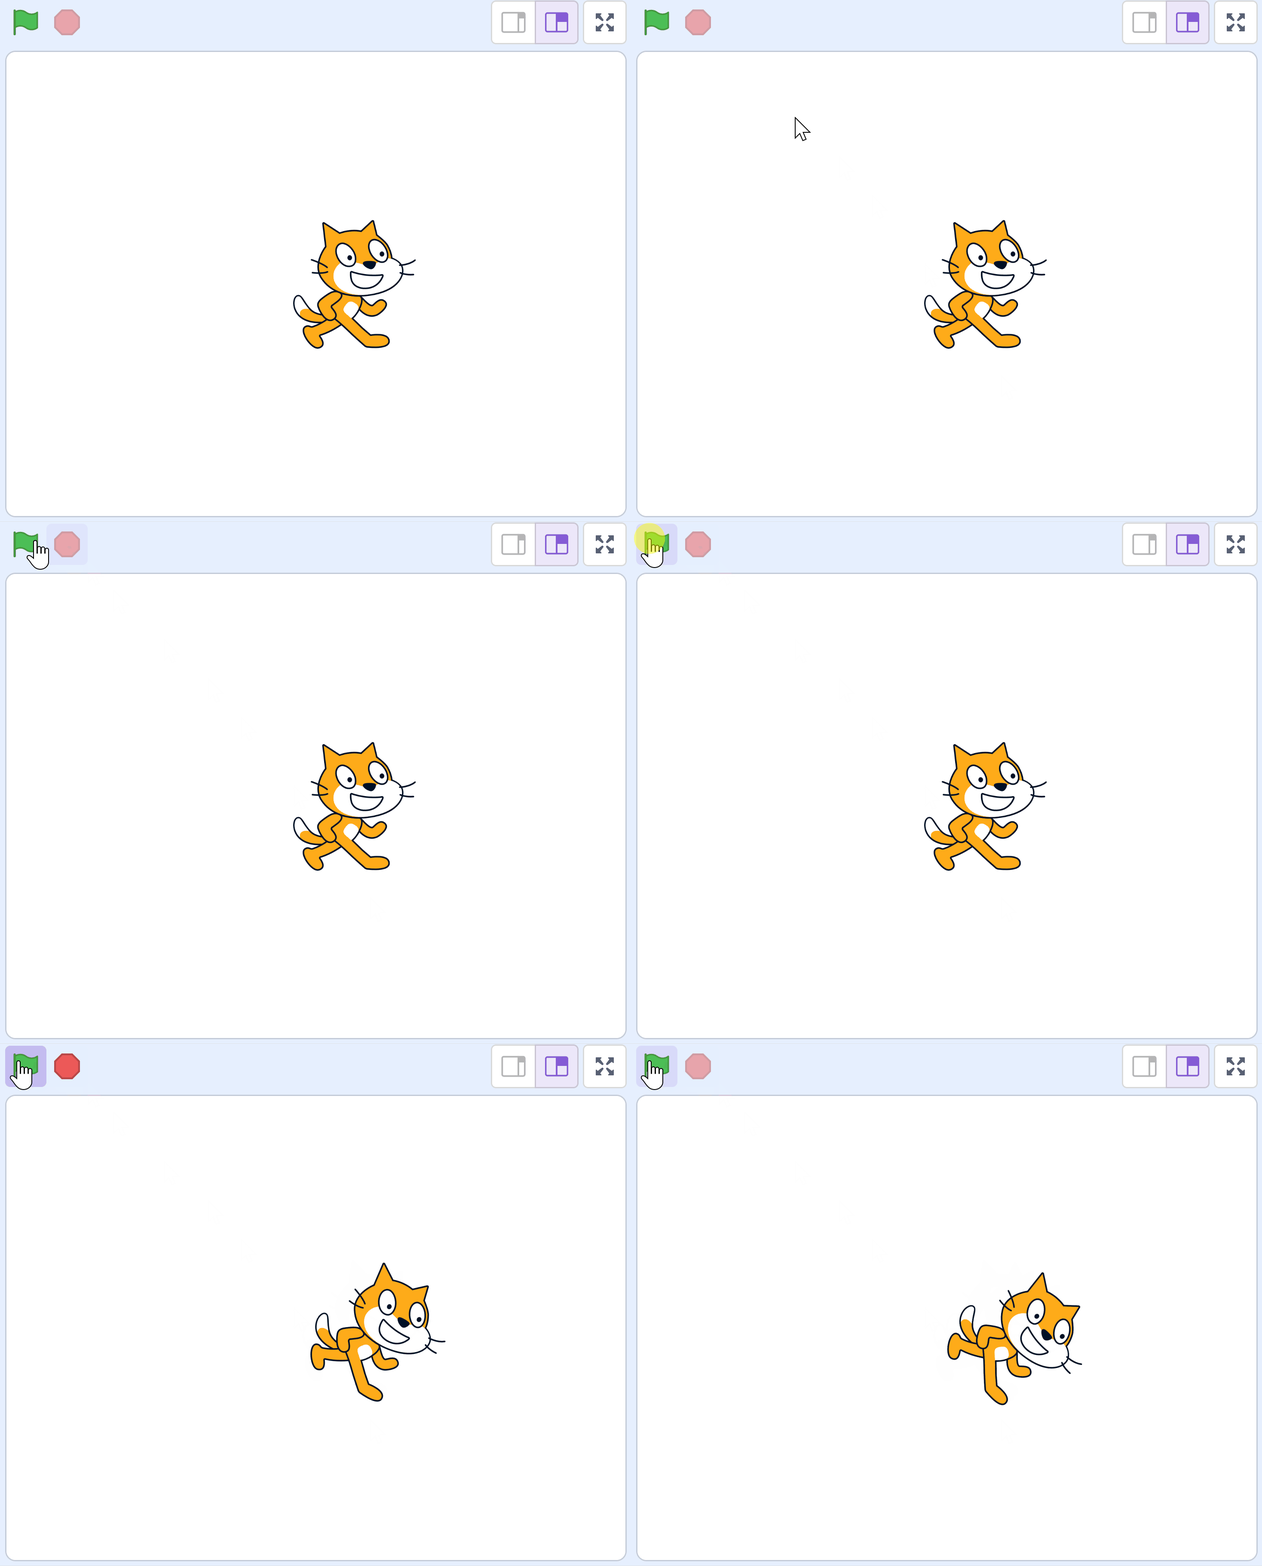
Welcome your students to the exciting world of coding! Explain to them that they will be using a platform called Scratch, where they can create their own games, animations, and interactive stories. Encourage them to imagine bringing their own characters to life, making them move, dance, jump, and more. Also, let them know that they will learn how to add beautiful scenes or backdrops to their projects. Make sure to create an atmosphere of fun and excitement for this coding adventure.
Here are some prompts to help you introduce the lesson:
Remember, the goal is to spark their curiosity and get them excited about learning Scratch.
To save work in Scratch, students need accounts, which require creating usernames and passwords (along with parent email addresses). While this is possible, it's generally not recommended for classroom settings with students under 10 years old. The account login process can be time-consuming and may lead to frustration for both students and teachers, potentially interfering with the learning experience.
For students who show particular interest in continuing with Scratch, you may suggest they create an account at home with parental supervision, allowing them to save and share their projects outside of class time.
Scratch does offers Teacher accounts, which allow educators to manage student accounts. However, we've found these to be of limited utility and potentially unmanageable across different years and classes, as they restrict account management to a single teacher and don't allow for transfer between educators.
Welcome to the exciting world of Scratch!
Next we're going to watch a short video that will introduce us to Scratch. As we watch, pay close attention to how the characters, or 'sprites', move around and interact. Think about how you might like to make your own sprite move. Maybe it could dance, jump, or even fly! After we've watched the video, we'll start exploring Scratch ourselves. So, let's get ready to dive into this fun coding adventure!
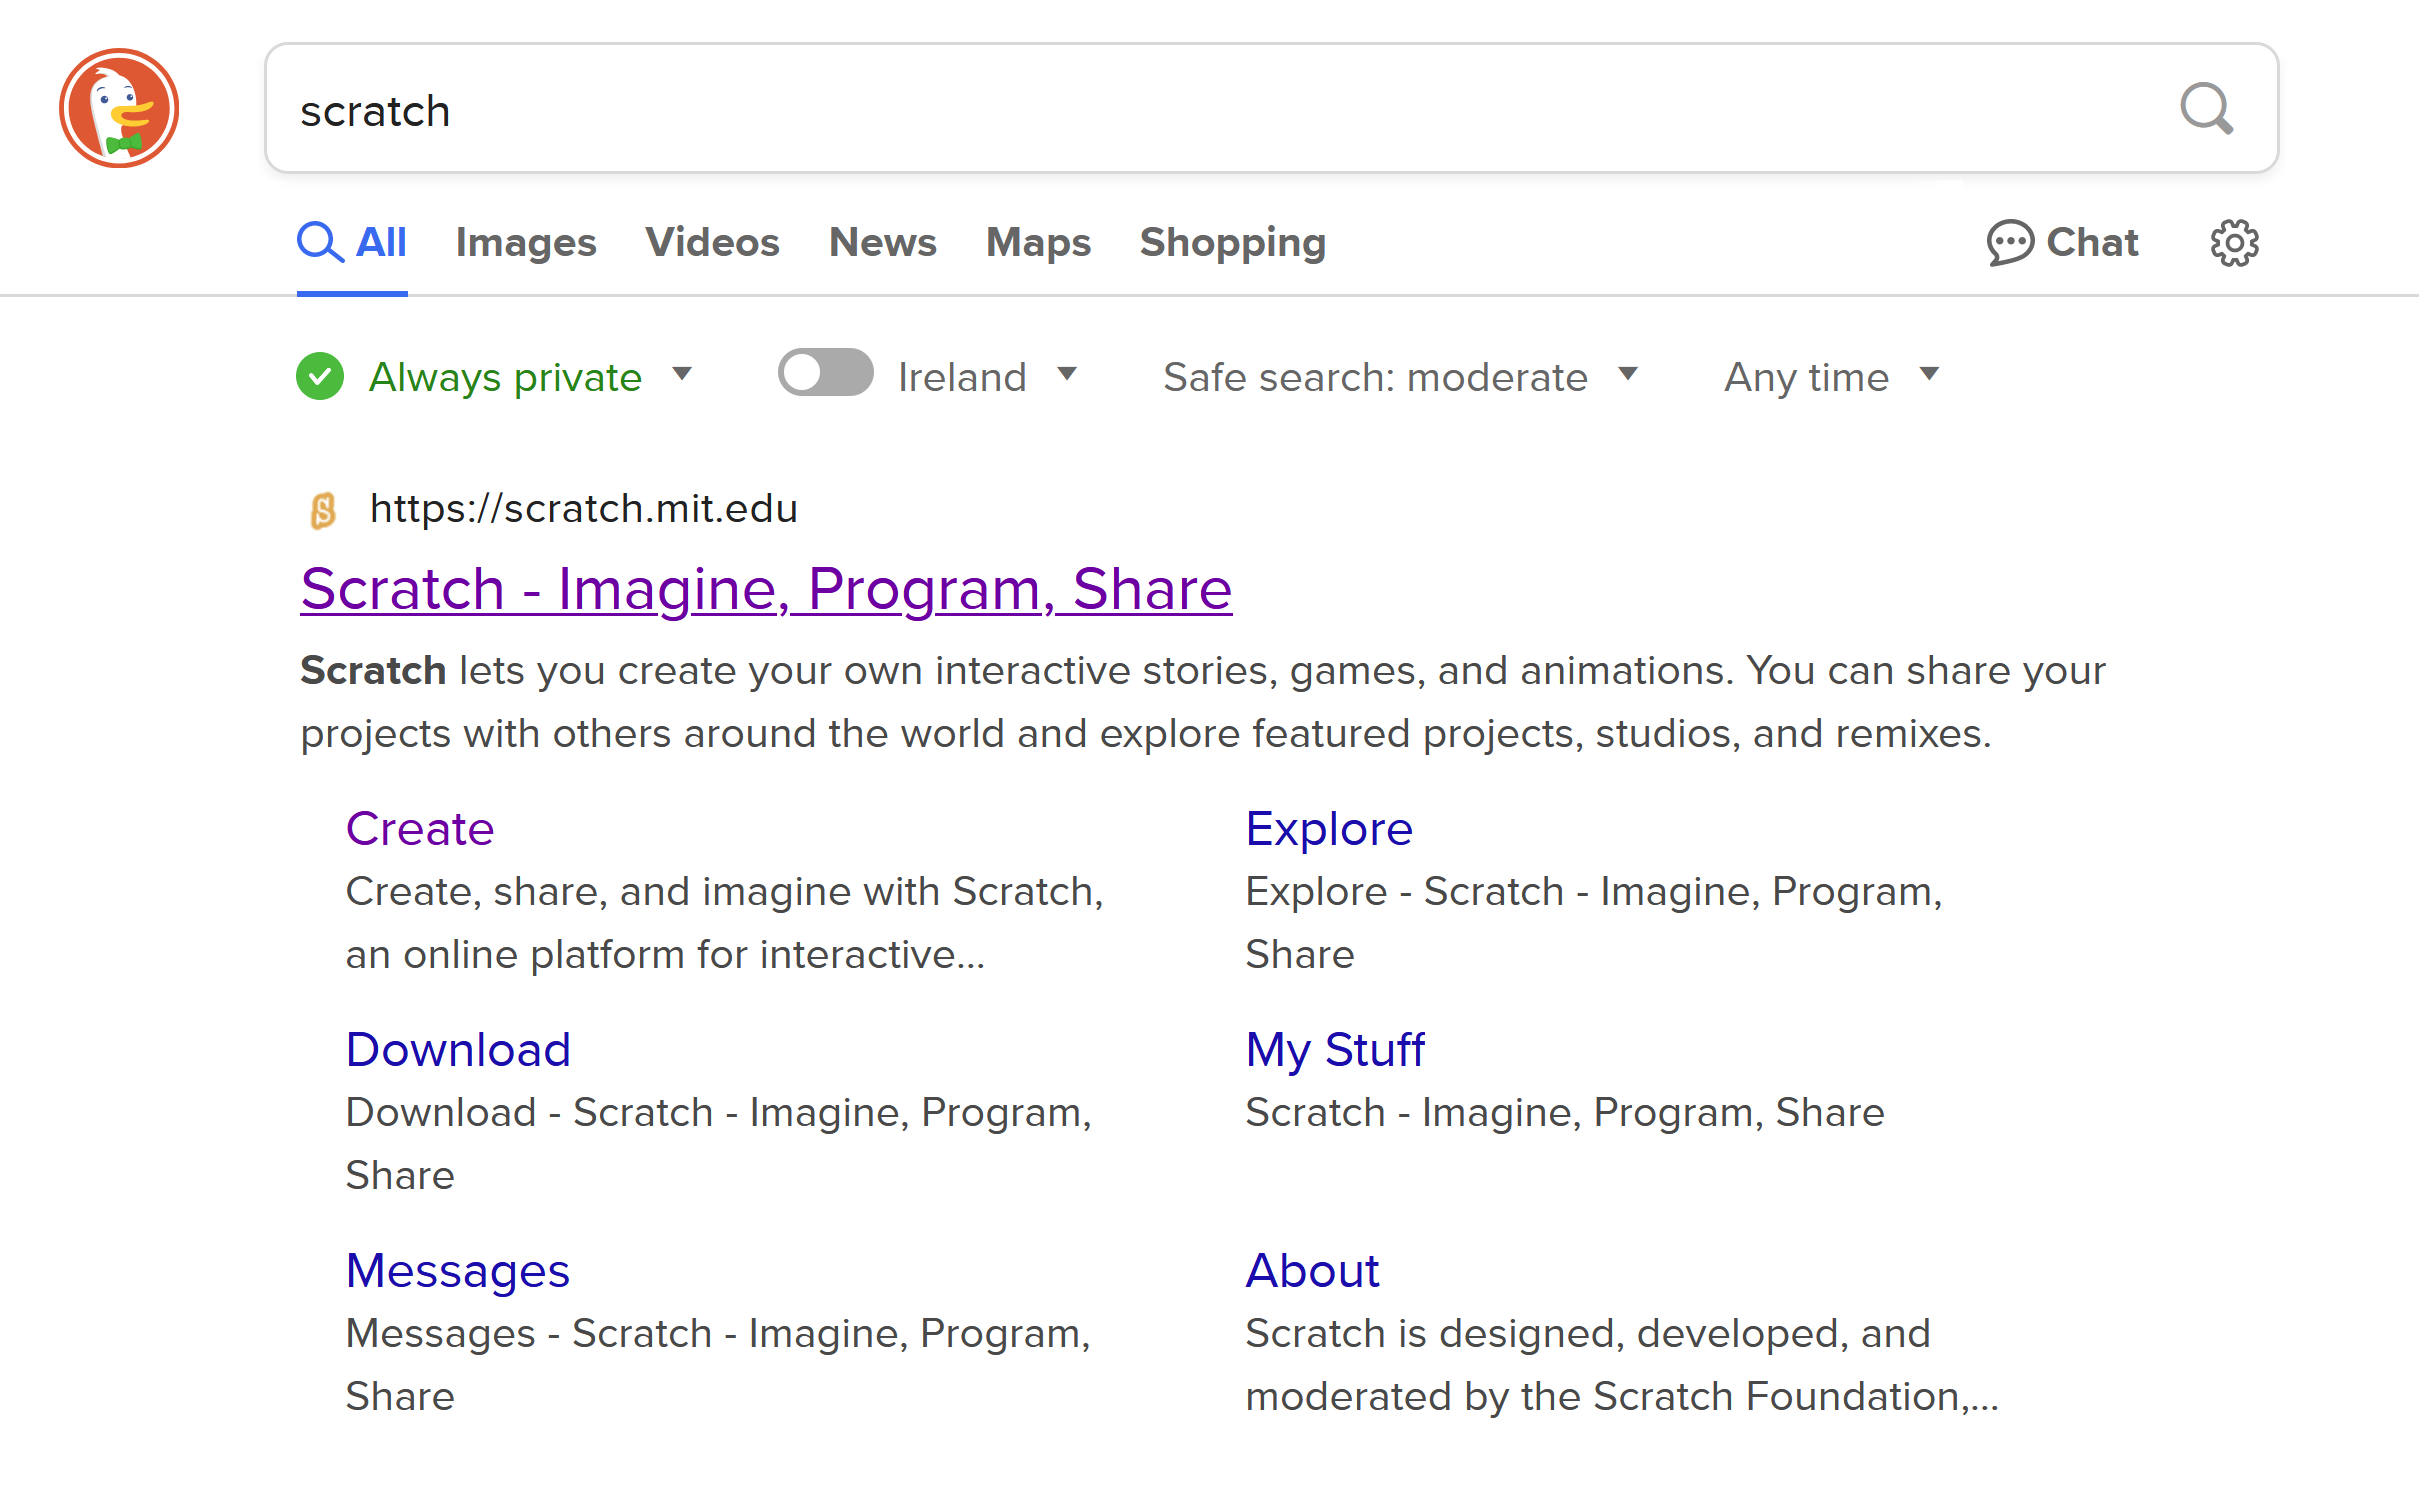
Now the students are ready to try our scratch themselves. Get the students ready with their devices and go to the Scratch website:
scratch.mit.edu
Students (with your help) need to:
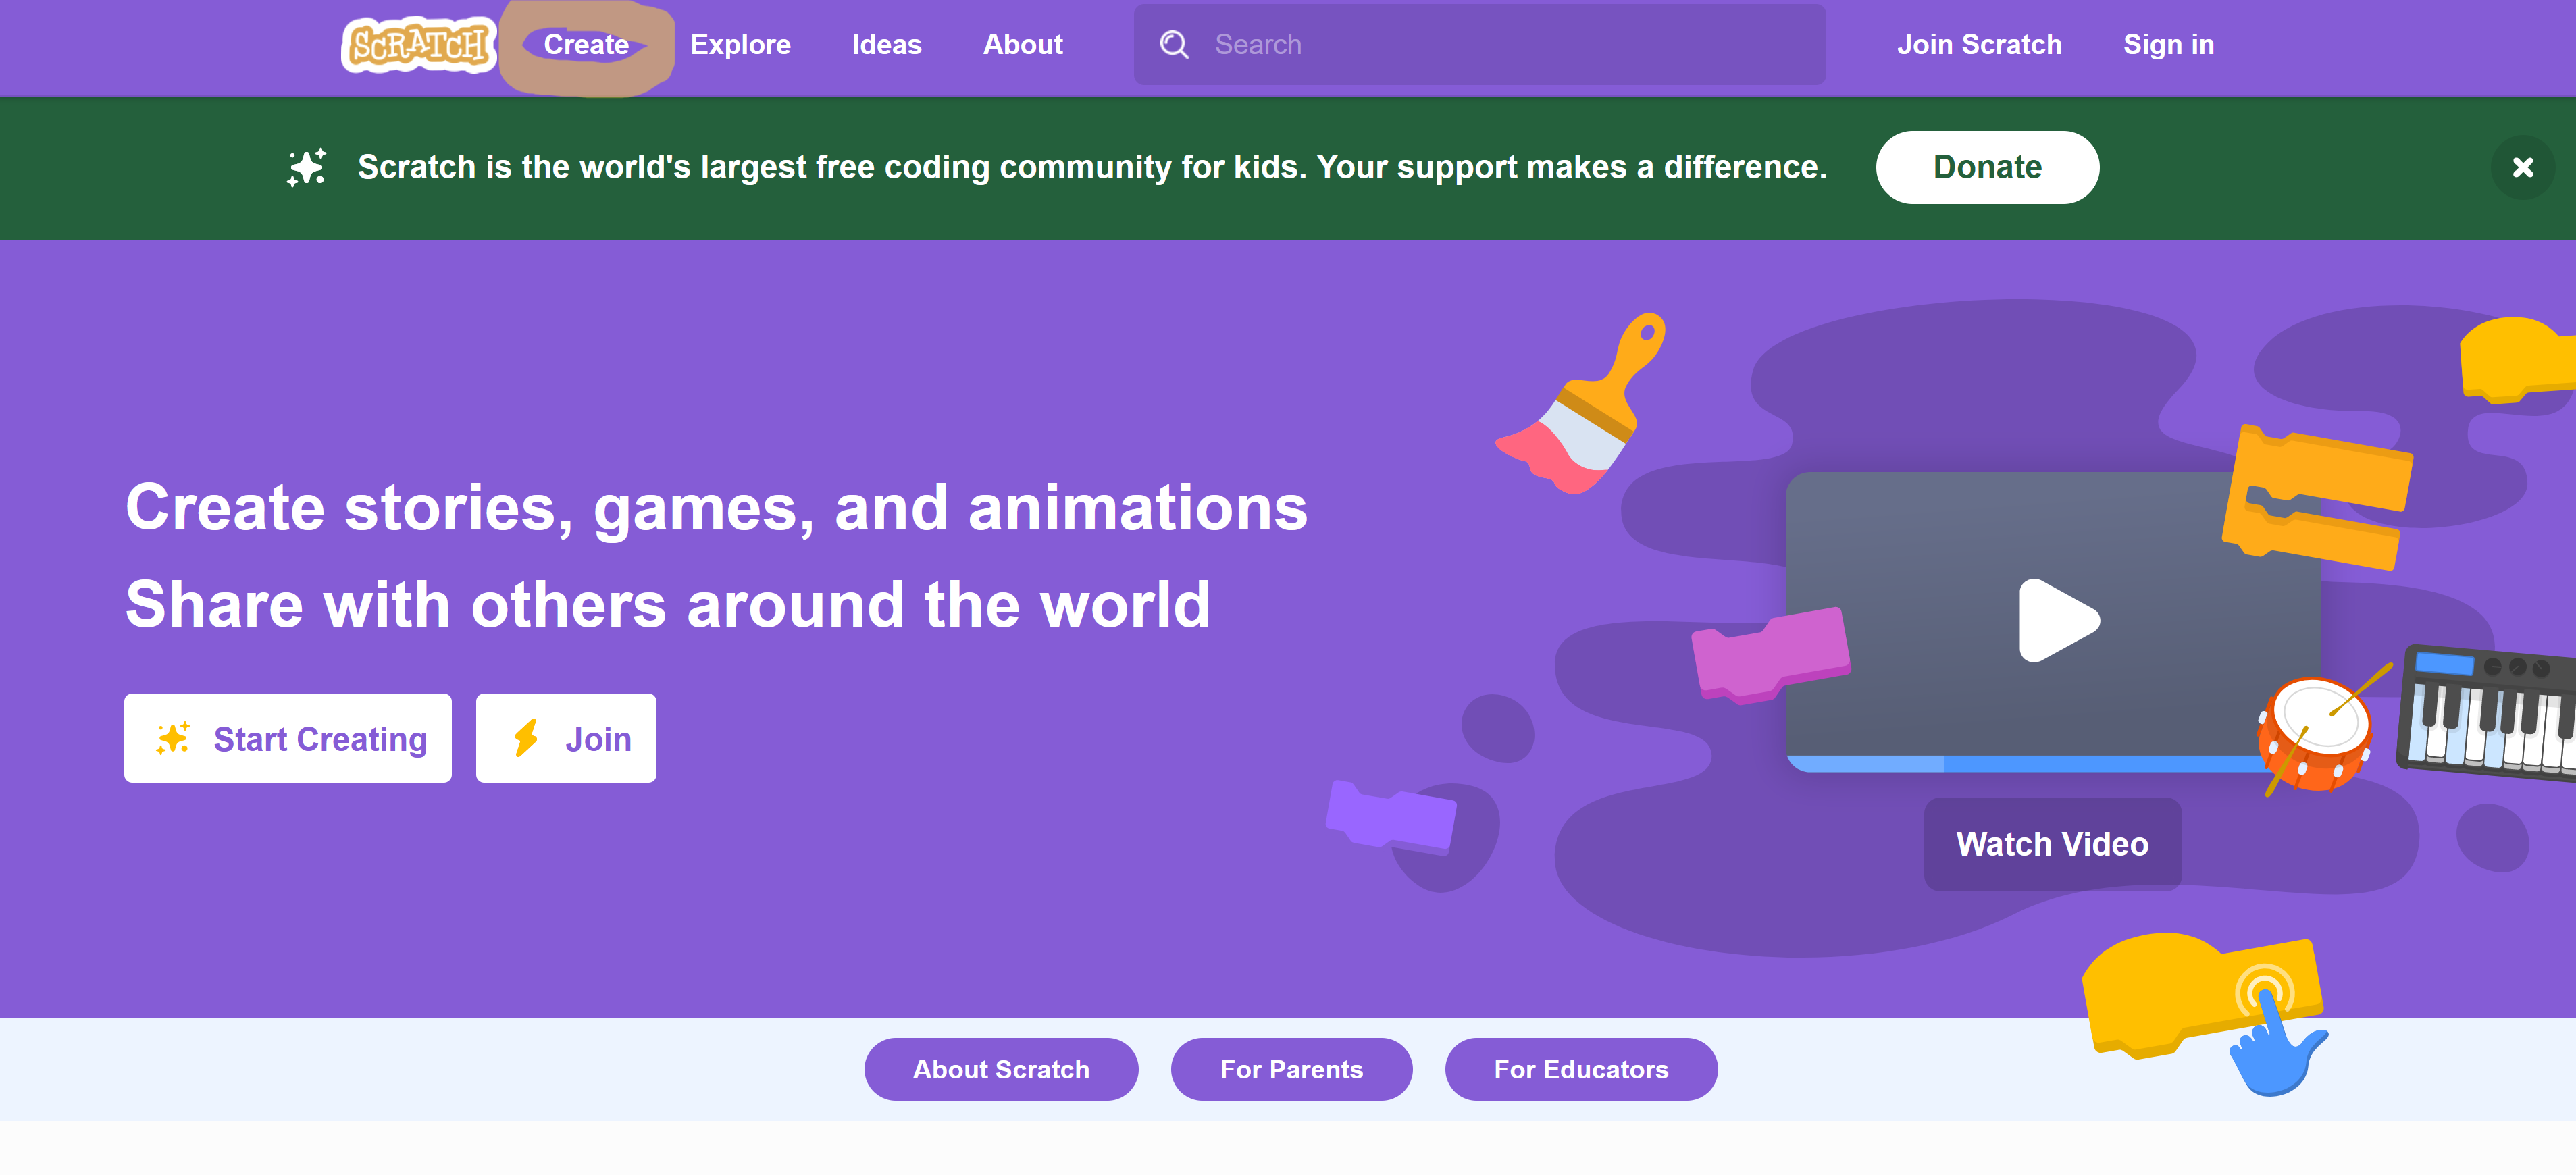
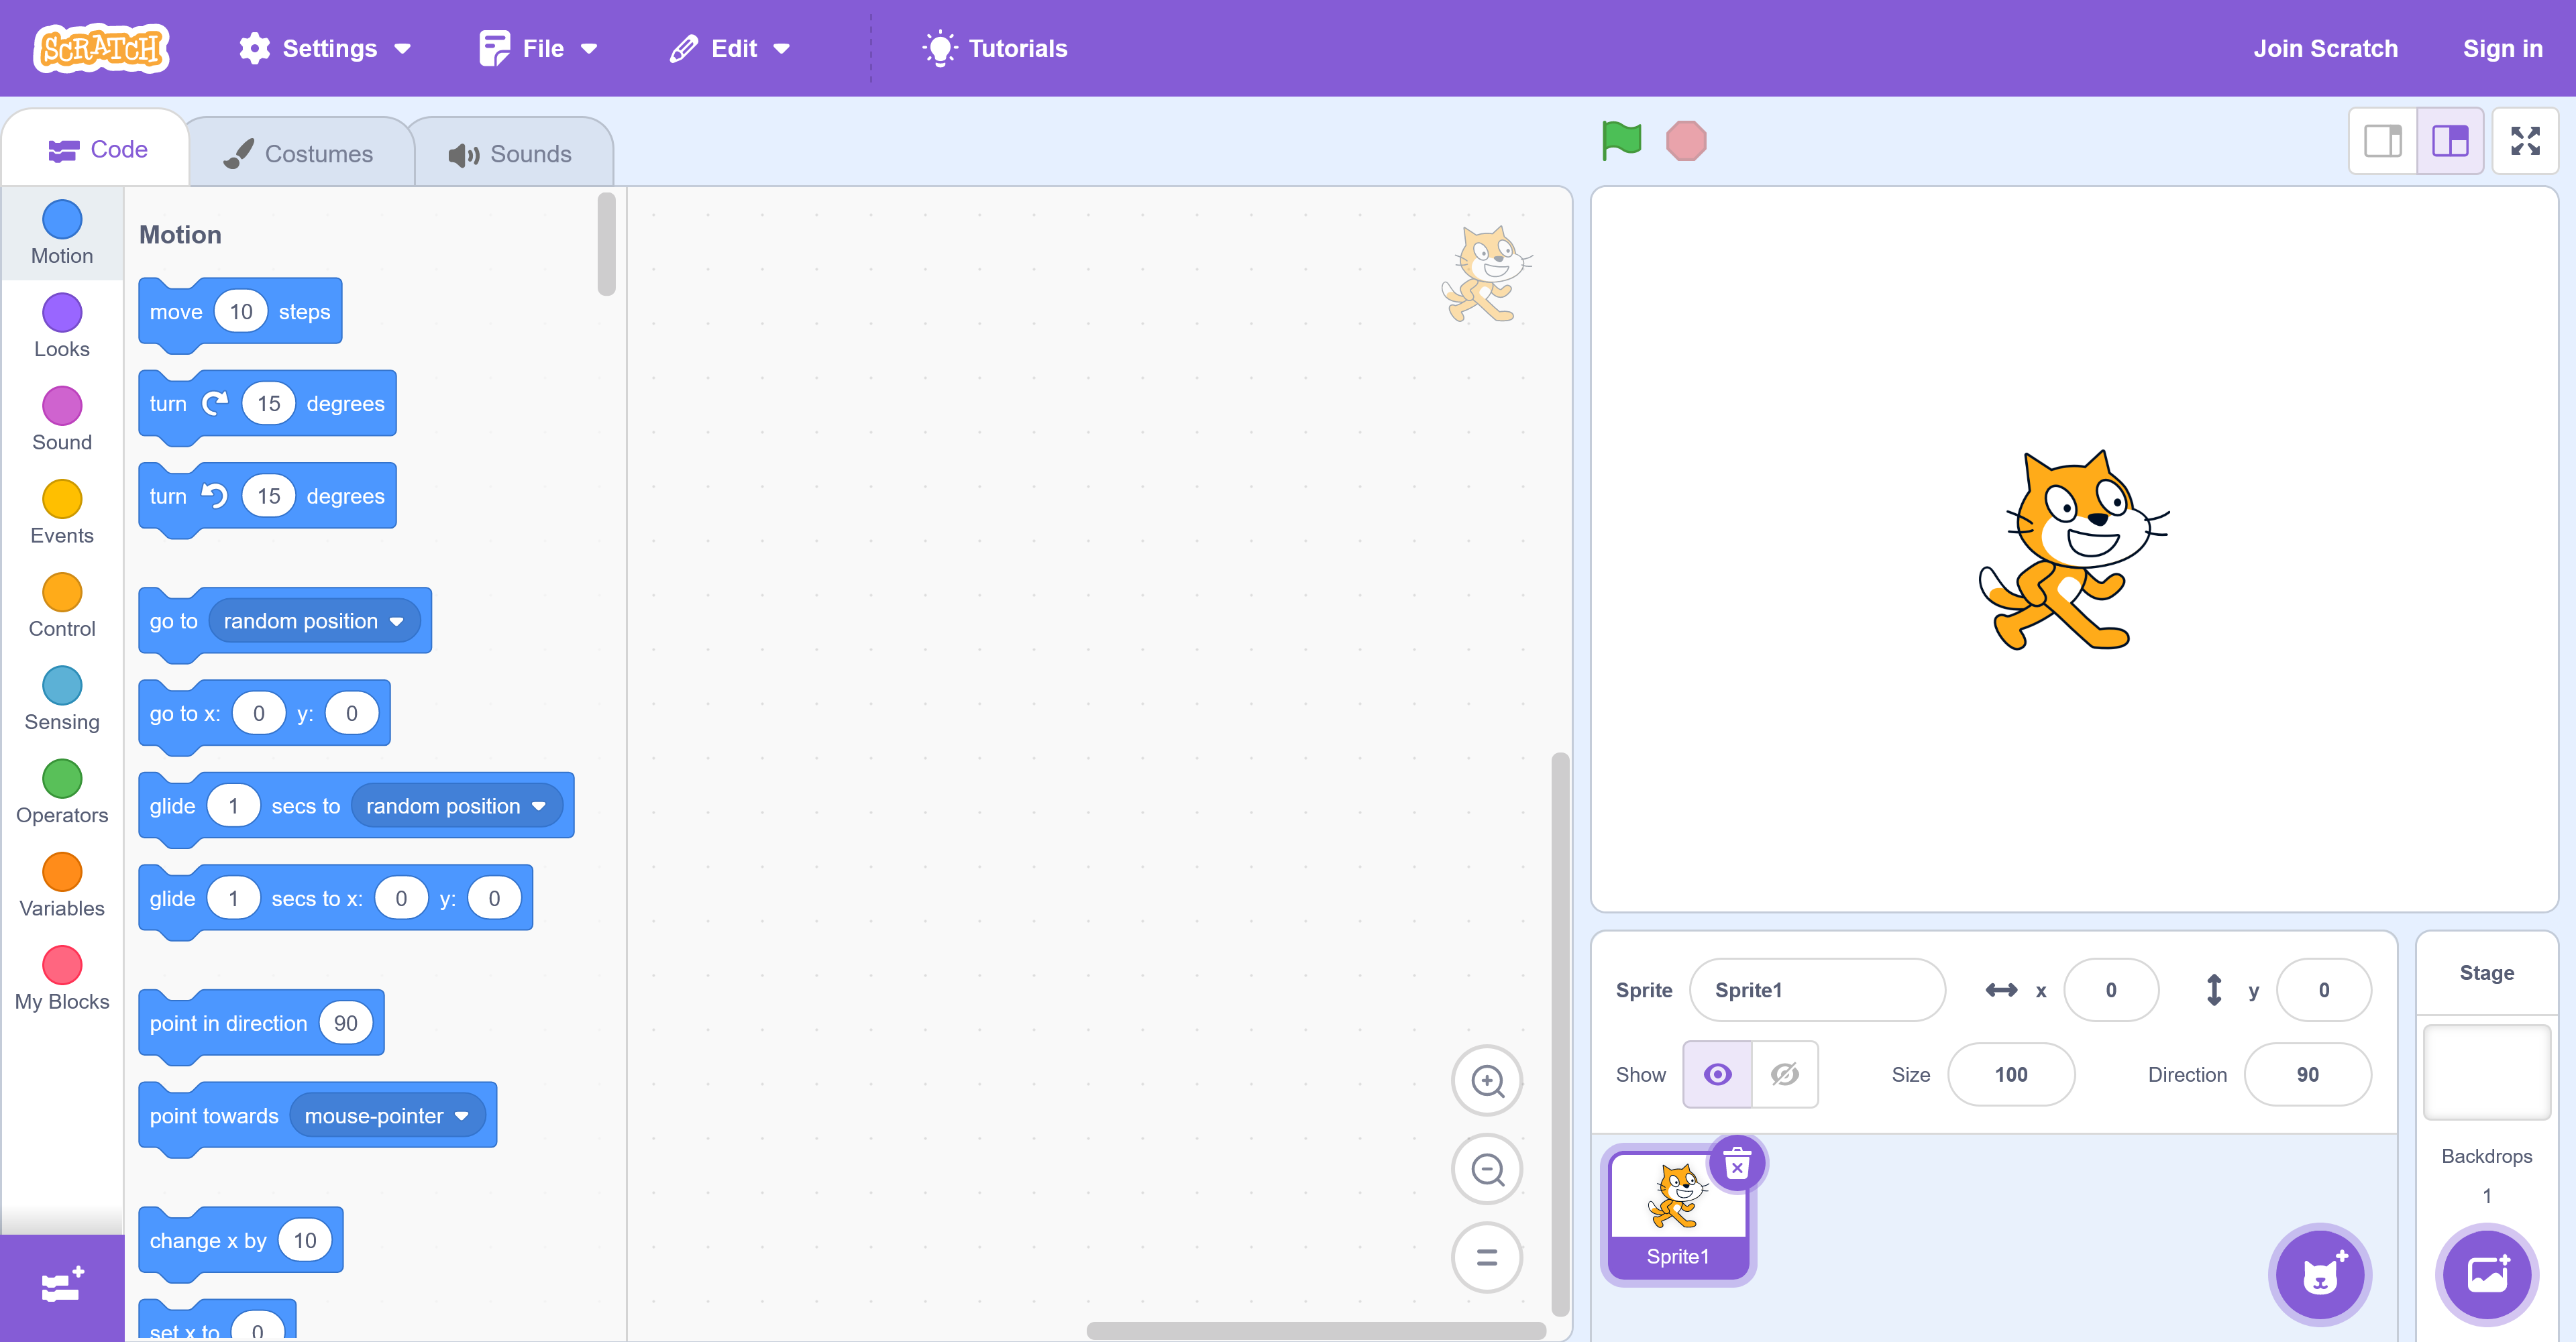
Once all the students are on the Scratch website, get them to click on the 'Create' link at the top of the page. This will open up the project editor.
Now let's add our first piece of code. We are going to add some code to give the cat sprite some instructions to move.
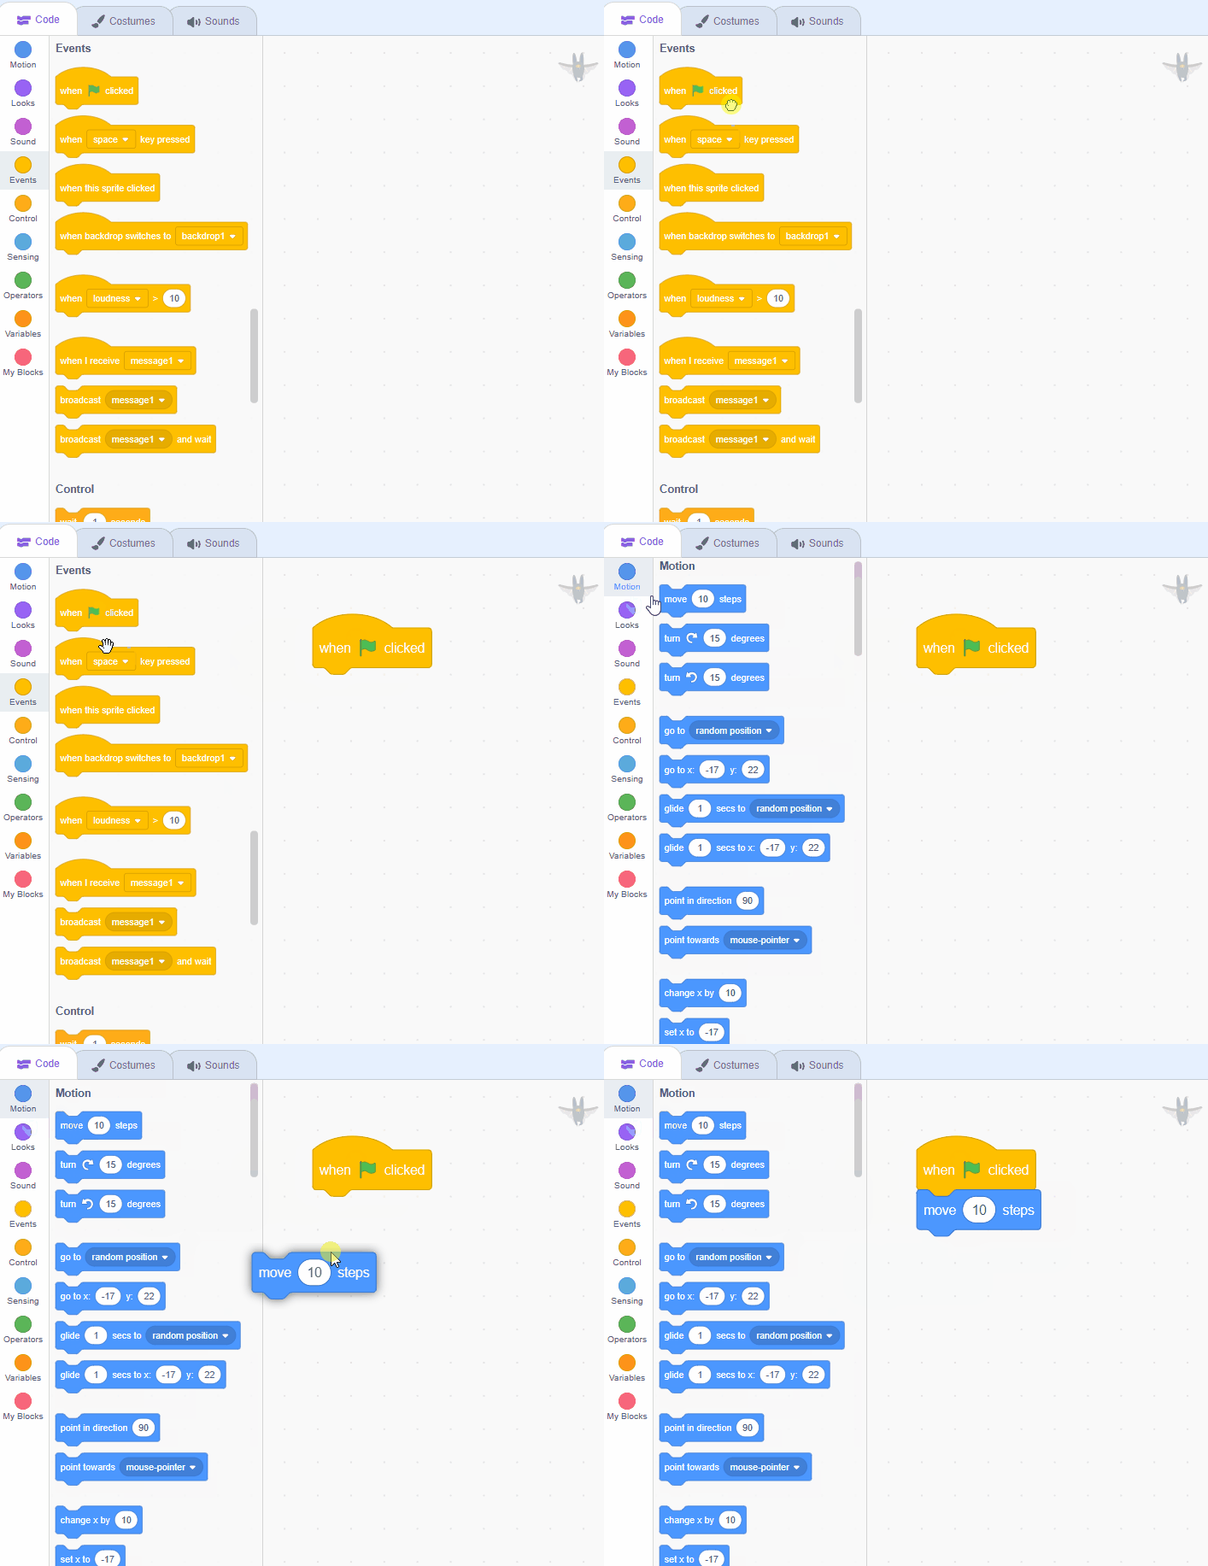
Get the students to open the Controls toolbox (orange circle) and drag the
when green flag clicked
block into the code area. Next get them to open the Motion toolbox (blue circle) and then attach the
move (10) steps
block to the when green flag clicked block.
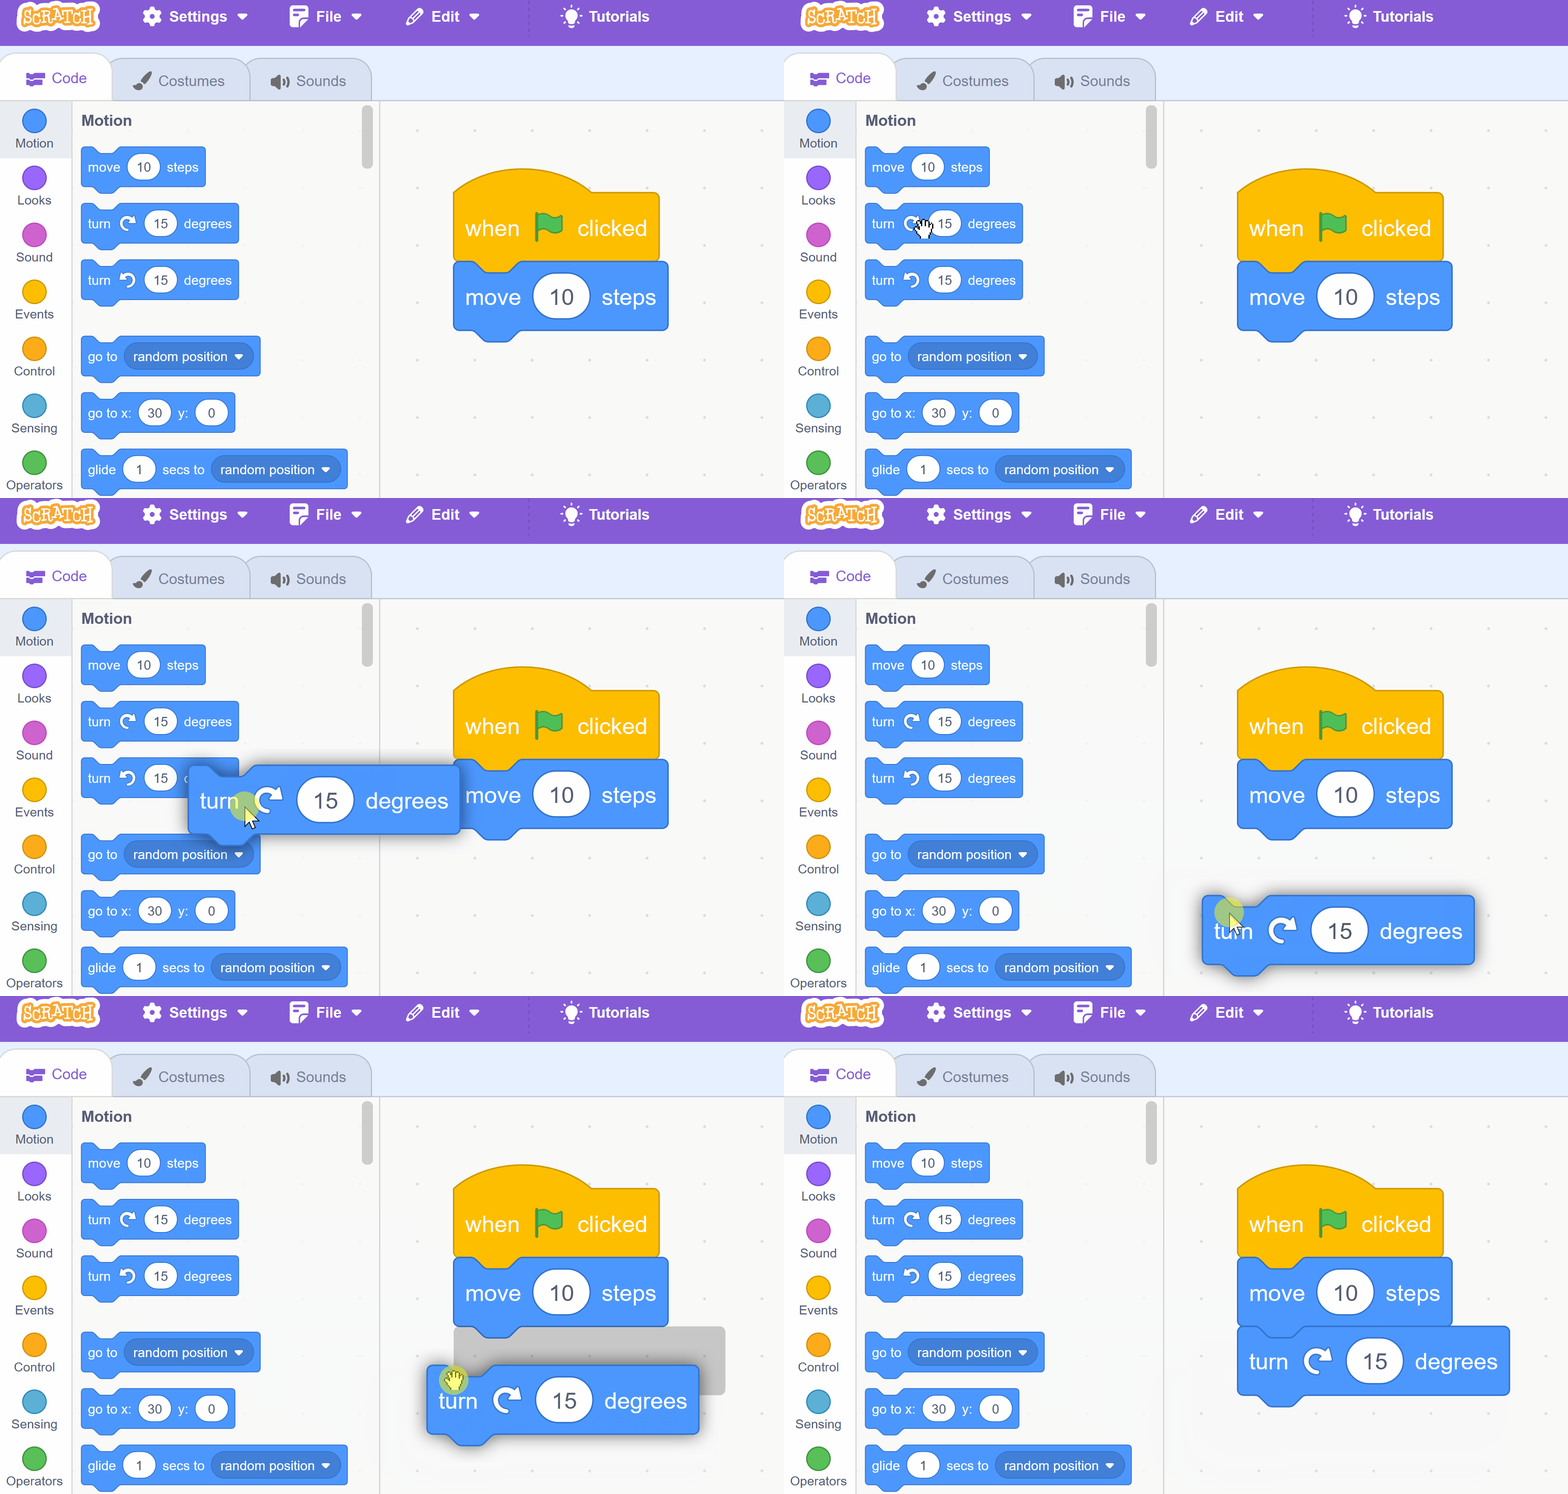
Now, let's make our cat sprite turn a little. We will add a new block to our existing code.
First, open the Motion toolbox (blue circle) and find the
turn cw (15) degreesblock. Drag this block and attach it under the
move (10) stepsblock in your code area. Your code should now look like this:
when green flag clicked
move (10) steps
turn cw (15) degrees