In this lesson, you will learn how to set up your Raspberry Pi Pico W, connect it to a computer, and install the necessary software. By the end of this lesson, you will have your Pico up and running, ready for you to start creating exciting projects. Let's get started!
Firmware is a type of software that provides low-level control for a device's specific hardware. It acts as a bridge between the hardware and the software running on the device.
Download the latest version of Raspberry Pi Pico W firmware at https://rpf.io/pico-w-firmware onto your computer. In a later step we will be transferring this downloaded file, onto your Pico.
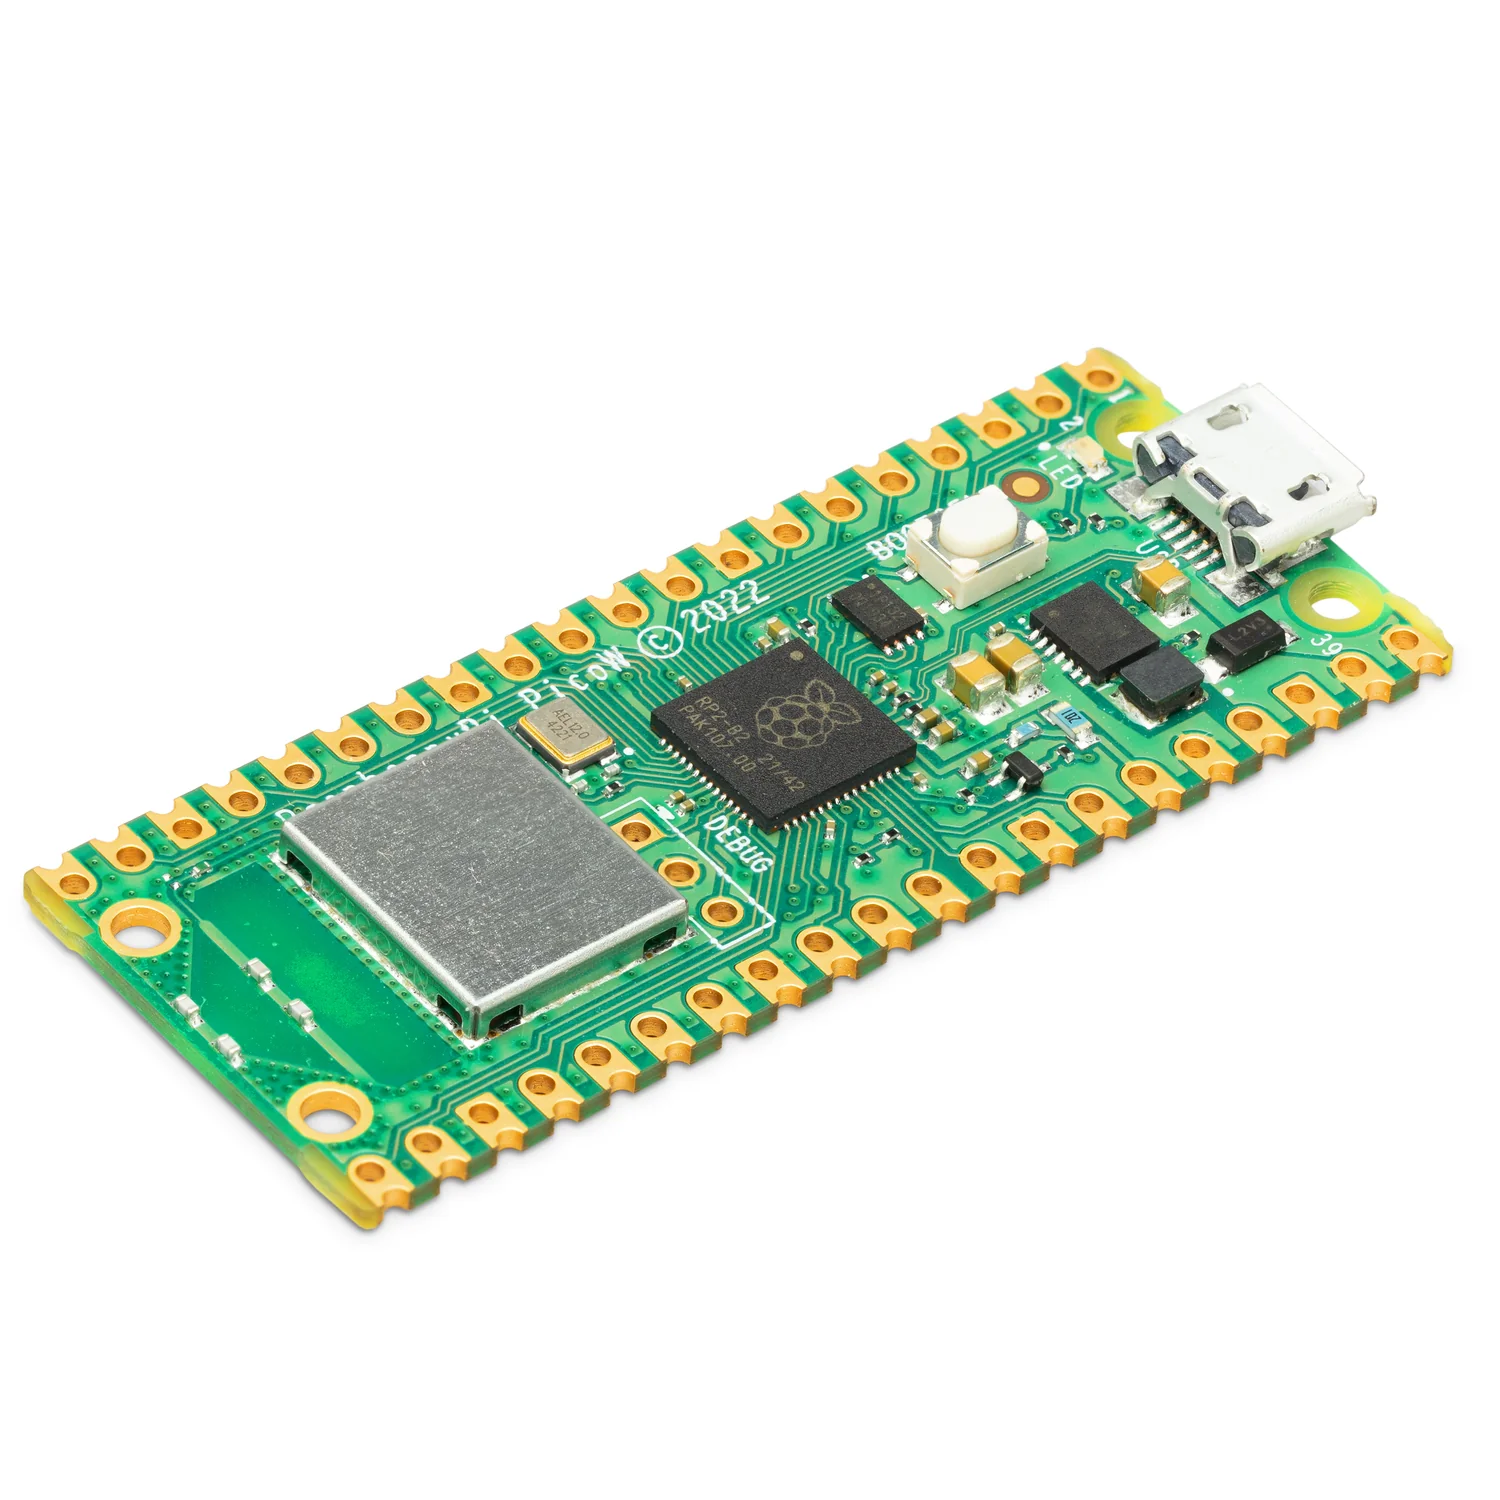
Connect the small end of the micro USB cable to the Raspberry Pi Pico W, as shown in the image.
Hold down the BOOTSEL button on your Raspberry Pi Pico W.
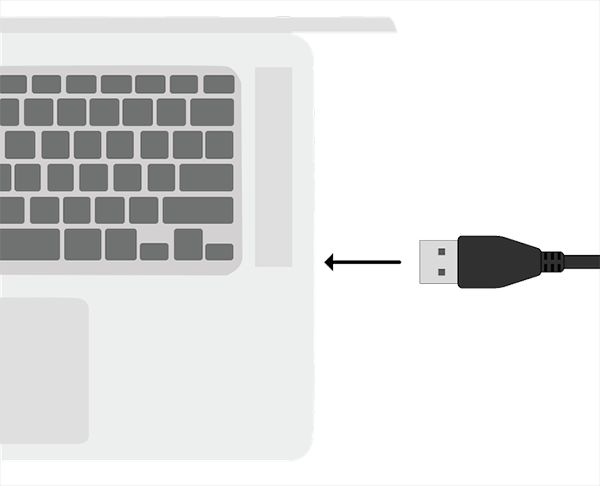
Whilst still holding down the BOOTSEL button on your Pico, connect the other end of the micro USB cable to your desktop computer or laptop.


