Scratch Jr
Beginner
30 mins
Teacher led
What you need:
iPad/Tablet

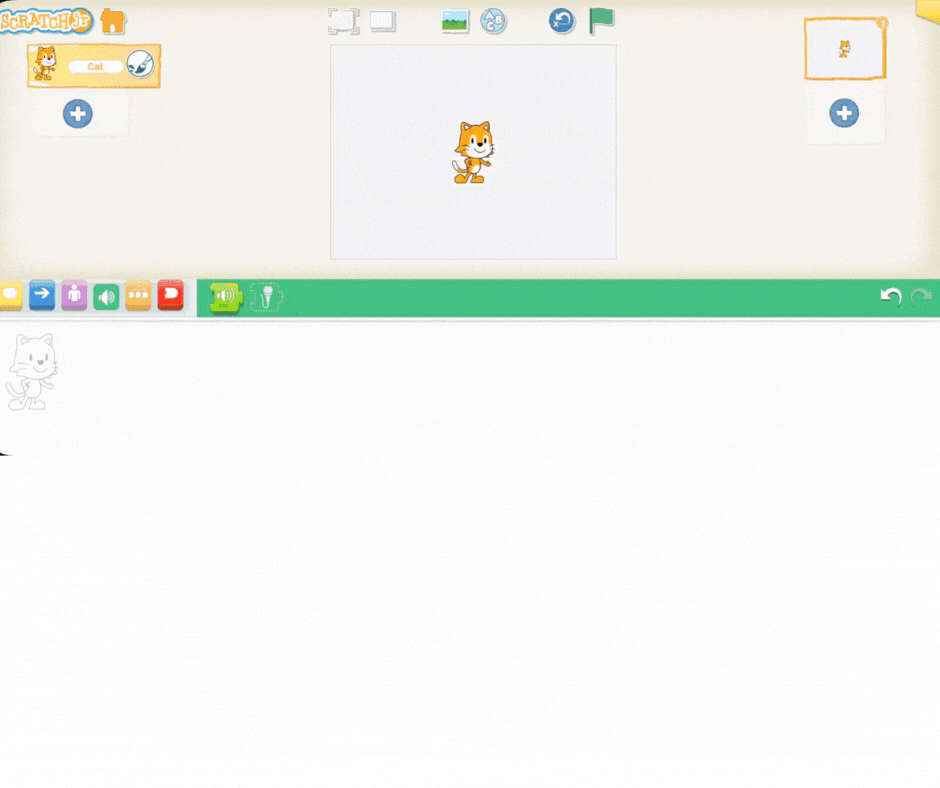
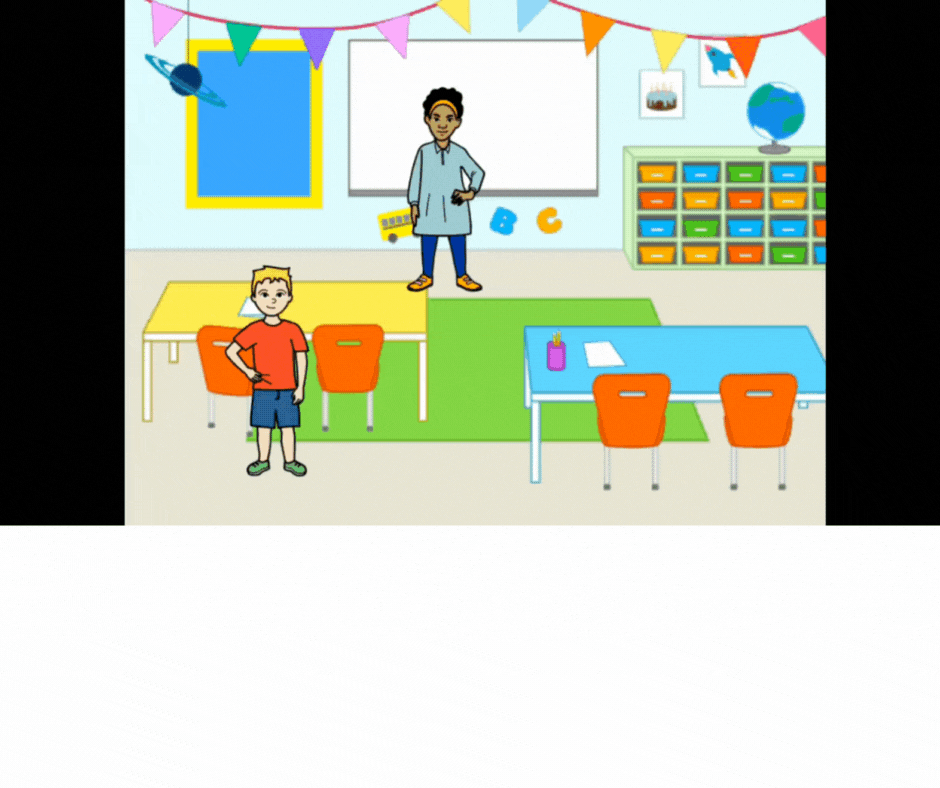
Talk It Out: Programming a Fun Conversation

In this lesson, teachers will guide students through a fun exploration of animal sounds, teaching them how to record and attach these sounds to characters in Scratch Jr. Students will then be challenged to create a classroom scene, recording dialogue between characters and using the 'wait' function to simulate a real conversation. The lesson concludes with time for students to experiment and get creative with their projects.
Learning Goals Learning Outcomes Teacher Notes

Teacher Class Feed

Load previous activity

    1 - Introduction

    2 - Introducing Animal Sounds

    Start the lesson by introducing the students to the animals available in Scratch Jr.'s character library. Explain that today, they'll be coding these animals to make noise!

    Engage them in a brief discussion about the sounds that different animals make. Ask simple questions to get them thinking about the variety of noises animals produce:

    • "What sound does a dog make?"

    • "How about a cat?"

    • "What sound might a monkey make?"

    This discussion sets the stage for the next step, where they will connect these real-world sounds to the Sound blocks they will be using in their code.

    3 - Recording Your Animal's Sound

    Now that you've discussed animal noises, it's time to give your chosen animal a voice in Scratch Jr.


    1. Selecting an Animal

    First, let's set up the project and choose our musical character:

    1. Open a New Project: Guide the students to open a new project. You can have them delete the default Scratch the Cat, or simply work on a clean stage.

    2. Choose Your Star: Instruct them to tap the plus icon (+) in the character area and choose one animal character from the library to work with today.


    2. Recording the Sound

    Now, demonstrate how to record a custom sound for their animal:

    1. Open the Sound Menu: Have the students tap on their chosen animal character, then look for the microphone icon (found in the Sound blocksβ€”the green section).

    2. Record the Noise: Tap the microphone icon to open the recording screen. Encourage them to record the specific sound that matches their chosen animal, like a "meow" for a cat or a "bark" for a dog.

    3. Attach the Code: Once the sound is recorded, show them how to attach the green flag block (the start event) to the play sound block (the green block with the speaker icon). Make sure the correct recorded sound is selected in the block.

    Have the students press the green flag to test their code and hear their animal's custom sound!


    4 - Creating a Dialogue Scene

    Once your students have practiced recording and attaching simple sounds, introduce a more complex and fun challenge: creating a classroom setting where a teacher asks a question, and a student responds! This requires them to manage multiple characters and sequences.


    Setting the Scene

    Guide your students through setting up the stage for their dialogue:

    1. Create the Classroom Background: Instruct the students to set a classroom background. They can choose a relevant background from the Scratch Jr. library or, for an extra creative challenge, they can use the paint tool to draw one themselves.

    2. Add the Characters: Instruct them to add two new characters to the scene:

      • One character to act as the teacher.

      • A second character to act as the student.

    Make sure the characters are placed appropriately, perhaps with the teacher standing at the front and the student sitting or standing in a clear view. They are now ready to code the conversation!


    5 - Recording the Teacher's Question

    Now that the scene is set, it's time to record the dialogue for the classroom interaction. This is where students will apply their sound-recording skills to a storytelling project.

    Guide the students to click on the Teacher character and record the question:

    1. Tap the microphone icon (in the green Sound blocks category) to open the recording screen.

    2. Have the student record a short, clear question, such as: "What is 1 + 1?"

    3. Once recorded, show them how to attach the green flag block to the play sound block (with the recorded question selected).


    Unlock the Full Learning Experience

    Get ready to embark on an incredible learning journey! Get access to this lesson and hundreds more in our Digital Skills Curriculum.

    Copyright Notice
    This lesson is copyright of Coding Ireland 2017 - 2025. Unauthorised use, copying or distribution is not allowed.
    πŸͺ Our website uses cookies to make your browsing experience better. By using our website you agree to our use of cookies. Learn more