Unplugged Lesson
Beginner
40 mins
Teacher led
+50 XP

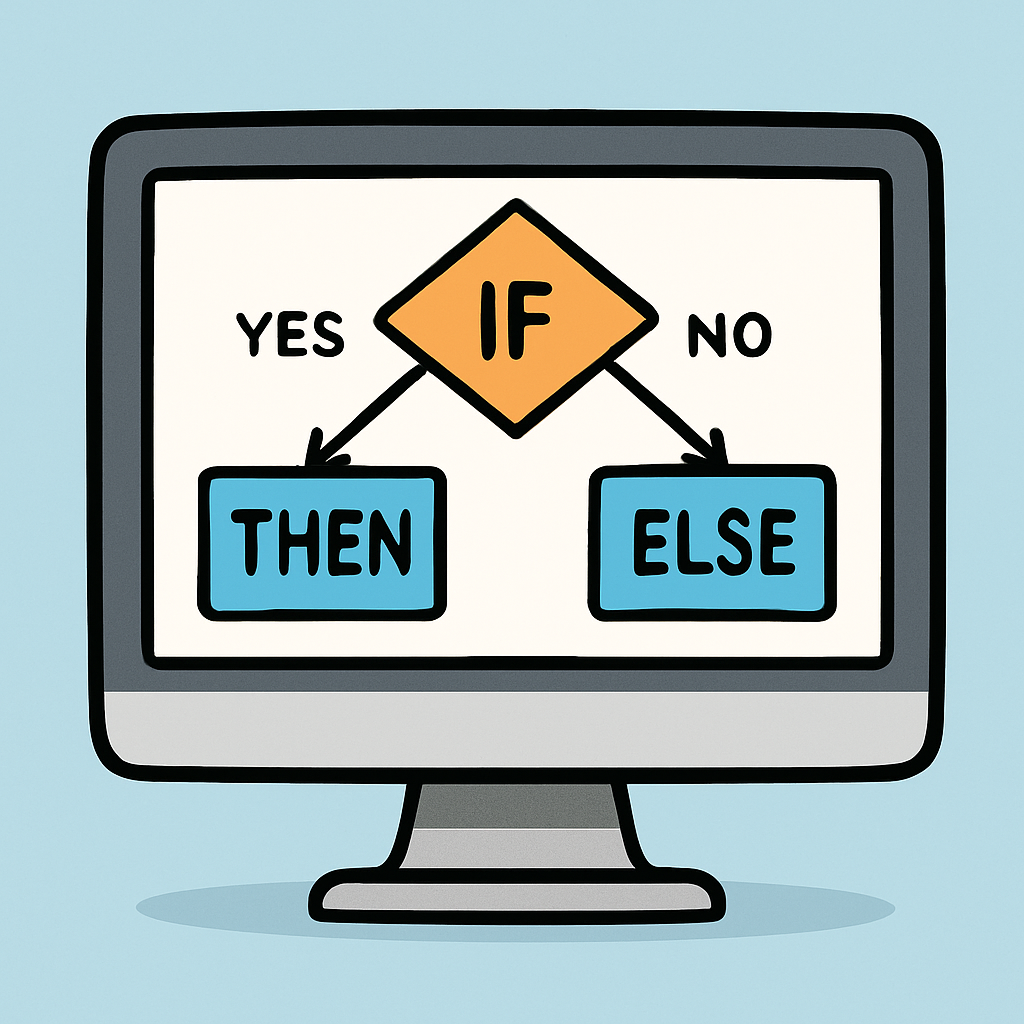
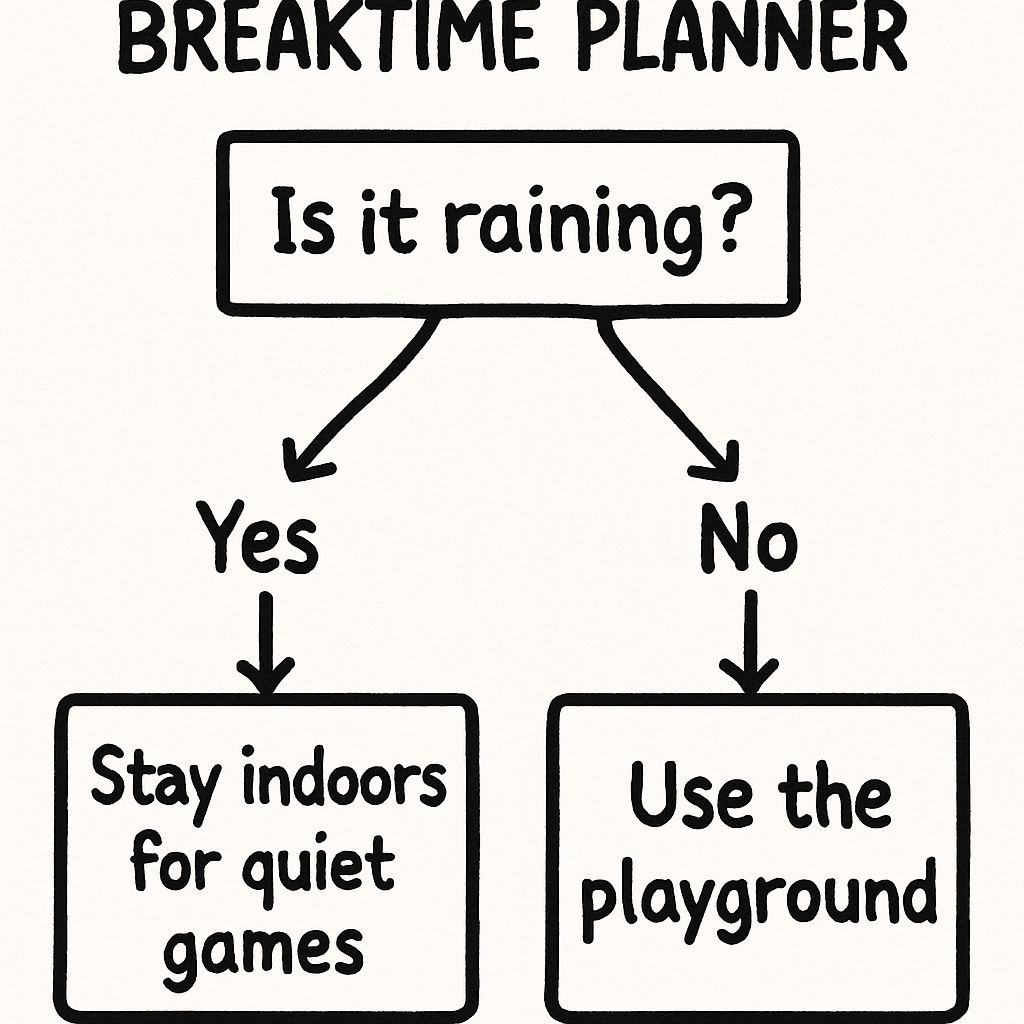
The Decision Maker
In this lesson, you'll explore decision-making with conditionals like if, else-if, and else. Learn to use AND and OR for checking multiple conditions. Engage in fun unplugged activities with paper, pencil, or by acting out scenarios to understand these concepts.