Microbit
Robotics & Engineering
Beginner
60 mins
Teacher/Student led
+95 XP


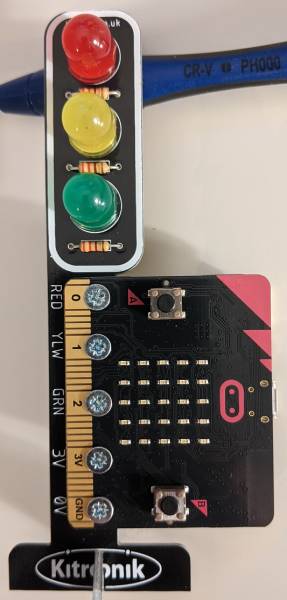
Traffic Light Reaction Game
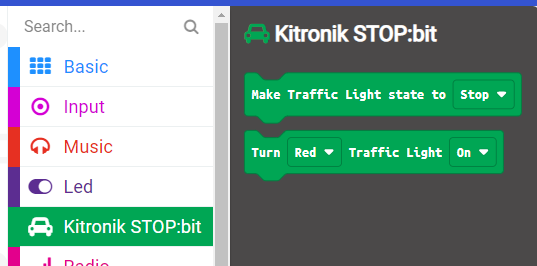
In this step-by-step lesson, you'll create a fun traffic light reaction game using your micro:bit and STOP:bit Traffic Lights. You'll learn to program the lights, create variables, and measure reaction times. By the end, you'll have a game that challenges you and your friends to react as quickly as possible when the light turns green.