Animation
Beginner
60 mins
Teacher/Student led
+40 XP
What you need:
Chromebook/Laptop/PC or iPad/Tablet

Weighted Bounce

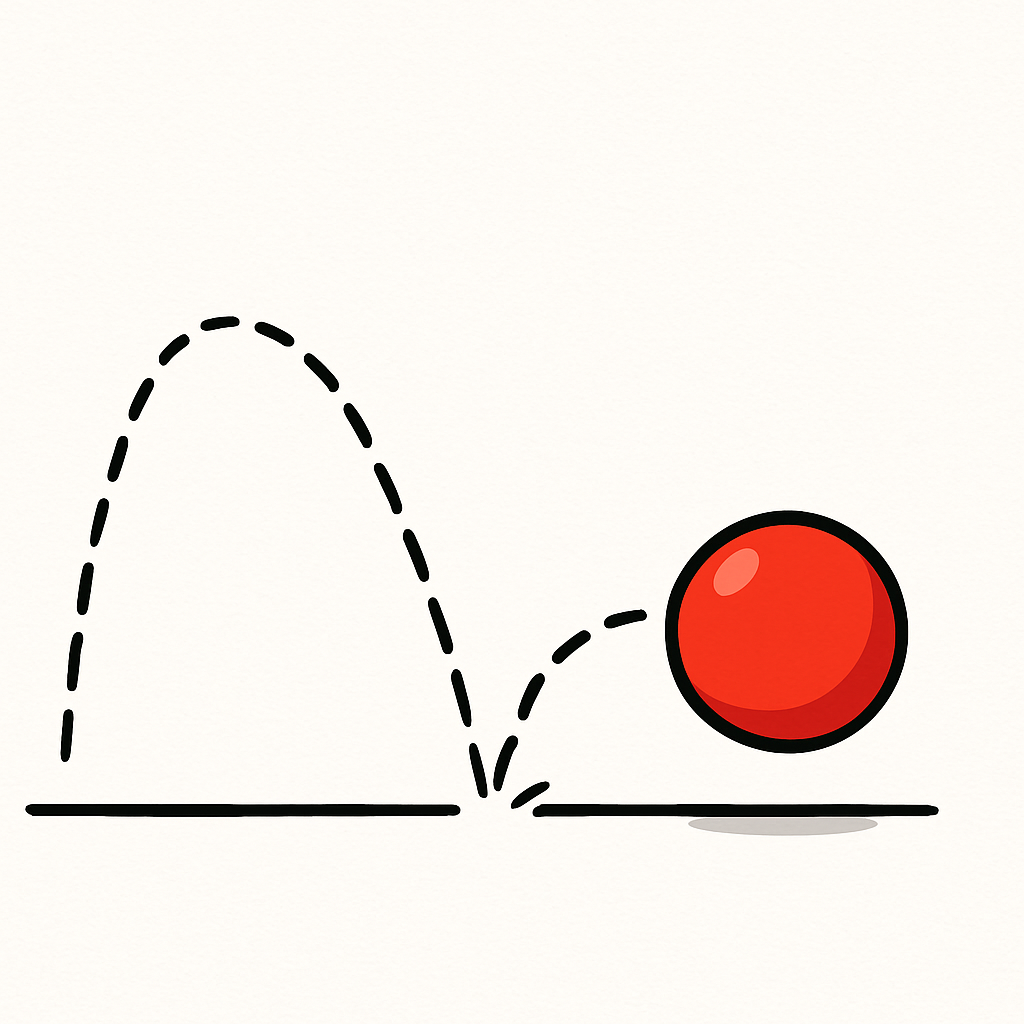
In this lesson, you'll create a realistic bouncing animation using Wick Editor. Animate a ball falling, bouncing with decreasing height, and stopping. Learn timing and gravity to make movements feel natural and lifelike.
Learning Goals Learning Outcomes Teacher Notes

Teacher Class Feed

Load previous activity

    1 - Introduction

    In this lesson, you'll build on what you learned in 'Creating Your First Animation' by making a more realistic bouncing animation. You'll use Wick Editor to animate a ball that falls, bounces up and down with decreasing height, and eventually comes to a complete stop or rolls off the screen.

    This will teach you about timing and gravity in animation, making your movements feel more natural.

    Think about how a real ball behaves, does it bounce forever or does it lose energy with each bounce?

    You'll learn to create that effect step by step, improving your skills in making animations that look lifelike. Let's get started and make that ball bounce!

    2 - Create a New Project

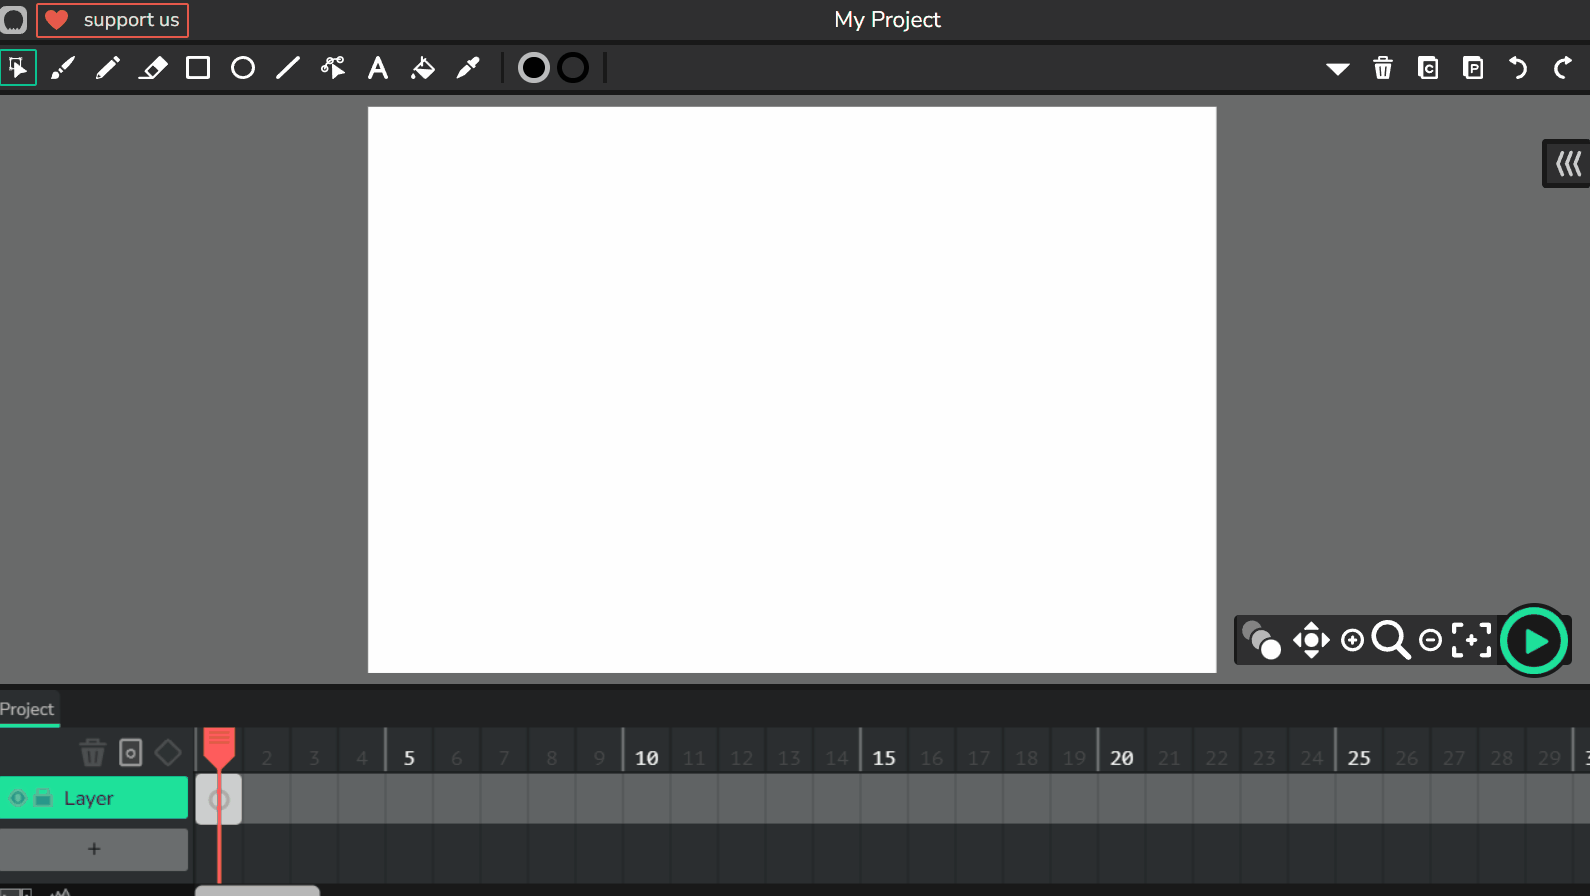
    To begin, open Wick Editor in your web browser. If you haven't already, visit the Wick Editor website at https://www.wickeditor.com/ and click on 'Editor' to launch it.

    Once inside, create a new animation project. This will give you a fresh canvas to work on your ball bounce animation. Remember, you can adjust the project settings like frame rate if needed, but for now, the defaults are fine.

    Starting a new project keeps your work organised and separate from previous lessons.

    3 - Drawing Your First Frame

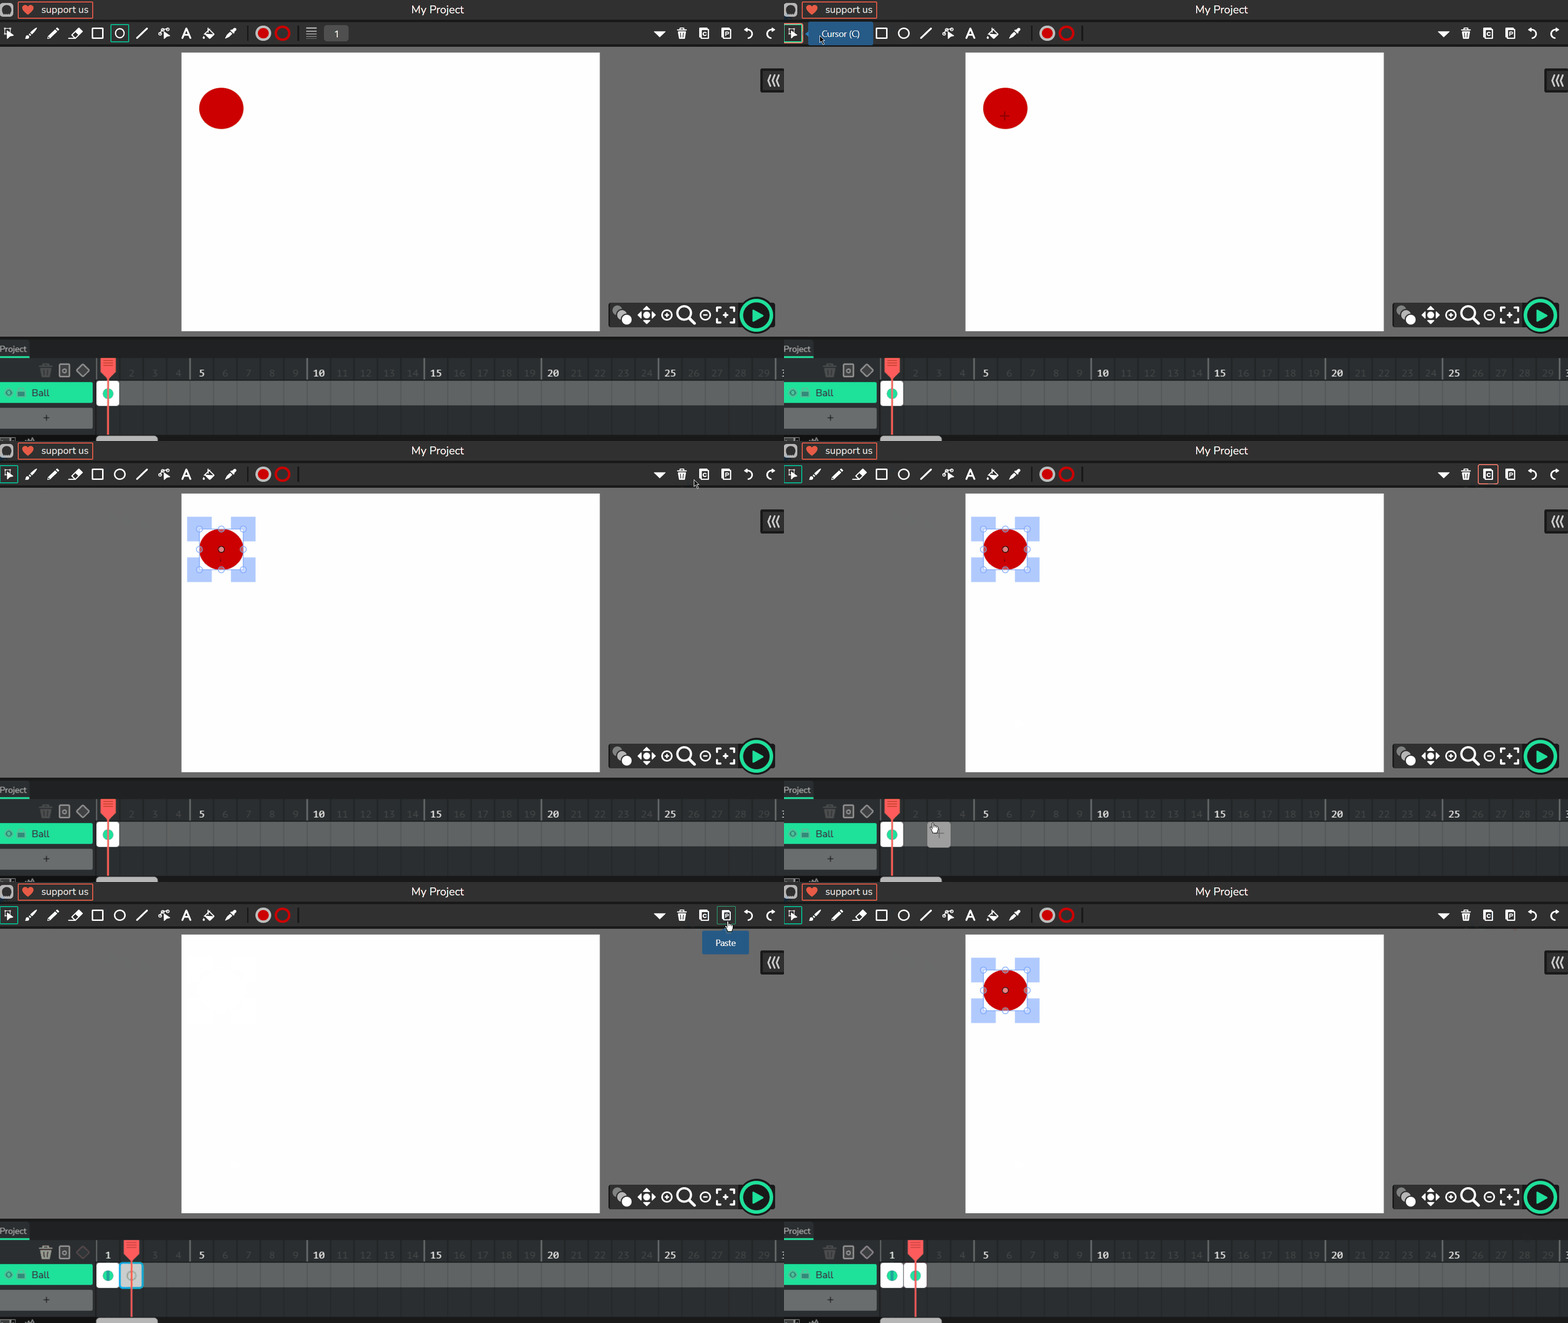
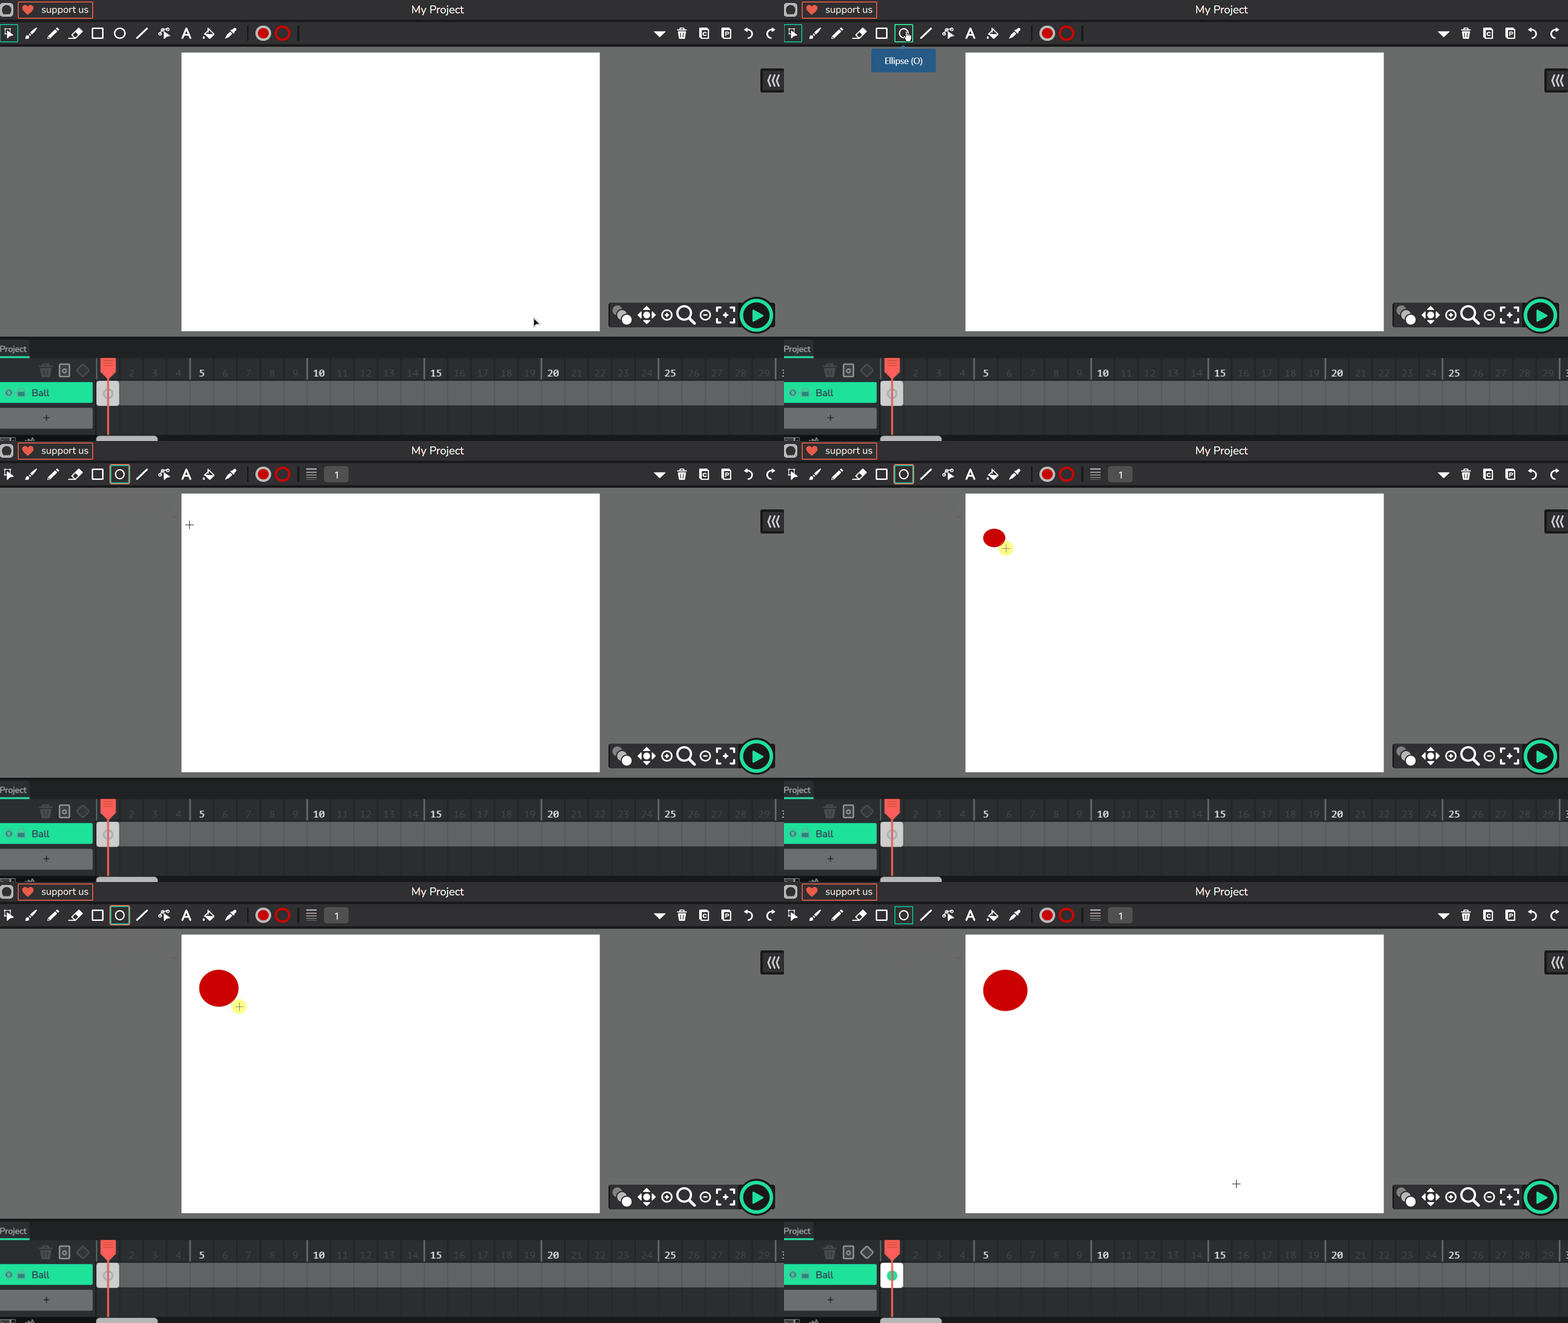
    Let's start by drawing the ball for your animation. This will be the starting position where the ball is at the top left, ready to fall.

    1. Make sure you’re on the first frame in the timeline.
    2. In the inspector panel, choose a solid, dark colour such as black or red so your ball is easy to see.
    3. Select the Circle tool from the top toolbar.
    4. Draw a circle at the top left of the canvas. Use the Select tool to reposition it if needed. Make it nice and round, but don't worry if it's not perfect – animation is about practice!
    5. Adjust the size so the ball is big enough to see clearly but small enough to allow space for multiple frames in the animation.
    This first frame sets the starting position for your ball's descent, simulating the beginning of a drop under gravity.

    4 - Copy and Paste

    Now that you’ve drawn your ball, let’s learn a quicker way to duplicate it instead of redrawing every time. This will help keep your animation consistent and save time.

    1. Make sure you’re on the frame with your ball.
    2. Select the Select tool from the toolbar (it looks like an arrow near a box).
    3. Click on your ball to select it. You should see a box around it.
    4. To copy the ball, click the β€˜C’ icon in the top right-hand corner of the screen, or use the shortcut Ctrl+C (Cmd+C on a Mac).
    5. Add a new frame in the timeline and go to that frame.
    6. To paste the copied ball, click the β€˜P’ icon in the top right-hand corner, or use the shortcut Ctrl+V (Cmd+V on a Mac).
    7. Use the Select tool to move the ball to its new position. Try this for your next few frames to see how much easier it is!
    Copying and pasting ensures your ball looks the same in every frame, making your animation smoother and more professional.

    5 - Using Onion Skinning

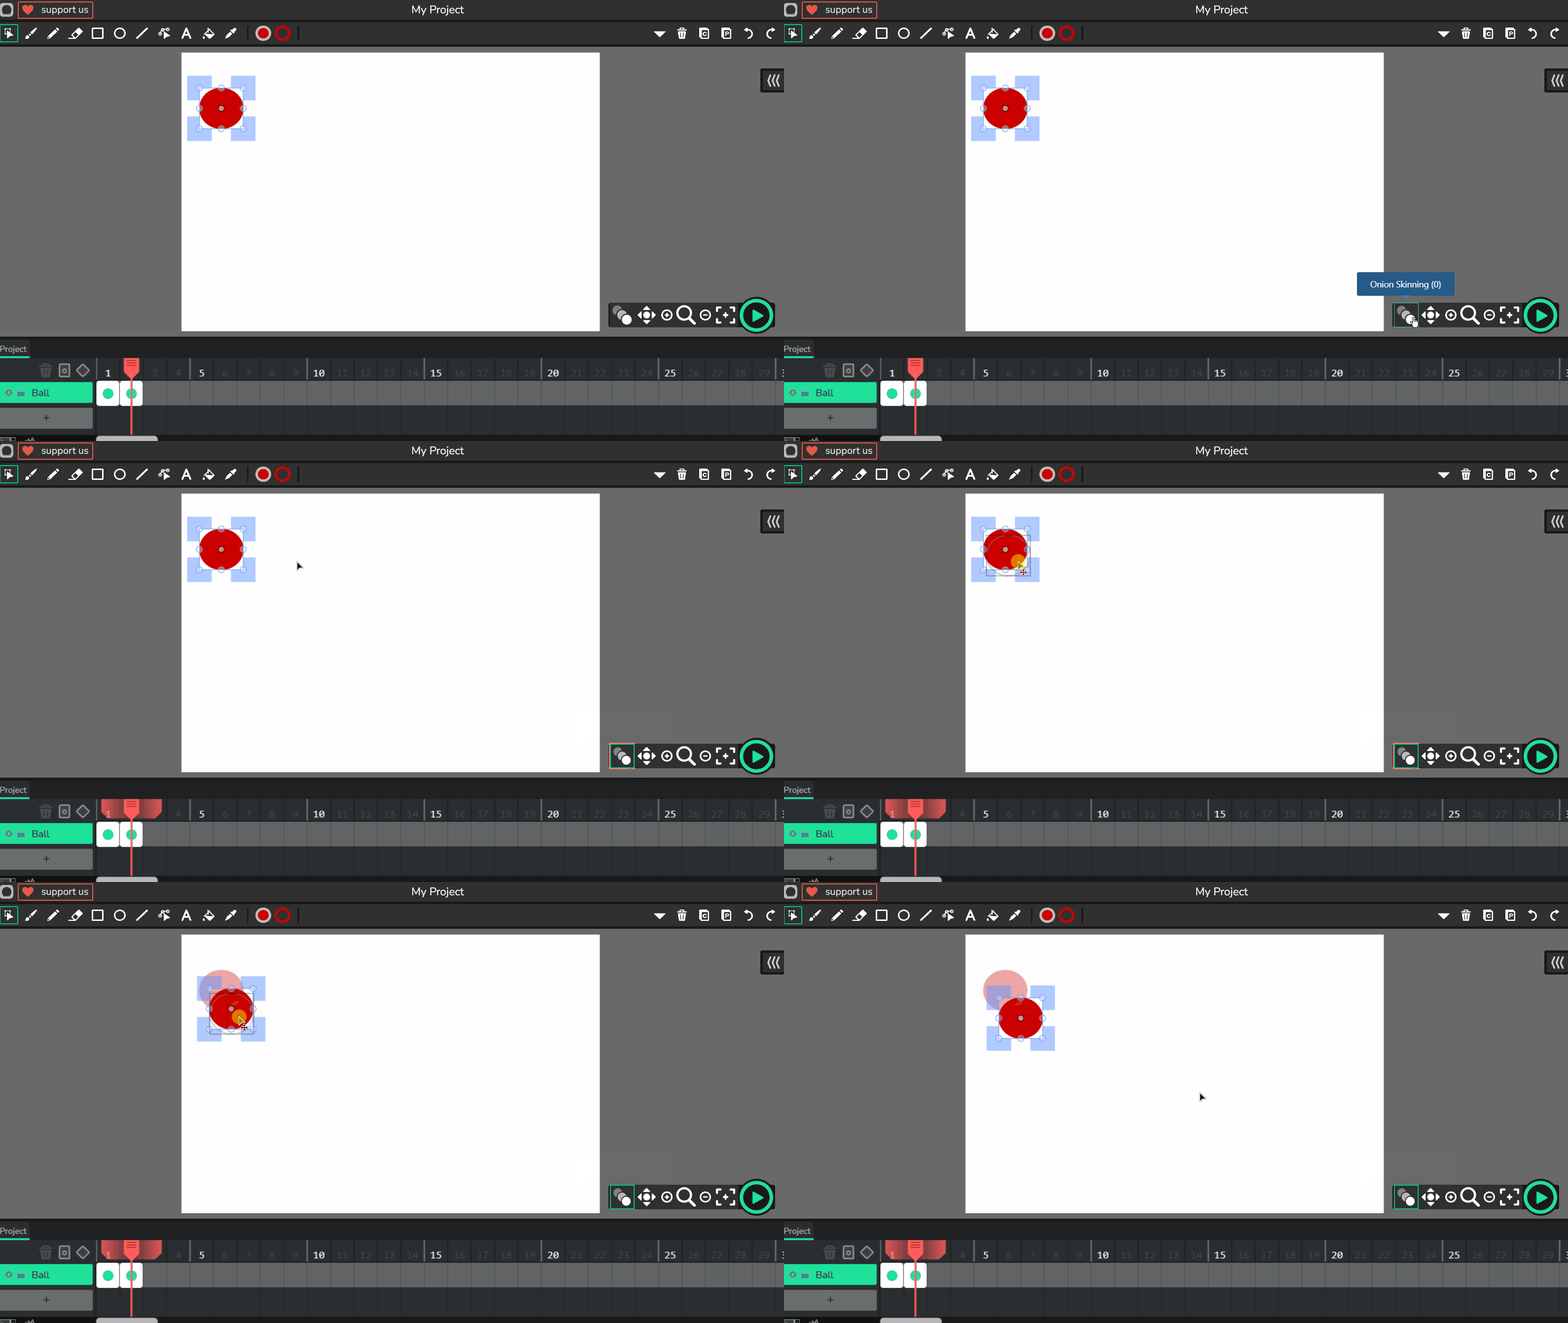
    To make your animation smooth, turn on onion skinning.

    1. Find the onion skinning icon in the canvas tools at the bottom right – it looks like layered frames.
    2. Click it to activate. You’ll see faint outlines of previous and next frames, helping you position the ball accurately.

    Use this as a guide while drawing in new frames. It will help keep the ball’s path consistent as it falls and bounces.
    Onion skinning is like a helpful ghost of your past drawings, ensuring your animation flows naturally.

    Unlock the Full Learning Experience

    Get ready to embark on an incredible learning journey! Get access to this lesson and hundreds more in our Digital Skills Curriculum.

    Copyright Notice
    This lesson is copyright of Coding Ireland. Unauthorised use, copying or distribution is not allowed.
    πŸͺ Our website uses cookies to make your browsing experience better. By using our website you agree to our use of cookies. Learn more