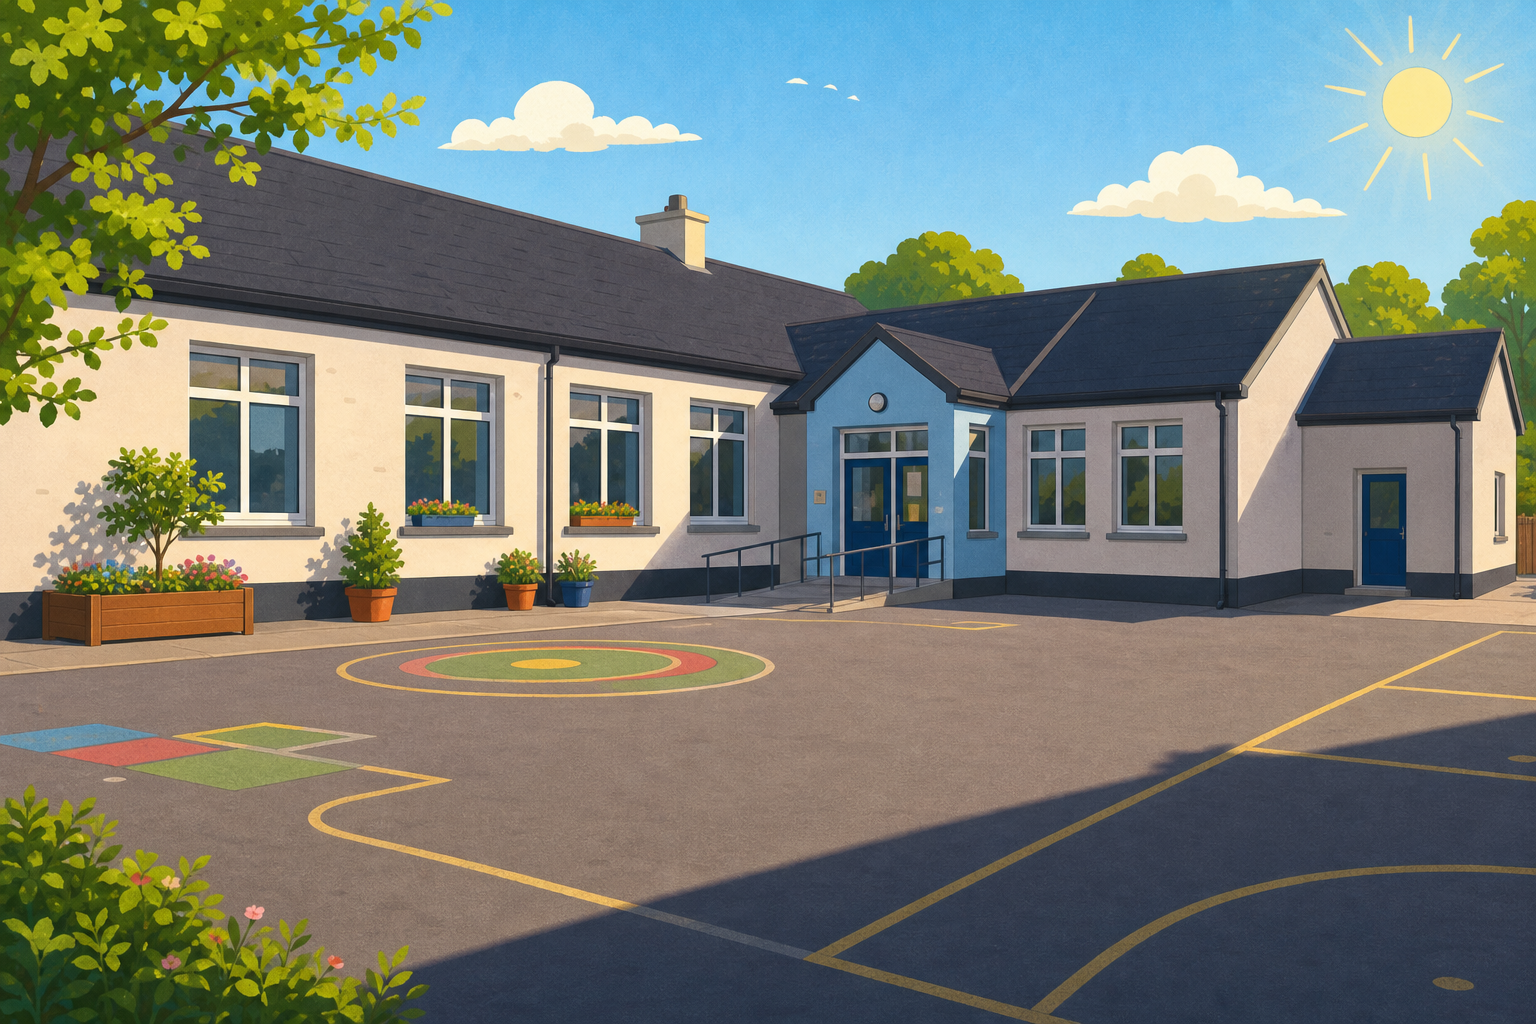
Look at our school building from the yard. How tall do you think it is, from the ground to the very top of the roof? Now here is the tricky part: nobody has a ladder long enough, and you certainly cannot climb up there with a metre stick. So how could we find out the real height without ever reaching the top?
Show a photo of the school building, or point out a window if the building is visible from the room. Take three hands-up guesses in metres, no open call-outs.
Do not reveal any method yet, and do not hint at shadows. Let the question sit as a genuine puzzle: how do you measure something you can never reach?
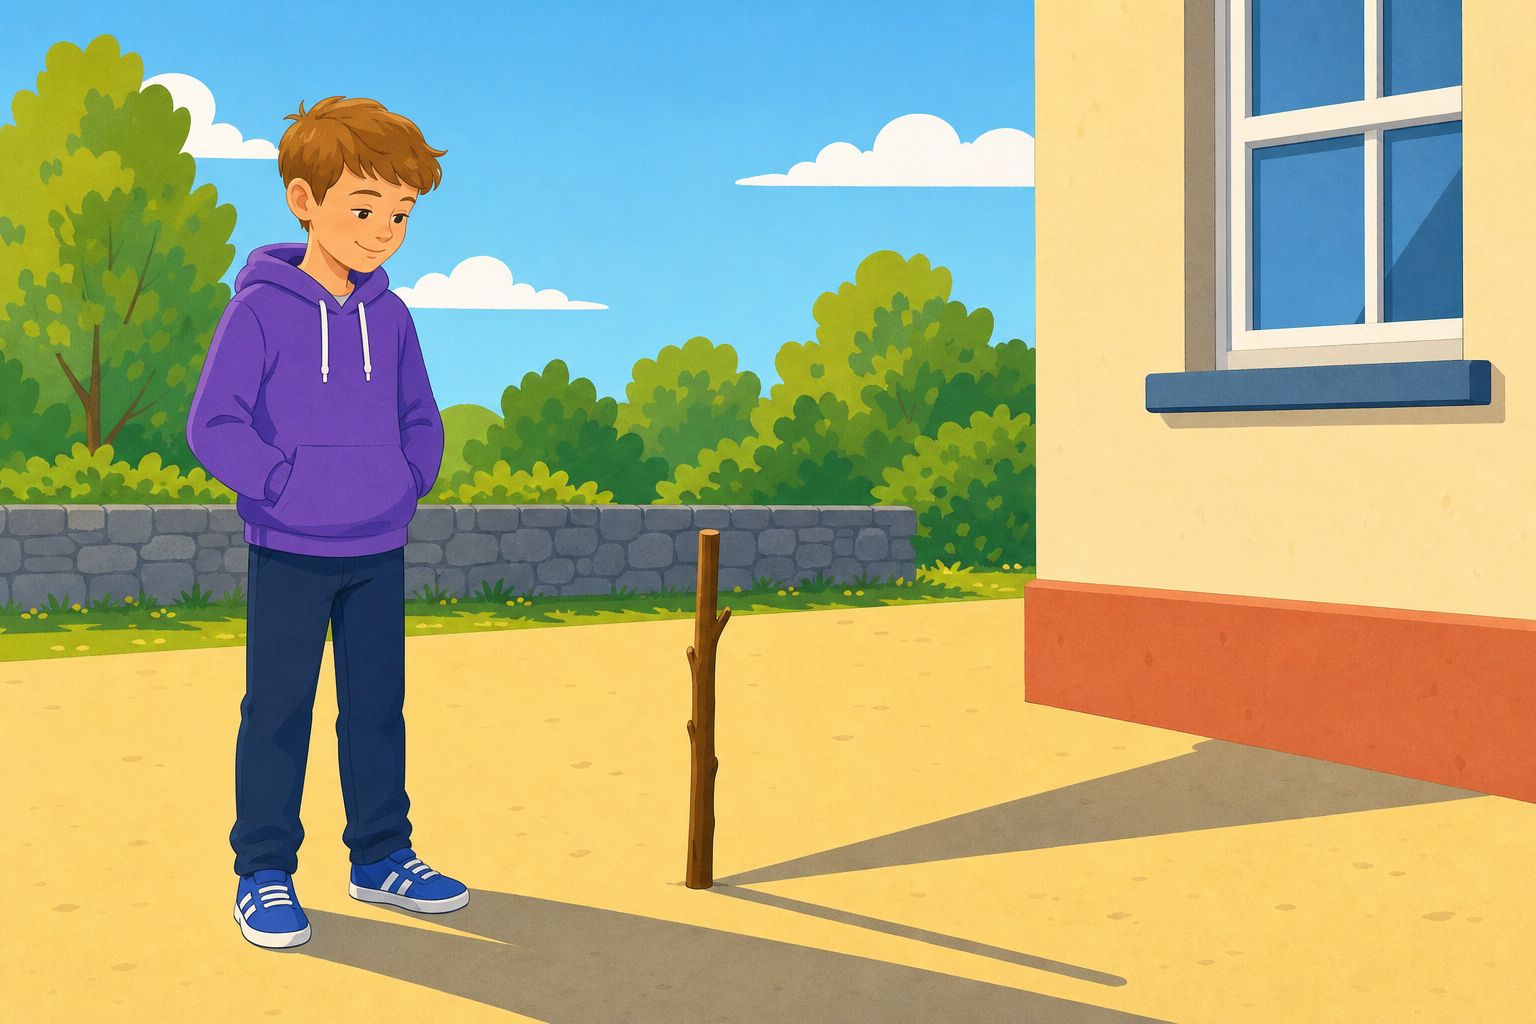
On a sunny day, everything casts a shadow. We will use a stick and its shadow to work out how tall the school is, then check that height two quick ways. Watch how the stick's shadow and the school's shadow grow in step with their heights.
Counting storeys. Each storey is roughly 3 m tall. Count how many storeys the school has and multiply by about 3 m to get a rough height.
Comparing to a known height. Stand a pupil whose height you know beside or near the feature, and judge how many of that pupil would stack up to reach the top. If a 1.4 m pupil fits about 7 times, that is roughly 1.4 m × 7 ≈ 9.8 m.
The shadow-and-stick method is our main method. The other two are quick cross-checks. When several of them land close together, that agreement is what tells us we can trust the height.
Sketch two triangles side by side: 1 m stick casting a 0.6 m shadow, school casting a 6 m shadow. Same shape because the sun is so far away its light hits both at the same slant.
Draw the ratio out: school's shadow is 10 times the stick's, so school is 10 times taller — about 10 m. Pause and have the class check: 0.6 m x 10 = 6 m, 1 m x 10 = 10 m.
Give Method 1 clear primacy — it is the main method. Keep the three cross-checks brief and visually subordinate.
Bricks: a course is about 7 to 8 cm; roughly 140 courses gives 140 x 7 cm = 980 cm = 9.8 m.
Storeys: each about 3 m; count storeys and multiply.
Comparison: a 1.4 m pupil fitting about 7 times gives 1.4 m x 7 = 9.8 m.
Close with the key point, said aloud and underlined: several good estimates landing close together is what lets us trust the height.
In your maths copy, draw a four-column table and head the columns Feature, Method used, Estimate (m), and How sure (1 to 5). You will fill it in outside as you work. Leave at least five rows under the headings.
Walk the room glancing at column headings and ruled lines only. No marking — this is whole-class copybook setup so every pupil has a recording frame before going outside.
Whole class together. Take the class to a flat sunlit space where a tall feature (the building wall, a flagpole, or a goalpost) casts a clear shadow on the ground. One metre stick, one measuring tape, and chalk or masking tape to mark shadow tips.
If it is cloudy, run the lesson indoors using the brick-count or storey-count method: count brick courses (or storeys) on a wall you can see, multiply by the height of one (about 7 to 8 cm a course, or roughly 3 m a storey), and convert to metres.
Lead the whole class outside at the start of this step — budget the first minute or two for the out-and-back walk and getting everyone settled at the flat sunlit spot.
Outside: stand a known-height stick (use a metre stick, height 1 m) vertically. Chalk-mark the tip of its shadow and the base, then measure that shadow with a tape. Immediately chalk-mark and measure the school's shadow from the wall base to the shadow tip — both measurements must happen at the same moment, so have two pupils marking at once if you can.
On a clipboard or back at the board, work it aloud: stick height ÷ stick shadow = building height ÷ building shadow. So building height = (1 m ÷ stick shadow) × building shadow. Have pupils call out each number before you divide.
If it is cloudy and there are no shadows, switch to the brick-count or storey-count method as the shared worked example instead.
Now pick one feature around the school that you cannot reach with a ruler, and estimate its height two different ways. Aim for two estimates that agree to within 10% of each other. Then lightly estimate two more features, one method each, so you have practised more than one strategy.
How to check the 10% rule. Before you go, here is how to tell if two estimates agree closely enough. Take this pair:
Find the difference: 10 m − 9 m = 1 m.
Find 10% of the larger estimate: 10% of 10 m = 1 m.
Compare: the difference (1 m) is equal to the 10% amount (1 m), so these two estimates agree within 10%. If the difference had been bigger than 1 m, they would not agree closely enough.
Use this same check on your own two estimates for your main feature, and record both methods and both heights in your table.
How tall is your main feature, and can you make two estimates of it that agree to within 10%?
Choose one feature no ruler can reach — a flagpole, a tall wall face, a basketball hoop or a tree — and estimate it two different ways: shadow-and-stick for a sunlit upright feature; count repeated units (brick courses, fence panels) for a wall; or compare to a known-height pupil for a tree. Aim for the two estimates to agree to within 10%. Then make one quick estimate each of two other features. Record every estimate, the method used, and how sure you are.
Record: the four-column copybook table (Feature, Method used, Estimate in m, How sure 1-5)
Share back: each group reads out the height of its main feature, names the two methods it used, and says whether the two estimates agreed within 10%
Send groups of four or five to fixed unreachable features (a flagpole, a tall wall face, a basketball hoop, a tree). Each group settles at one main feature and investigates it with two different methods, then makes quick single-method estimates of two others nearby.
Before releasing groups, board the worked pair and walk the three steps once: (1) difference = larger − smaller, (2) 10% of one estimate (use the first or the larger), (3) difference ≤ that 10% amount means they agree. Numbers: 10 m and 9 m, difference 1 m, 10% of 10 m = 1 m, so yes they agree.
Slip to watch: pupils subtracting the wrong way, or finding 10% of the difference instead of 10% of an estimate. Prompt: is your gap smaller than, or about the same as, one-tenth of your height?
Each group records into the copybook table set up earlier. Circulate and prompt: which method suits a flagpole? which suits a brick wall? Push for a different strategy on the second method so the two estimates are a genuine cross-check, not the same sum twice.
Which strategy gave you the estimate you trust most: the shadow-and-stick, the counting method, or comparing to a known height? Did any two of your estimates land close together? When two methods agree, why does that make you more sure than one method on its own?
Listen for pupils naming agreement between methods as the thing that builds trust. Revoice a strong answer: so one estimate is a guess, but two estimates that agree is evidence.
Watch for the misconception that the longest shadow means the tallest thing — remind them shadow length depends on the sun's height, which is why both shadows must be measured at the same moment.
Next we put our maths to work on a real design: planning and costing things for ourselves, where measurement, money and reasoning all come together.
Close by asking pupils to write one line in their maths journal: the most surprising height they estimated today and how they found it.
You're previewing this lesson. Get full access to this lesson and hundreds more — each one ready to teach, with interactive activities, printable resources and pupil progress tracking built in.