1 - Getting Started ~5 mins
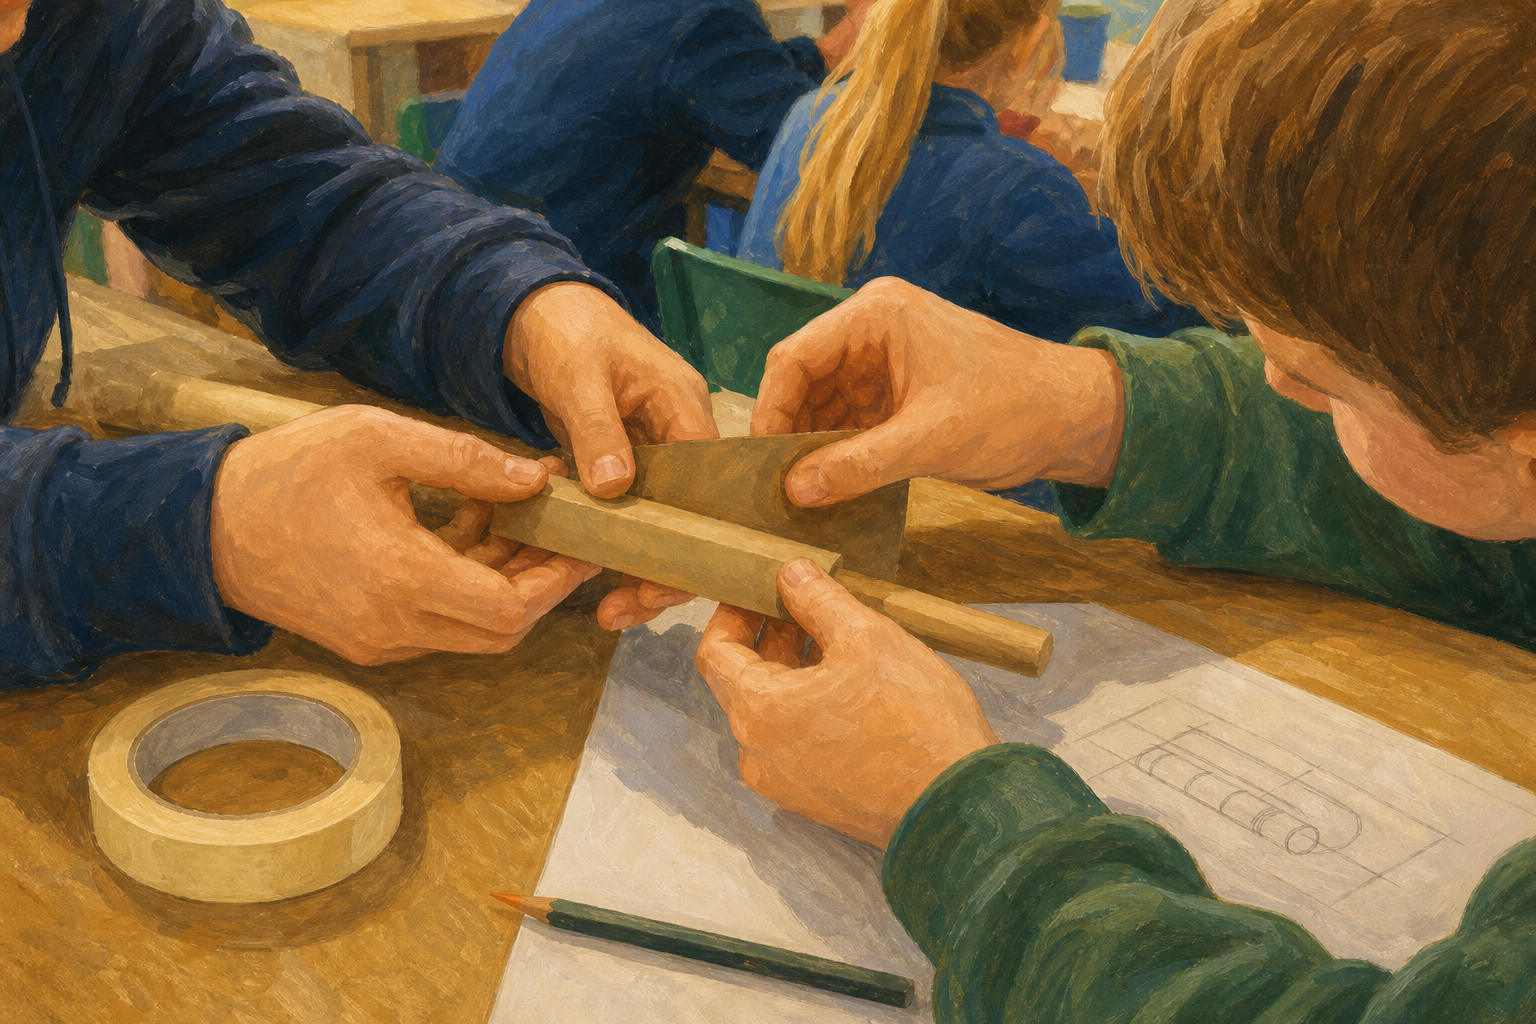 Engineers rarely build something perfectly on the very first try. When they turn a plan into a real object, surprises pop up: a fold won't hold, a leg is too short, the tape won't grip. Today your group turns the Design Brief you drew earlier in this project into a real, working prototype.
Here is the big question: when the plan meets the real materials, what will you have to change?
Keep this light. Show the class a simple half-built prototype of your own (a taped card stand that leans) and ask "what went wrong here, and what would you change?" Do not hand out materials yet.
Do not restage the whole build here — the point is only to prime pupils that plans change when they meet real materials.
2 - Two Ideas Before We Build ~6 mins
Before we open the build kit, let's name two words engineers use every day. Look at the table together.
| Concept | Why it matters | Example |
|---|---|---|
| Prototype — a first working model of your design that you can pick up and test | You cannot know if a plan really works until you build it and try it, so the prototype turns your drawing into something real | A cardboard book stand you build to see if it truly holds a book upright, instead of just hoping the drawing was right |
| Iteration — changing your design a little at a time to make it work better | The first build almost never works perfectly, so you improve one thing, try again, and keep the change if it helped | Your stand keeps tipping over, so you make the base wider — that one change is an iteration |
When you build today and something does not work, that is not a mistake. That is the moment a real engineer starts problem-solving.
This is the pupil-facing Key Concepts table (3rd–6th) — read it with the class and point at the Example cells. Keep the message that a build that goes wrong is normal engineering, not failure.
Head off the misconception that changing the plan means they planned badly — professional engineers iterate every prototype.
3 - Watch the Plan Meet the Materials ~7 mins
Let's watch one build go from plan to first fix together. I'll build a small card stand from a plan while I think out loud.
Listen for the four things I do: I look at the plan, I try to build it, something goes wrong, and I decide on one change to fix it.
Model the full build-and-fix cycle out loud
Work through all four beats verbatim so pupils hear each one:
- "My plan says a folded triangle base will hold the card upright." (read the plan)
- "I'll fold it and stand it up now." (build it — fold and place)
- "Look — it is leaning over. The base is too narrow, so it tips." (the problem)
- "I'll make one change: I'll widen the base by folding the flap out further, then try again. That worked — it stands. I'll write on my plan that I widened the base." (the iteration, recorded)
This is the worked example: model the change recorded on the plan, because that is exactly what pupils must do in their own build. Have a strip of card and tape in hand for this — nothing more elaborate.
4 - Build Your Prototype ~23 mins
Now it is your group's turn. Take the Design Brief you drew earlier in this project and build your prototype from it, using the materials at your table.
Work like an engineer: build the part you are most sure of first, then test it as you go. When something does not work, stop, name the problem out loud, and choose one change to try. If you change the plan, mark that change on your Design Brief straight away, so you remember what you did and why.
Blunt scissors only, and ask an adult for any hard cut. Keep your build area tidy so pieces do not get lost.
Facilitating the build
Each group uses the Design Brief its own pupils drew earlier in this project — hand each group back its brief along with its build kit. Circulate and coach with questions, not answers: "what part will you build first?", "what is the problem here?", "if you change that, what else has to change?"
Insist every change gets marked on the brief before the group moves on — the recording beat depends on it.
- Support: point a stuck group to the one part of the plan they are surest about and let them start there.
- Stretch: ask a confident group to test each part as they attach it, not just at the end.
Adult makes any difficult cut. Watch for split pins and pointed dowels.
5 - Record: Your Build Log ~9 mins
Stop building for a few minutes and write up your build so far on your Investigation Journal page. Fill in three things: what part of the plan you built, any change you made to the plan and why, and one problem you still need to solve next time.
Keep what you built separate from what you changed — an engineer's log tells the whole story so anyone could pick it up and carry on.
Pupils record on the paper InvestigationLog page. This is the recording beat — do not let it slide. Prompt any group that built without changing the plan to write "no changes — built as planned", which is a valid, honest entry.
Watch for groups writing only what they built and forgetting the change column — the change record is the learning here.
Unlock the full learning experience
You're previewing this lesson. Get full access to this lesson and hundreds more — each one ready to teach, with interactive activities, printable resources and pupil progress tracking built in.
This lesson is copyright of Coding Ireland 2017 - 2025. Unauthorised use, copying or distribution is not allowed.