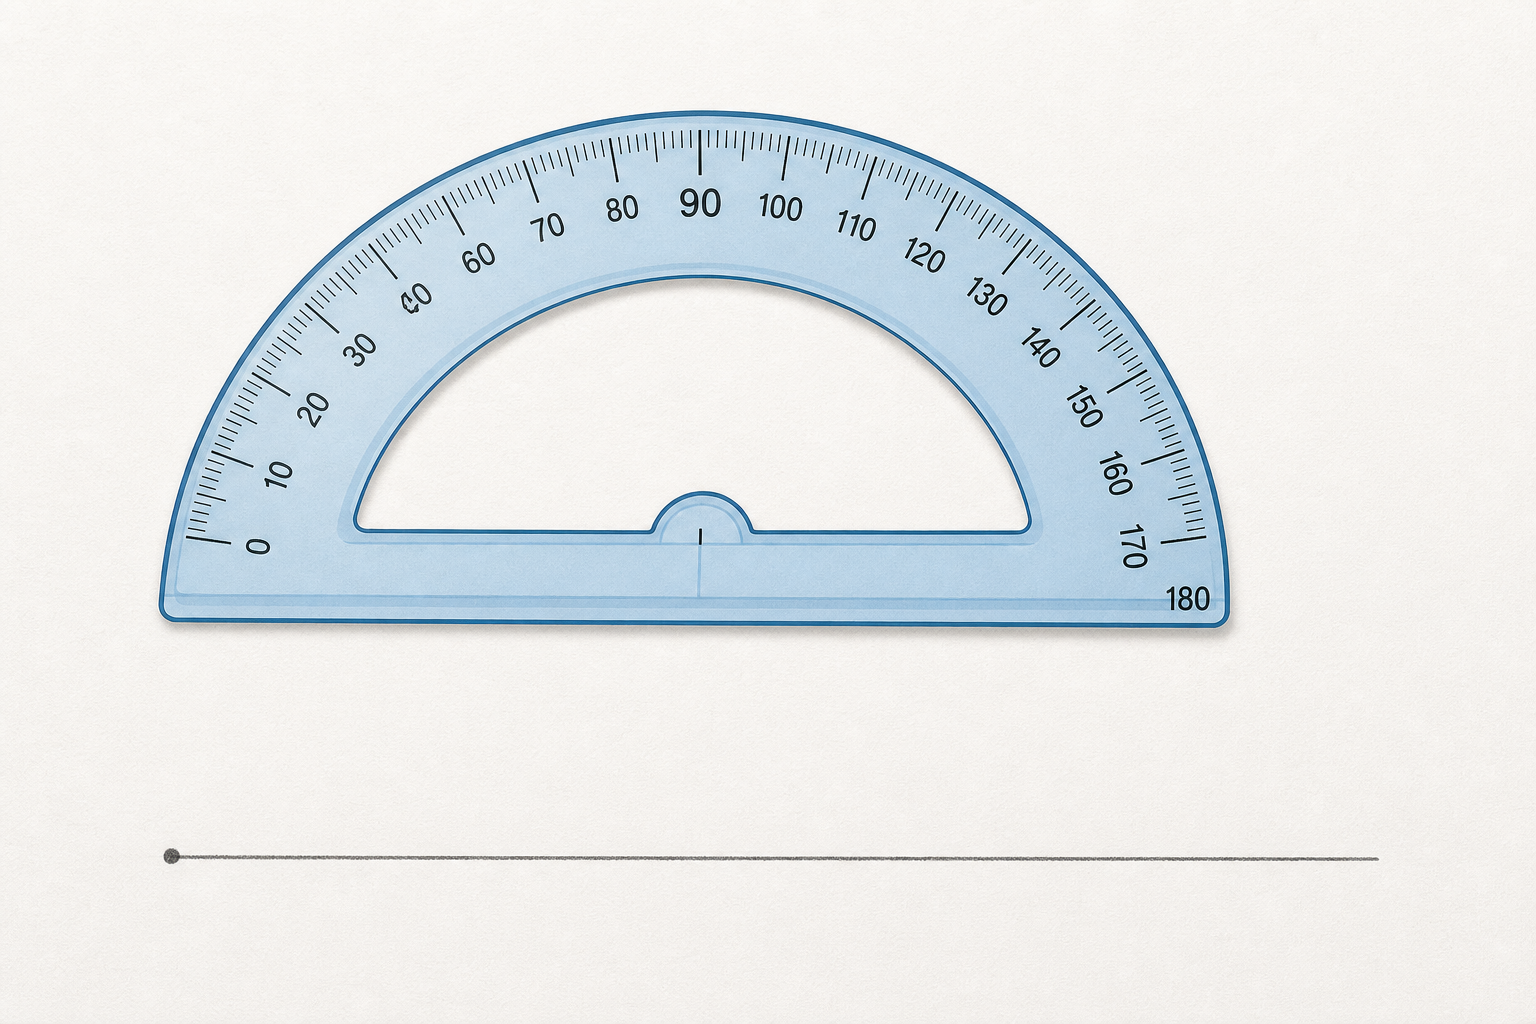
You already know how to measure an angle that is drawn for you. Today you build the angles yourself.
Look at the baseline on the board. A pencil mark in one spot gives one angle; a mark somewhere else gives a different one. Where would the mark need to go to build an angle of exactly 55°?
Show it physically: put your pencil mark in one spot on the board baseline, then in another, so the class sees that the mark's position controls the angle. Take two or three hands-up guesses, not open call-outs, and don't confirm yet. Where would the mark go? is the whole lesson in one question.
Three angles built on the board, one after another. Watch the five moves each time: rule the baseline, place the protractor on the vertex, count up from zero to the size, mark the dot, then join the vertex to the dot. Watch especially the small one — small angles are easy to overshoot.
In your maths copy, construct a 60°, a 110° and a 25° angle with your own protractor. These are the three you just watched built on the board. Rule a fresh baseline for each one, mark the degree from zero, join the vertex to the mark, and label each angle with its size.
Walk the room glancing at whether pupils count up from zero and whether the vertex sits on the protractor centre. No marking — this is whole-class copybook practice. Watch for the 110° being read as 70° off the wrong scale.
The 135° is the tricky one, so we say the count aloud before we mark it.
Now we construct these together: 40°, then 90°, then 135°. Build each one on paper with your protractor — rule the baseline, count up from zero, mark the dot and join the vertex. Then we measure it back on the board tool to prove it is the size we asked for.
This round is for talking it through together, so no marking yet — pupils build each angle on paper with their protractors while the board tool is the measure-back check, not the construction itself. Pupils take turns reading the angle back on the board and the class agrees or corrects out loud.
The construct-then-measure-back loop is the point of the step: build the angle on paper, then read it back and check it matches. Revoice a good check: you built it AND you proved it. For 135°, hold the class on the count before the mark goes down; that is where the wrong-scale slip lands.
Now we work through these together: construct 30°, then 75°, and finally two angles that together make a straight line. Predict where each mark will land before we check it.
For the last one, build a 60° angle, then look at the straight line it sits on. A straight line is 180° in total. The 60° takes up part of it, so work out what is left for the angle beside it. Build that partner and see the two angles close up to a straight line.
This is the practice round — pupils take turns at the board, check each answer, and the class confirms before moving on. Keep the board work brisk rather than over-explaining.
Before the straight-line pair, show the 60° angle sitting on a straight line and write the total 180° on the board. Ask the class to name the partner angle before anyone builds it: if the whole line is 180° and one part is 60°, what is left? Let them reason to 120° (180 − 60) rather than telling them. That is the moment the round has been building to.
You're previewing this lesson. Get full access to this lesson and hundreds more — each one ready to teach, with interactive activities, printable resources and pupil progress tracking built in.