1 - Ask: Whose Problem Are We Solving? ~5 mins
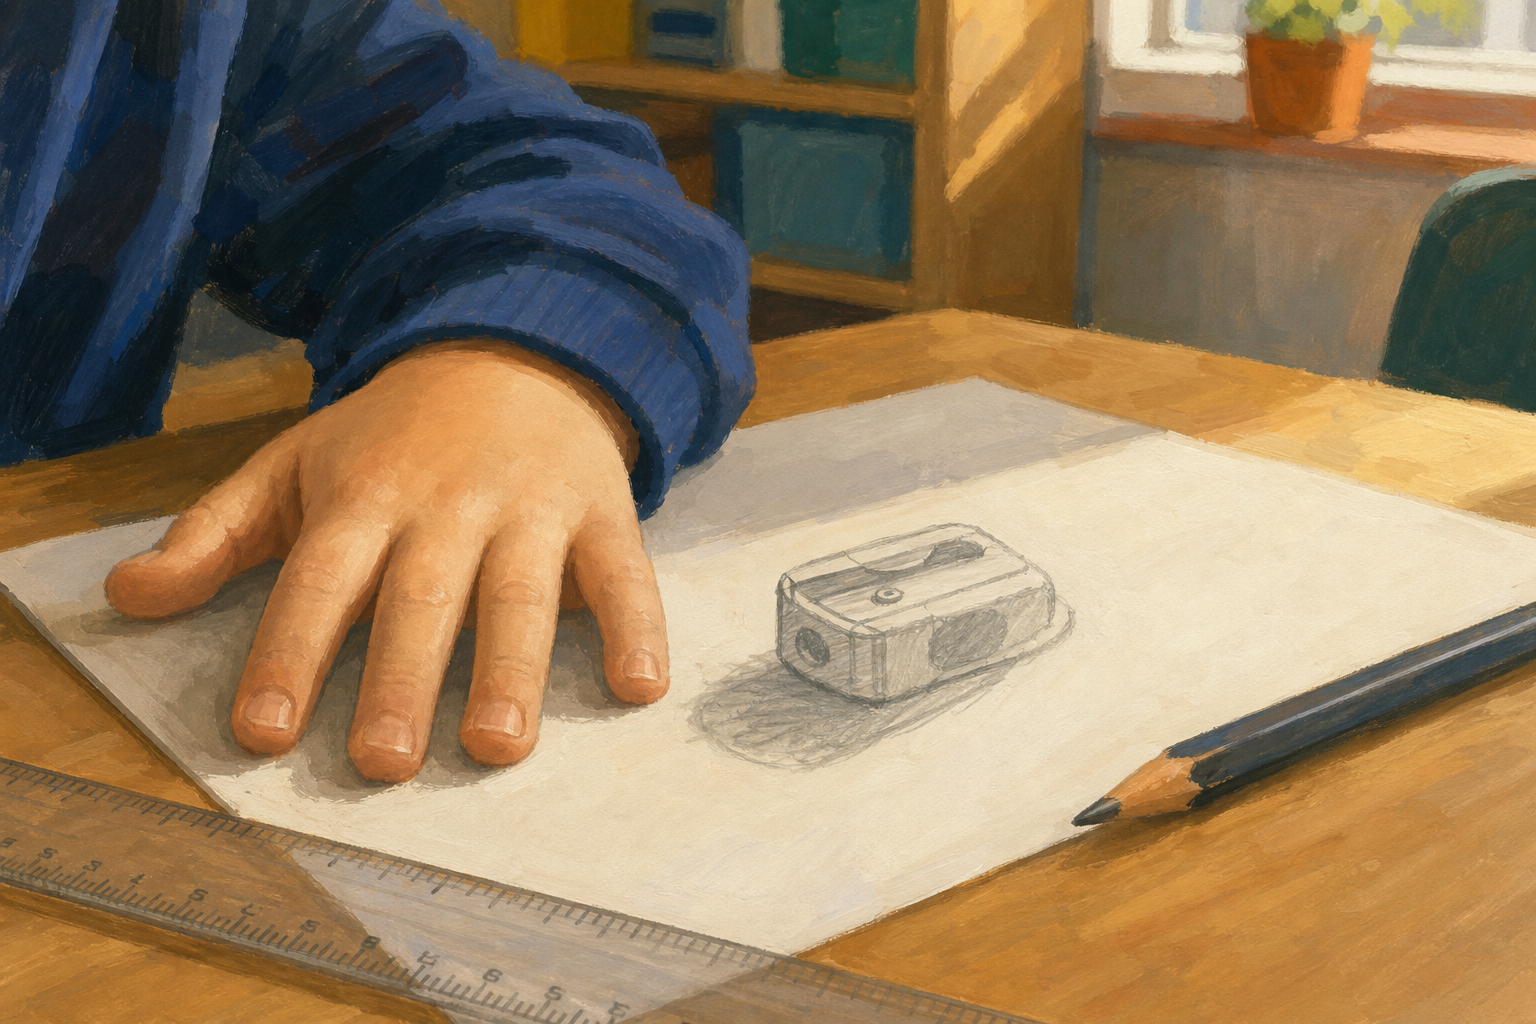 Every good engineer starts by asking one question: who am I making this for? Think about the user your group is designing for and the small problem they need solved. Today we turn that problem into a real plan.
If your group already met a user earlier in this project, bring that problem forward. If not, pick a real user now, a buddy-class child, the caretaker, or a staff member, and think of one small problem you could solve for them.
What does your user actually need? Say it in one sentence to your group.
Keep this light and quick. Ask each group to say aloud, in one sentence, who their user is and what small problem they are solving. Groups who defined a user earlier in this project bring that forward; a group without one picks a real user now (a buddy class, the caretaker, a staff member).
Do not let groups jump to a solution yet ("we'll build a box") — hold them on the need first.
2 - How Engineers Plan Before They Make ~8 mins
Engineers never grab materials and start gluing. First they agree exactly what a good answer must do, then they draw a plan with real measurements. That way the whole group is building the same thing, and they can tell if it worked.
 We'll read this one row at a time. After each row, picture the pencil-holder example in the last column before we move to the next idea.
| Concept | Why it matters | Example |
|---|---|---|
| User need — the real problem your design must solve for the person who will use it | If you don't know the need, you might build something clever that nobody actually wants | A younger buddy who keeps losing pencils needs a way to keep them together on the desk |
| Success criteria — the clear things a good solution must do, agreed before you build (think of them as the list you'll tick to see if your build passed) | They let you test fairly later — you check the build against the same list your group agreed | "It holds six pencils, stays standing, and fits in the corner of a desk" |
| Design Brief — a labelled, measured plan of what you will build and what it is made from | A measured plan means your group cuts the right sizes and gathers the right materials the first time | A sketch of a pencil holder with its height and width in centimetres and the materials listed beside it |
This is the pupil-facing teaching table — read it one row at a time, and after each row pause on the pencil-holder example in the last column before revealing the next row, so the reading load arrives in chunks. Point at a real object where you can (a pencil, the corner of a desk). Keep the language of measuring concrete: "how tall, how wide, how many centimetres."
"Success criteria" is the abstract one for this age — anchor it hard to the tick-list idea: "three or four things we'll actually check when we test our build."
Head off the common miss: pupils write vague criteria like "it must be good" or "it must be nice". Push them toward criteria you could actually check — a number, a size, a job it must do.
3 - Imagine: Agree the User Need and Success Criteria ~12 mins
In your group, agree two things and write nothing fancy yet, just talk and jot:
First, the user need in one clear sentence. Second, three or four success criteria — the things your build must actually do. Make each one something you could check with a ruler, a count, or a yes/no.
Try this out loud: "A good solution must ___." Say it three times, filling the blank a different way each time.
Groups of 3–4. Circulate and press every group to make their criteria checkable: swap "it must be strong" for "it must hold three heavy books", swap "it must be small" for "it must fit in a space 20 cm wide".
Draw out the design-talk: "How will you know your build worked? What would tell you it failed?" Aim for three or four criteria, no more.
Differentiation: give a stuck group a sentence stem — "It must hold ___", "It must fit ___", "It must not ___".
4 - Plan: Draw a Labelled, Measured Design Brief ~20 mins
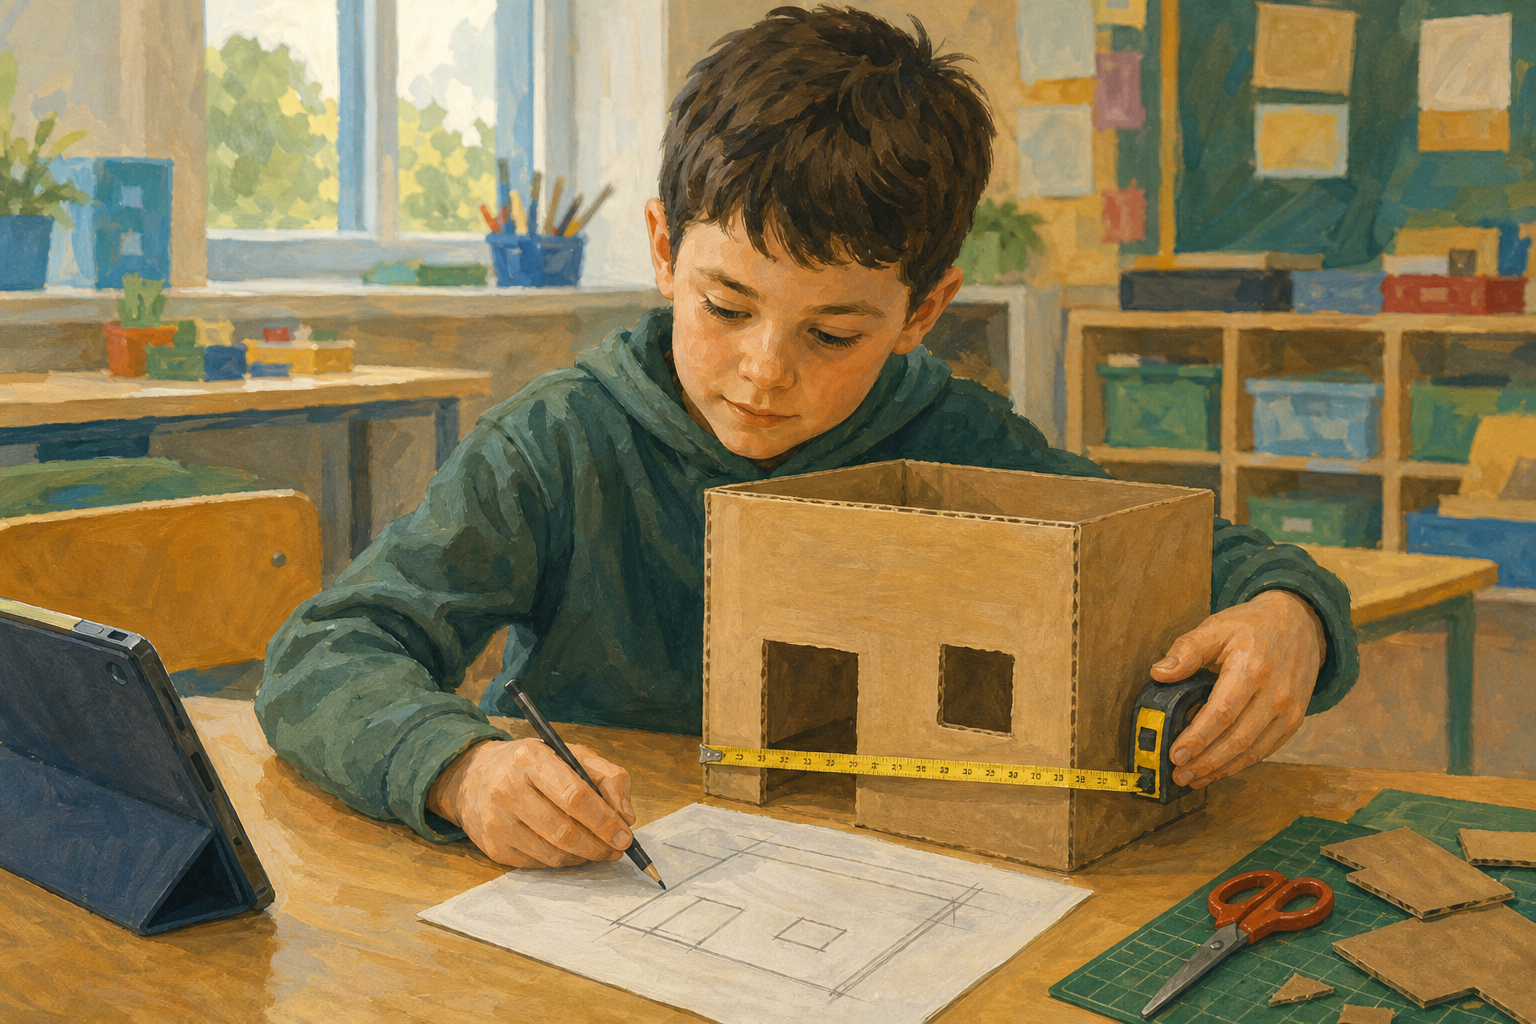 Now draw your idea on the Design Brief page. This is a plan, not a pretty picture — an engineer must be able to build from it.
Sketch your design two ways. First the side view: what it looks like as you face it. Then the top view: what it looks like from directly above, looking straight down, as if a bird was over it. Your teacher will draw both views of one object on the board first so you can see what each one means. Label the parts.
Then measure and write the real sizes in centimetres: how tall, how wide, how deep. Go to the materials table and measure the real materials or the space your build must fit, so your numbers are true. Beside your sketch, list every material you will use and how much of each.
Check it against your success criteria. Does your plan actually meet each one?
Hand out the printed DesignBrief page (one per group). Model the two views first: at the board, quickly sketch a pencil holder from the side (a tall open box) and from the top (looking straight down, a rectangle with the opening inside it). This gives every pupil a picture to copy the idea from — top view is the hard one for this age, so make it visible before they start.
The shared materials table (set out before the lesson) is open now: send groups to it to measure real tubes, boxes and the space their build must sit in so their centimetre numbers are true. Groups still choose and gather their final materials in the next step.
The measuring is the point of this beat — insist on real numbers, not "about big". Lend tape measures so groups can measure the actual space or object their build must fit.
Look-fors as you circulate:
- Two views drawn (side and top) so the shape is clear
- At least three measurements written in centimetres
- A materials list with quantities, not just names
- The plan genuinely meets each success criterion
Differentiation: a confident group adds a second measurement to check (e.g. "the handle must be at least 8 cm so a hand fits"); a stuck group starts by measuring the space their build must sit in.
5 - Gather and Check the Materials ~12 mins
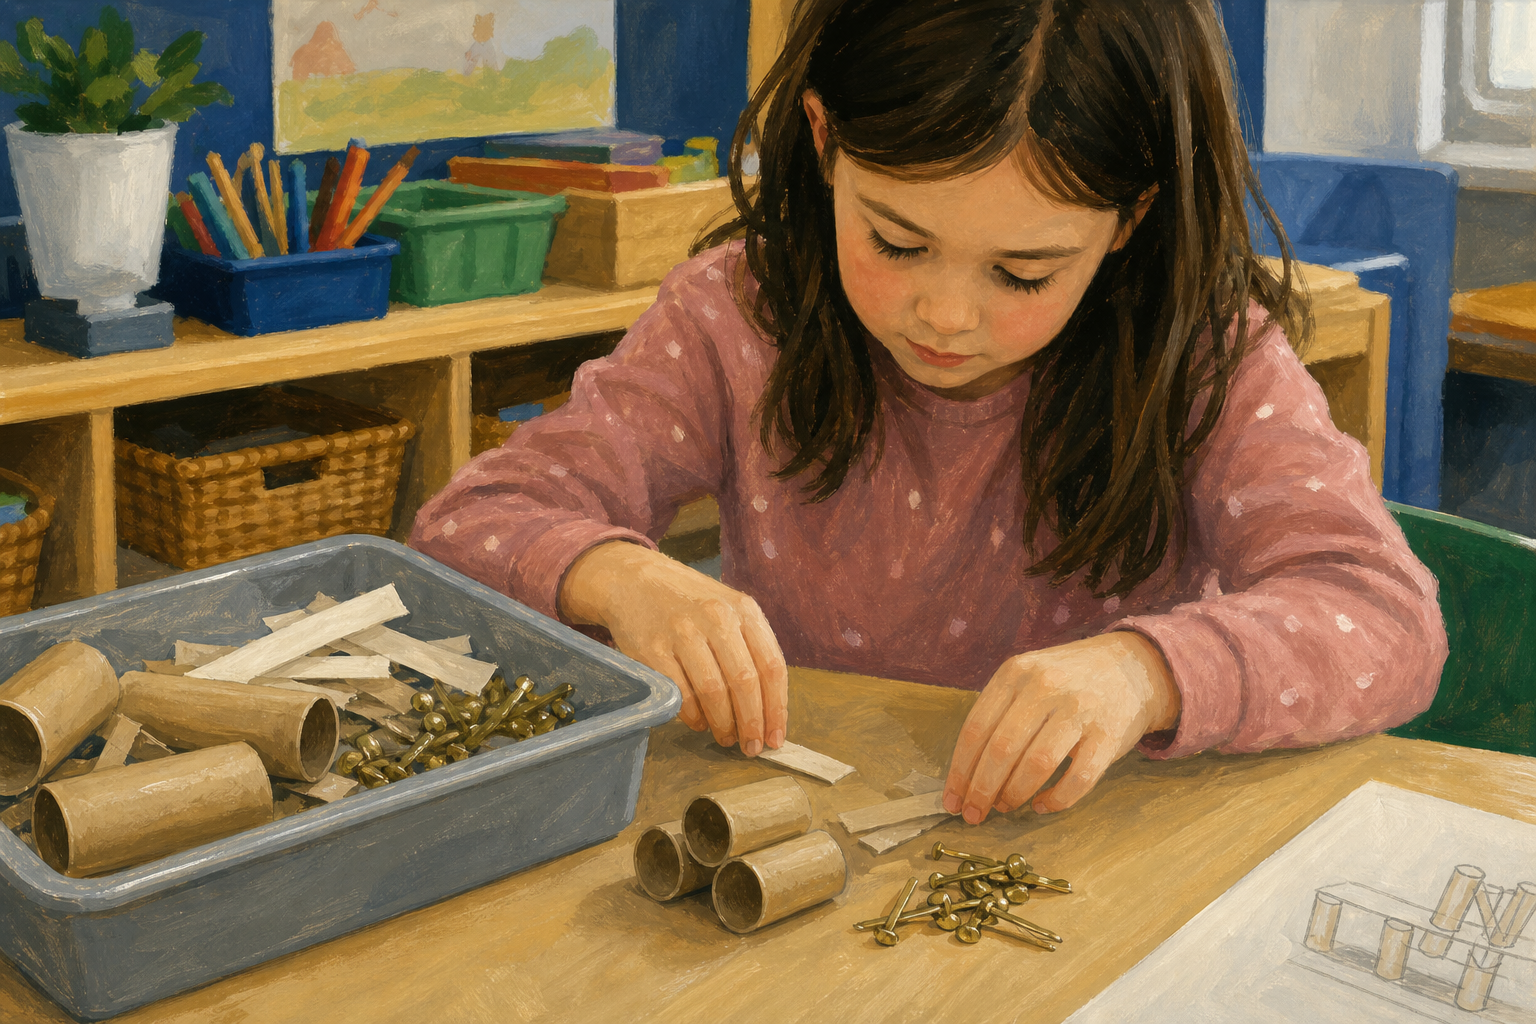 Read your own materials list and gather what you need from the materials table. Lay each item beside your Design Brief.
Now check as a group: have you got everything on your list? Is there anything on the plan you can't get? If so, change the plan now, not halfway through building. Better a plan you can build than one you can't.
The shared materials table has been open since the drawing step for measuring; now it is for gathering. Groups collect against their own list and lay items beside the Design Brief so gaps are obvious.
This is where a plan meets reality — a group who planned to use something you don't have must revise the plan now. Frame it positively: engineers change plans when materials run out; that is normal, not failure.
Have groups store their gathered kit and Design Brief together (a labelled tray or bag) — they will build from this exact plan next lesson.
Unlock the full learning experience
You're previewing this lesson. Get full access to this lesson and hundreds more — each one ready to teach, with interactive activities, printable resources and pupil progress tracking built in.
This lesson is copyright of Coding Ireland 2017 - 2025. Unauthorised use, copying or distribution is not allowed.